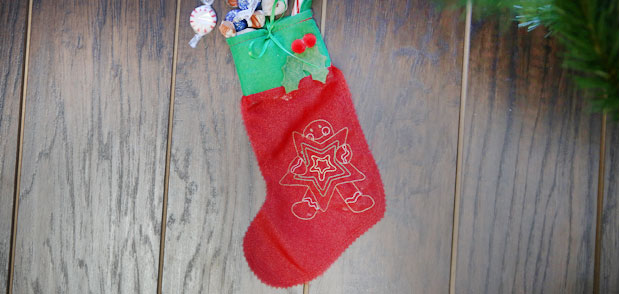
Embroider light designs onto this organza stocking, and the gifts inside will sparkle and shine in the Christmas lights. It's small enough to hang on a Christmas tree, doorknob, or alongside your other stockings on your mantel.
Supplies
Project Needs & Notes
- 1/4 yard polyester organza
- Small pieces of wool felt
- Heavy-weight water-soluble stabilizer (like Sulky Ultra Solvy)
- Air-erase pen for marking
- Pinking shears
- 12" length of 1/8" wide ribbon for tie
- Large-eye needle
- Small pom-poms for holly berries
- Fabric glue
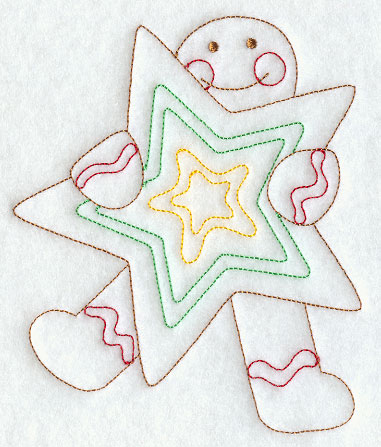
For this tutorial, I used the medium size of the Gingerbread Man with Star Cookie (Redwork) design. Redwork designs are a nice choice for the light organza. Choose designs that are 3 1/4" x 4" or smaller to fit comfortably on the stocking.
Finished size:
8" from cuff to heel
6" from heel to toe
3" opening
To get started, you will need the PDF of the pattern pieces using the link below.
Print the pattern for the stocking. It consists of one piece that fits on an 8 1/2" x 11" piece of paper.
Designs Used
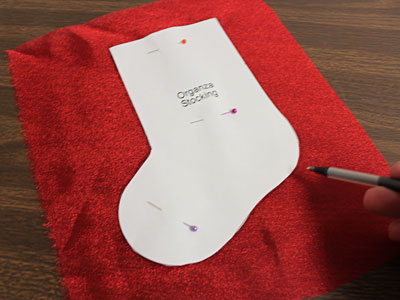
Cut out the pattern piece.
Lay the pattern piece on the organza. Pin in place and trace the shape.
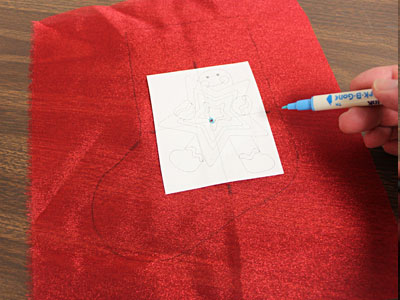
Print the design from embroidery software to make a template. If you don't have software to make templates, use Wilcom's TrueSizer, a free program.
Place the template in the stocking shape. Leave at least 1/2" of space between the outer edges of the design and the edges of the shape.
Using an air-erase pen, mark the center point of the design, and the vertical and horizontal axis points.
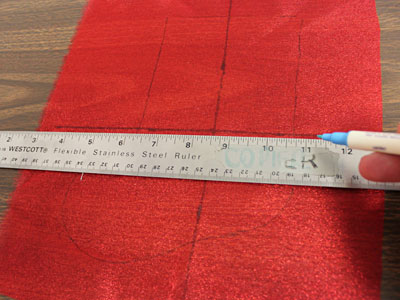
Remove the template and draw lines connecting the marks. These lines will be used for hooping.
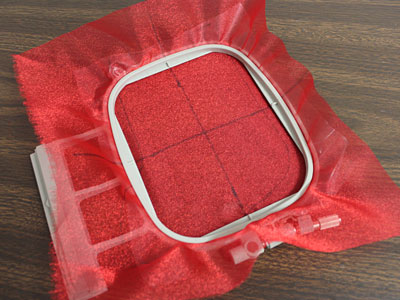
Hoop the organza with a piece of heavyweight water-soluble stabilizer. Align the marks on the organza with the marks on the hoop.
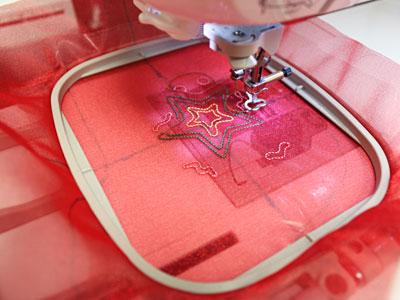
Attach the hoop to the machine, and move the hoop so the needle is right over the center point.
Embroider the design.
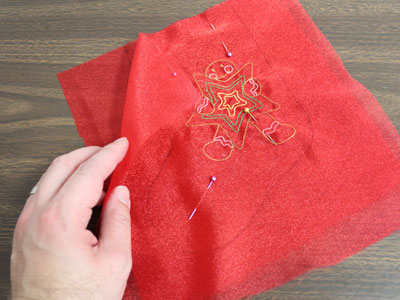
After embroidering, trim the excess water-soluble stabilizer away.
Soak the fabric in warm water for 15 minutes (approximately) until the rest of the stabilizer is removed.
Blot the fabric and allow it to air dry. When dry, press with an iron on a low setting, and use a pressing cloth, too.
To prepare the fabric for the back, lay the paper pattern piece on another piece of fabric. Pin in place, and trace the shape.
Trim off the fabric along just the top edge of the front and back pieces. Do not cut out the shapes just yet.
Align the pieces together, wrong sides together, with the top cut edges and the shapes aligned. Pin in place and sew a 1/2" seam to the inside of the traced shape.
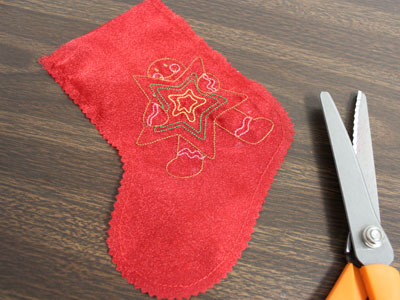
Using a pinking shears, trim the fabric about 1/2" out from the seam. Be careful not to cut the seam.
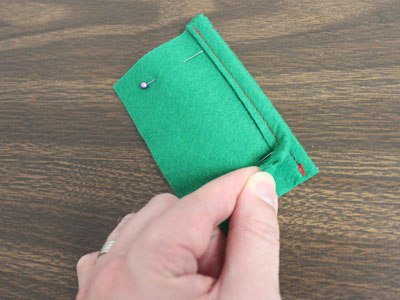
Cut two pieces of wool felt to 4 1/4" x 3".
Fold one of the long edges over 1/2" and sew a 1/4" seam along the folded edge only.
Align the pieces together, right sides together, with the folded edges aligned. Pin in place and sew a 1/4" seam along each short end only.
Turn the cuff right side out.
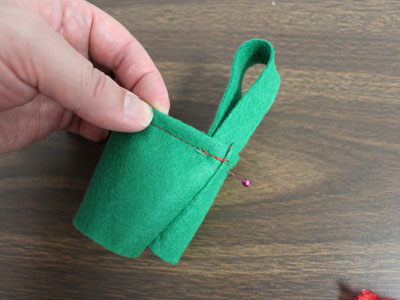
To prepare the loop hanger, cut a piece of felt to 3/4" x 6". Bring the ends together to form a loop and tack in place with a few stitches at the short ends.
Pin the loop in place with about 1/2" of the loop extending inside the cuff. Sew the loop in place by stitching along the existing seam at the top edge of the cuff.
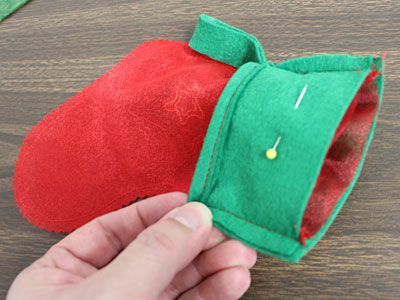
Turn the cuff wrong side out and insert the top edge of the bottom organza portion inside the cuff, right sides together, with the top edges and seams aligned.
Pin in place and sew a 1/4" seam along the entire top edge.
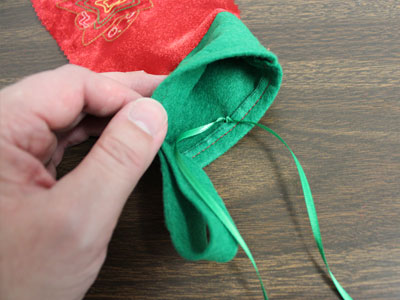
Roll the cuff up, right side facing out.
To add the ribbon tie, cut a 12" length of 1/8" wide ribbon.
Thread the ribbon through the large-eye needle. At the center back of the cuff, sew the ribbon starting from the inside out and then back again from the back to the inside, leaving about 1/8" in between the stitches.
Even out the ribbon and tie a knot.
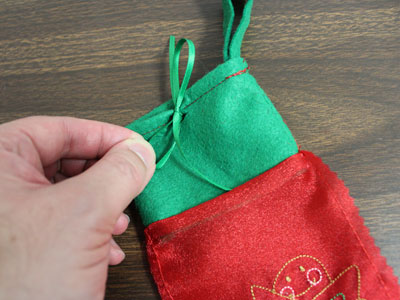
Cut a small slit at the front center of the cuff just under the top seam. Thread one side of the ribbon through the slit and then tie a bow to secure the top opening closed.
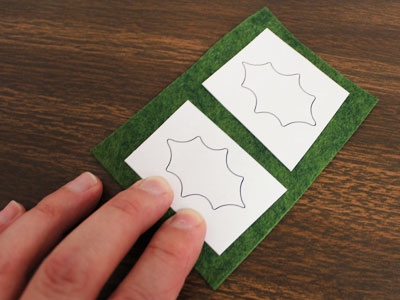
Add felt holly leaves, pom-poms for berries, and other embellishments as desired.
To make the holly with berries, use the pattern of the leaf shapes.
Place the pattern onto the felt and cut out the shapes.
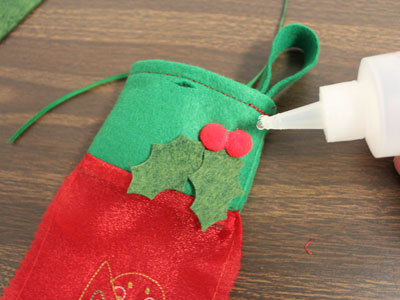
Attach the felt leaves and pom-poms to the cuff with fabric glue.
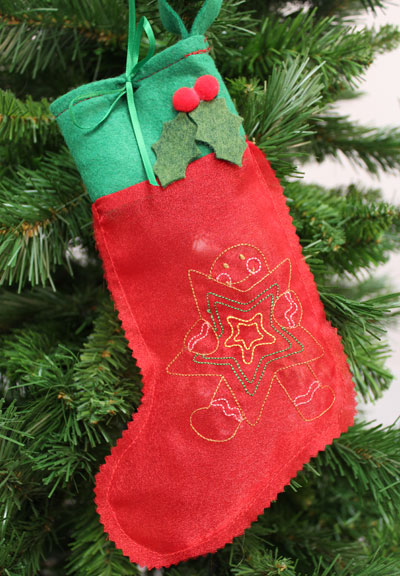
The light and elegant look of this organza stocking is even sweeter with a redwork embroidery design and holly leaf embellishment.
Use it to decorate your home for the holidays!
