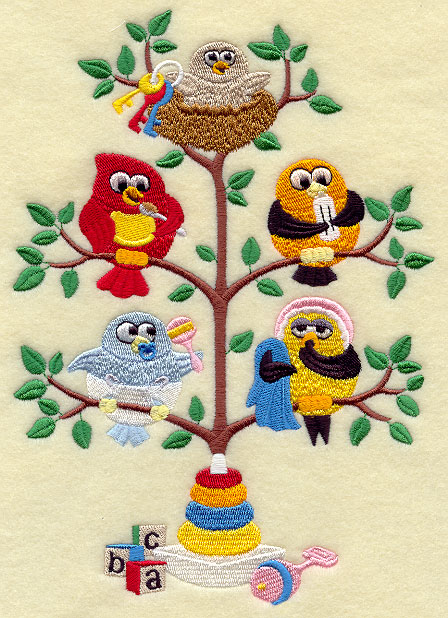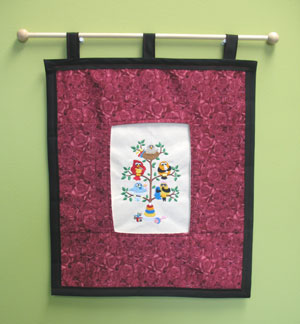
Display your favorite seasonal and special occasion designs with this interchangeable wall hanging!
Several of you have written in, asking for ideas to show off your ever-growing collection of Tweets. You can adapt your wall hanging to work with other designs too.
Steph's "Bootiful Tree and Feathered Friends" in the Stitchers' Showcase is another great example of an interchangeable wall hanging. Click here to see it!
Read below for these free project instructions.
Supplies
Supplies Needed:
**1/2 yard twill or lightweight canvas
**1/4 yard print cotton fabric
**Medium weight cutaway stabilizer
**Temporary spray adhesive
**7/8 inch wide double fold quilt binding
**3/4 inch wide sew-on Velcro
**20 inch long - 3/8 inch wide wooden dowel
**Two - 1 inch wooden dowel caps
Designs used:
This design is also available in other sizes:
Baby Tweet - Large
Finished Size:
If using the 5x7 size Tweet - 16 1/2 inches wide by 19 inches high
If using the 6x10 size Tweet - 22 3/4 inches wide by 26 1/4 inch high
**The size we created works perfectly with designs sized for the 5x7 or 4x4 hoop.
We have also included dimensions for designs sized for the 6x10 hoop as well.
Designs Used
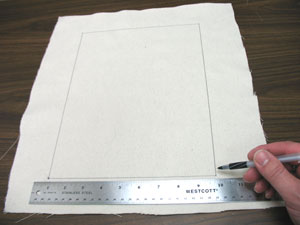
First we will prepare the fabric for the interchangeable inset. On the right side of the twill fabric, draw a rectangle that is 9 inches wide by 12 inches high. Be sure to leave a couple of inches of excess fabric around the shape.
If you are using a 6x10 hoop, draw a 12 1/2 inch wide by 16 1/2 inch tall rectangle.
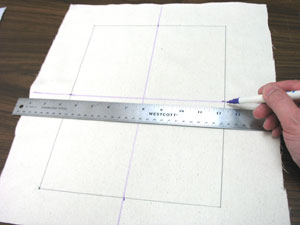
Using an air erase pen (or other marking tool), mark the center of each side of the shape by measuring and dividing by two. Then, draw lines to connect the marks - where the lines meet is the exact center of the shape.
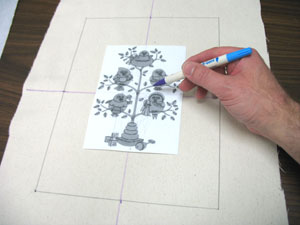
Create a paper template of the design by printing it at full size using embroidery software. If you don't have embroidery software, you can cut a piece of paper the shape and dimensions of the design to help with placement and centering.
Poke a hole in the center of the template and align it with the center point on the fabric. Make sure the design fits well within the shape. There should be at least 2 inches of excess fabric between the edges of the design and the outer edges of the shape.
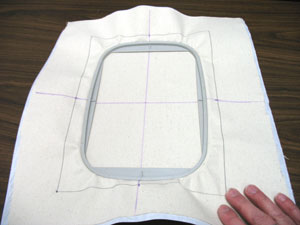
Spray a piece of cutaway stabilizer with temporary adhesive and smooth the fabric on top. Hoop the fabric and stabilizer together by aligning the marks on the hoop with the lines on the fabric. Attach the hoop to the machine and load the design. Move the hoop so that the needle is directly over the center point on the fabric and embroider the design.
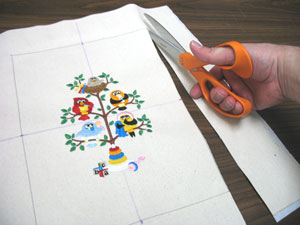
When the design has finished, unhoop the fabric and cut out the shape. We are leaving the stabilizer on the back of the embroidery to give the inset more support.
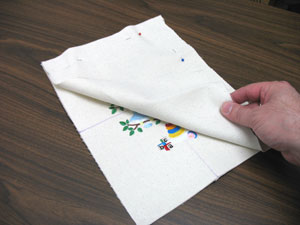
To prepare the fabric for the back of the inset, lay the embroidered front piece on top of the fabric, trace it, and cut out the shape. Then, align the back fabric piece on top of the embroidered piece, right sides facing, and pin in place. Sew a 1/2 inch seam along the top and side edges only - leave the bottom open for turning.
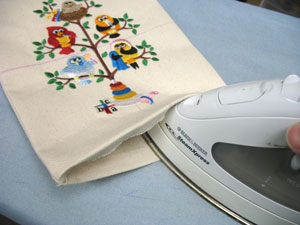
Turn the inset right side out and press the seams with an iron. Then, turn the fabric of the bottom opening in 1/2 inch and press. Top stitch a 1/4 inch seam around the entire outer edge of the inset.
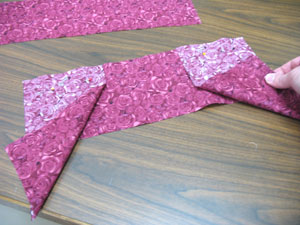
Now we will prepare the fabric for the front of the wall hanging. For the top and bottom pieces, cut two pieces of fabric 16 1/2 inches wide by 5 1/2 inches high. For the 6x10 size, cut two pieces of fabric 22 3/4 inches wide by 7 1/2 inches high. For the side pieces, cut two pieces of fabric 5 1/2 inches wide by 9 1/2 inches high. For the 6x10 size, cut two pieces of fabric 7 1/2 inches wide by 13 1/8 inches high.
Lay the bottom fabric piece right side up and align the side pieces on top, right sides facing, with the short ends of the side pieces aligned with the top corners of the bottom piece. Pin in place and sew a 1/4 inch seam along the top edge of the bottom piece only.
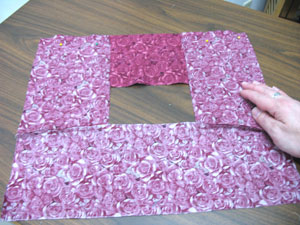
Lay the top piece with the right side up and align the remaining short ends of the side pieces with the top corners of the top piece. Pin in place and sew a 1/4 inch seam along the top edge of the top piece only.
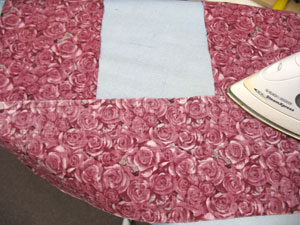
Press the seams on the back of the fabric with the seam folded in towards the center opening.
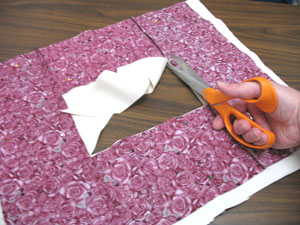
To prepare the fabric for the back of the wall hanging, lay the assembled front piece on top of the twill fabric and pin in place. Then, cut out the shape from around the outer edge and from the inside center opening. Remove the pins and align the front and back pieces together with the right sides facing. Pin in place.
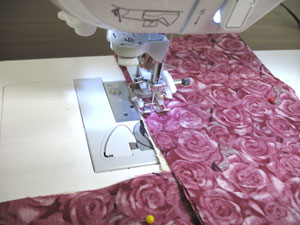
Sew a 1/4 inch seam around the entire inner edge of the center opening.
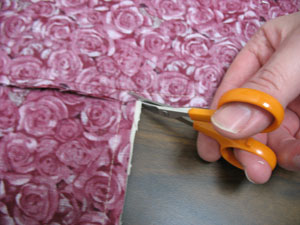
Then, cut a slit in each corner of the center opening. Be extra careful to not cut any of the seam stitches!
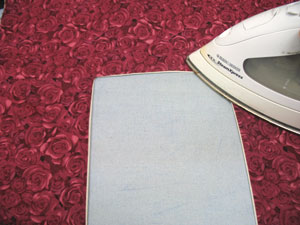
Turn the fabric right side out and press the seams. Top stitch a 1/4 inch seam around the inner edge of the center opening.
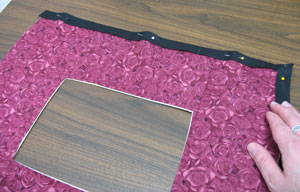
Now we will add the quilt binding to the outer edge. Start by wrapping the binding around the outer edges of the fabric at one corner. Continue to wrap the binding around the shape, pinning as you go. When you reach a corner, fold the binding out, pin in place, and continue wrapping the binding around. Sew a 1/4 inch seam along the inner edge of the binding all the way around the shape.
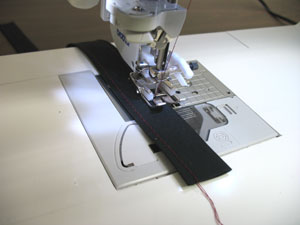
To create the loops, cut an 18 inch length of the quilt binding and sew a 1/4 inch seam along each side of the binding. Then, cut the binding into three 6 inch lengths.
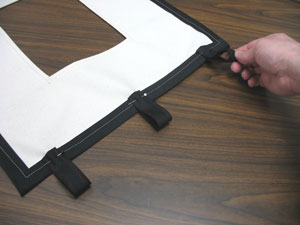
Bring the raw ends of the binding together to form loops and pin them to the back of the top edge of the wall hanging. We placed our loops 2 inches from each top corner and then one in the center. To secure the loops in place, sew a seam following along the original quilt binding seam on the front of the wall hanging.
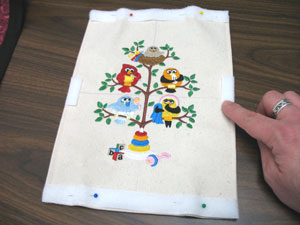
Add strips of Velcro to the top, bottom, and sides of the right side (embroidered side) of the inset. We added strips (the loop side) along the entire top and bottom edge and 1 1/2 inch strips to center of each side. Pin the Velcro in place and then sew a 1/8 inch seam around the outer edges of each piece.
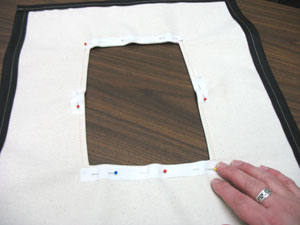
Add the hook side of the Velcro strips along the entire top and bottom edges of the center opening on the back of the wall hanging. Pin the Velcro in place and sew a seam following the original top stitch along the front of the wall hanging around the center opening.
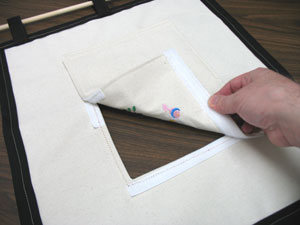
Attach the inset to the back of the wall hanging and...
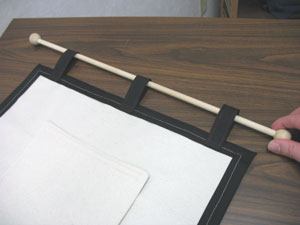
...insert the dowel through the loops and add the dowel caps to the ends of the dowel. You are done!
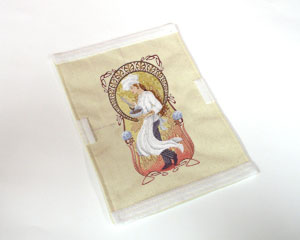
Create additional insets for any occasion or room in your house!
