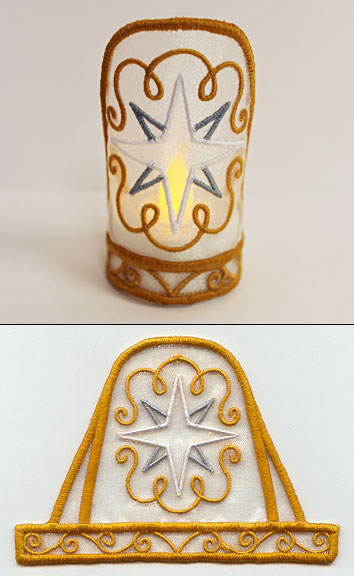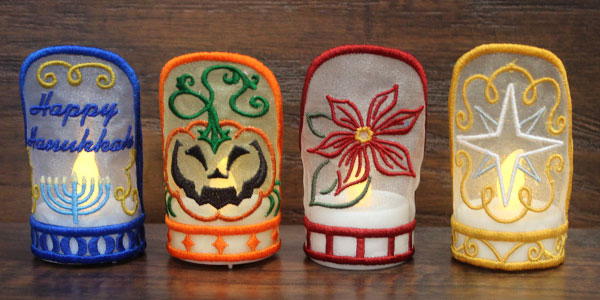
No matter the season, give your home a magical glow with in-the-hoop tea light holders! Designs featuring classic Halloween, Christmas, and other holiday motifs will add a glowing look to mantels, window sills, dining room tables, and more.
Supplies
- 1/2" wide knit elastic
- Flameless battery-operated tea light
- Polyester organza
- Water-soluble stabilizer (Vilene or Sulky Ultra Solvy)
Tools
- Temporary spray adhesive (Gunold's KK100)
- Fabric glue
- Masking tape
- Empty cardboard tube (from paper towel roll, wrapping paper roll, etc.)
Designs Used
Special Project Notes:
The in-the-hoop tea light wraps are for use with battery-operated tea lights; do not use wax candles or flame tea lights. Use only flameless battery-operated tea lights.
Tea light wraps are offered in two sizes. The 5" x 7" size fits snugly around a tea light that is 1 1/2" in diameter. The smaller size is made to fit a 4" x 4" hoop, and uses elastic to join the two ends of the wrap together. Either size can use elastic to join the two ends of the wrap, if the tea lights are larger sizes.
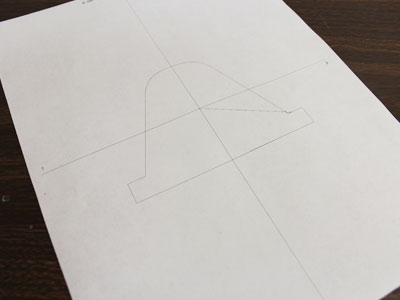
When you download an in-the-hoop tea light wrap design, you will find multiple files. Some are the embroidery files, and the others are dieline files marked with the letters "DL". Dielines are used to cut the fabric to the correct shape and size. Open and print each dieline file using an embroidery software. If you do not have an embroidery software, take a look at our helpful video on using dielines.
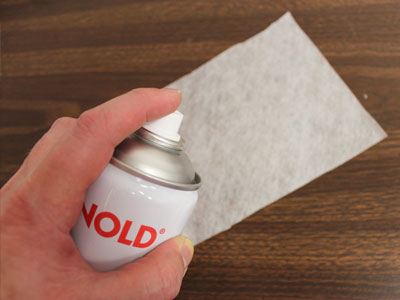
Next, spray a piece of water-soluble stabilizer (Vilene) with a very small amount of temporary spray adhesive.
Smooth the organza on top. Then, spray the back of the printed dieline with a small amount of spray adhesive, and smooth that on top.
The spray adhesive helps to keep the layers together when cutting.
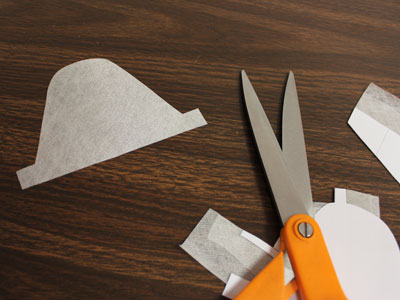
Cut out the shape.
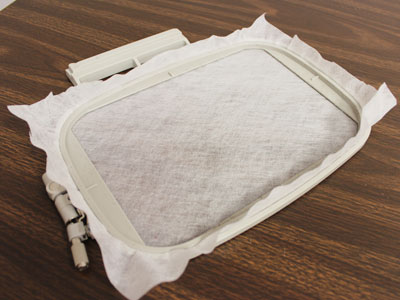
Hoop a piece of water-soluble stabilizer (Vilene). Ensure the stabilizer is hooped tightly with no slack or wrinkles.
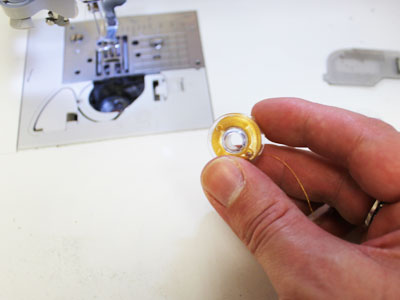
In-the-hoop designs are seen from both sides. Wind a bobbin for each color of thread that you will be using in the needle.
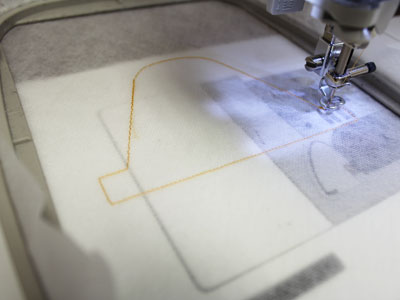
Attach the hoop to the machine and load the full embroidery file.
Use a size 11 or 75/11 sharp sewing needle.
Embroider the design, and follow the color change sheet as you stitch.
The first thing to embroider is an outline (called a dieline) which traces the fabric shape on the stabilizer.
After this outline has stitched, stop the machine and remove the hoop -- but do not remove the stabilizer from the hoop.
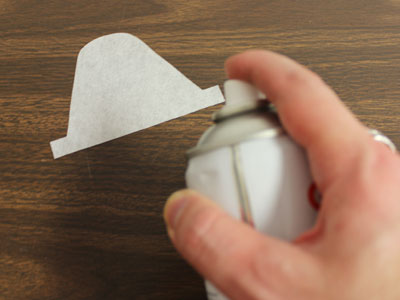
Spray the backside (Vilene side) of the fabric piece with temporary adhesive.
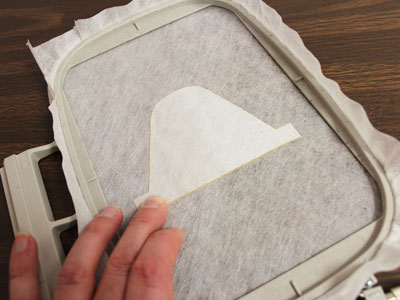
Place the fabric piece right inside the outline/dieline.
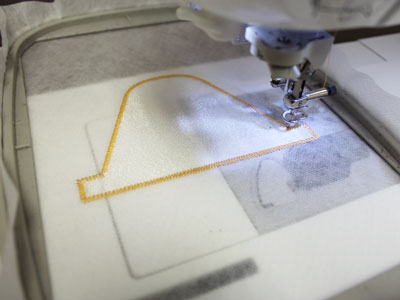
Attach the hoop back onto the machine and continue with the design.
A zigzag tack down stitch will sew next. This binds the fabric piece to the stabilizer for the remainder of the design.
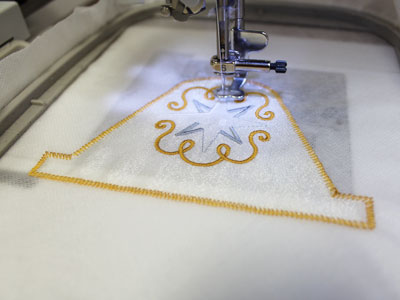
At each color stop, stop the machine and remove the hoop (but don't unhoop the stabilizer), and change the bobbin to match the top thread.
Also, trim any long stitches on the backside of the embroidery.
The inner elements of the design will sew next.
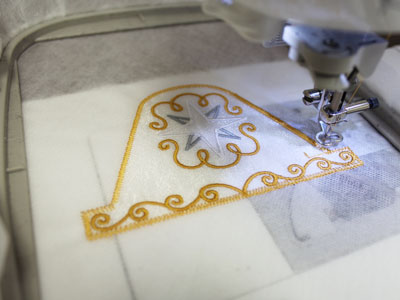
Finally, a satin stitch border will sew to give a smooth finish.
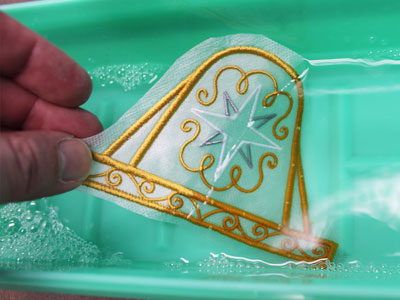
After the design has finished, unhoop the water-soluble stabilizer and cut away the excess stabilizer.
Soak the wrap in warm water from the tap for 5 to 10 minutes.
Blot the wrap with paper towels to remove excess moisture.
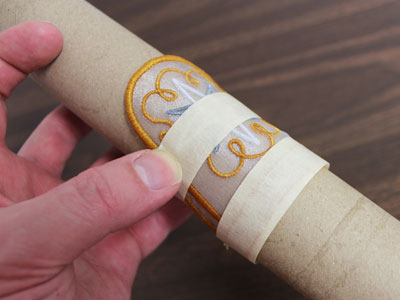
While the wrap is still damp, form it around an empty paper towel, toilet paper, or wrapping paper roll.
Wrap masking tape around the base and the center of the wrap so it will hold its shape while it dries.
Allow it to dry completely, then remove the tape and peel the wrap from the roll.
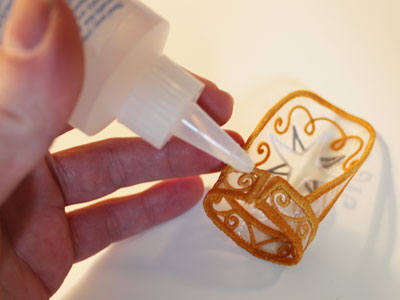
If you're working with the 5" x 7" size, and do not need to adjust it for a larger tea light, add a couple of drops of fabric glue to the ends of the back tabs.
Press them together, and allow the glue to dry.
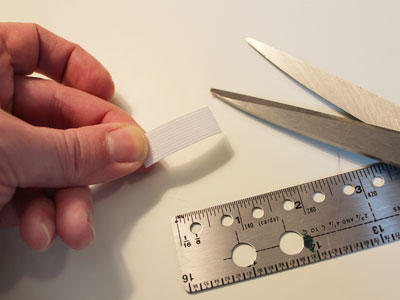
If you're working with the 4" x 4" size (or if you need to adjust the 5" x 7" size for a larger tea light), add elastic.
Cut a piece of 1/2" wide knit elastic to 1 1/4" long. You may need to cut it longer depending on the size of the tea light.
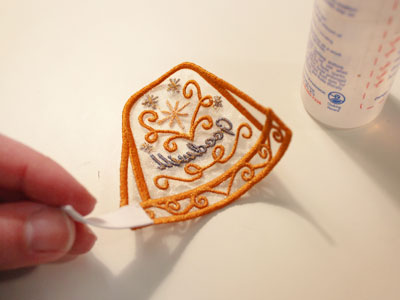
Add a drop of fabric glue to one of the back bottom corners.
Press the elastic in place with the end of the elastic extending 1/4" onto the wrap.
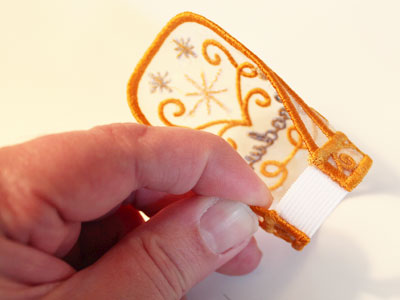
Add another drop of glue to the opposite back bottom corner.
Press the other end of the elastic in place with it extending 1/4" onto the wrap.
Allow the glue to dry completely.
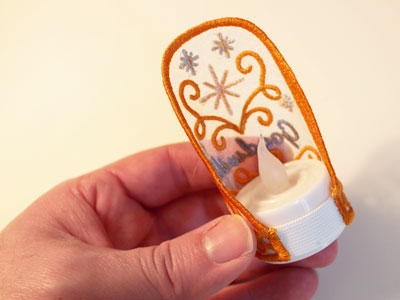
After the wrap is dry, slip the tea light inside.
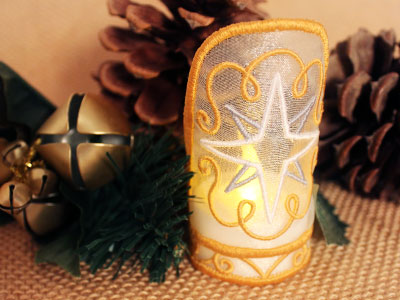
Illuminate your holiday decor with an organza tea light holder. The glow from the battery-operated candle shines through the organza, delicately lighting the designs for a graceful glow.
