
Warm up on chilly days with a hot beverage, and this attractive teapot-shaped mug rug will protect your table and make a little break in the day even more enjoyable.
The teapot shape makes this mug rug especially charming. Add an embroidery design you love, and it becomes even more decorative!
Read on for instructions to make a sweet teapot mug rug!
Supplies
Supplies Needed:
**10" wide by 10" high piece of fabric (for front; I used lightweight canvas)
**10" wide by 10" high piece of fabric (for back; I used print cotton)
**Small pieces of fabric (for handle; I used cotton fabric)
**Medium weight cutaway stabilizer
**Temporary spray adhesive
**Air-erase pen
**Large button (I used a 1 1/8" button)
**Needle and thread for some hand sewing
Designs Used:
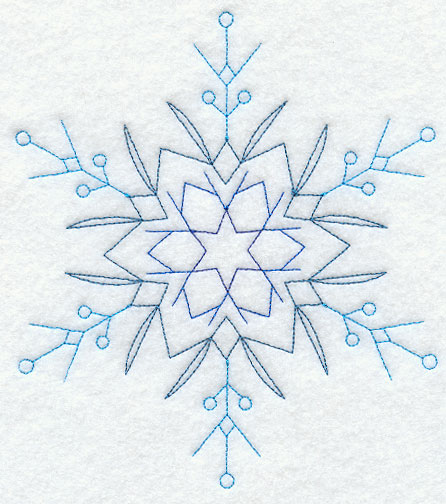
I used the small size of the Star Snowflake (Redwork) from the Happy Holidays (Redwork) Design Pack. You can add some Christmas cheer to your teapot mug rug by stitching designs from the Peppermint Potpourri Design Pack, and enjoy it all winter long with Intricate Ice (Bluework) Snowflakes. Both excellent choices!
Finished Size: 9" wide by 5 3/4" high
Designs Used
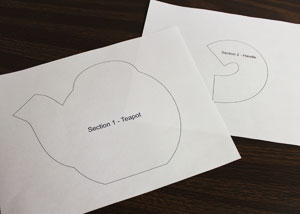
To begin, click here to download a PDF of the pattern pieces. The pattern will print in two pieces on two 8 1/2" wide by 11" high pieces of paper. Print the patterns.
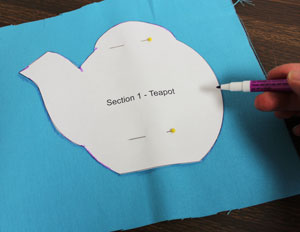
Next, cut out the pattern pieces. To prepare the front fabric, lay the teapot pattern piece (section 1) on top of the fabric, pin in place and with an air-erase pen or other marking tool, and trace the shape.

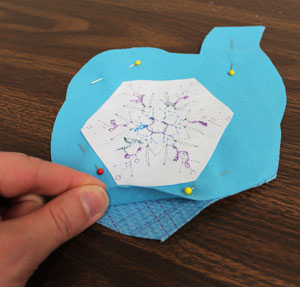
Remove the pattern. Then, create a paper template of the design by printing it at full size using embroidery software. Position the template within the shape; leave at least one inch of space between the outer edges of the design and the edges of the shape. Poke a hole in the center of the shape and mark the fabric. Also, mark the horizontal and vertical axis points.
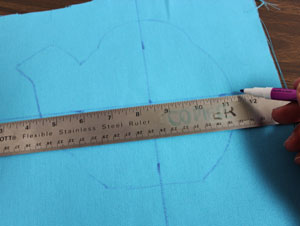
Remove the template and draw lines connecting the marks.
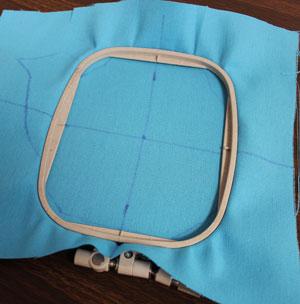
Spray a piece of medium weight cutaway stabilizer with temporary adhesive and smooth the fabric on top. Hoop the fabric and stabilizer together by aligning the marks on the hoop with the lines on the fabric. Attach the hoop to the machine and load the design. Move the hoop so that the needle is aligned with the center point on the fabric. Embroider the design.
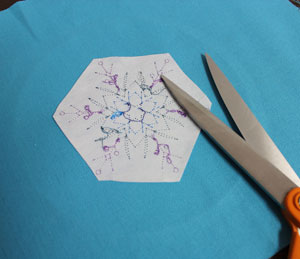
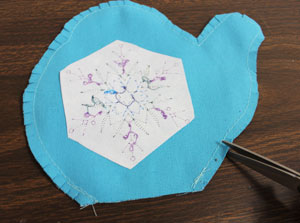
When the design has finished trim away the excess stabilizer on the backside of the embroidery.
Cut out the shape.
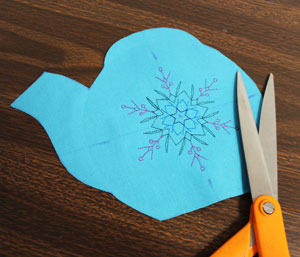
Lay the embroidered front piece on top of the back fabric, right sides together. Pin in place, and cut out the shape. Sew a 1/4" seam along the side and top edges, leaving the bottom edge open for turning.
Next, clip the entire seam allowance around the shape about every 1/4". Be careful to not cut the seam. Turn the fabric right side out and press the seams with an iron. Also, turn the fabric of the opening in 1/4" to the wrong side and press.
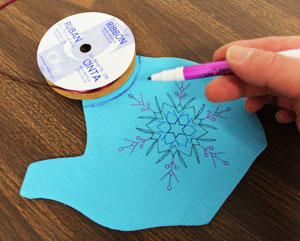
To add some extra detail, you can add a lid detail at the top of the teapot. To do this, place a 3" in diameter object (I used a ribbon roll) on the top edge of the teapot with the object overlapping 1 1/4" over the fabric. Trace the object onto the fabric and then sew a decorative stitch along the line.
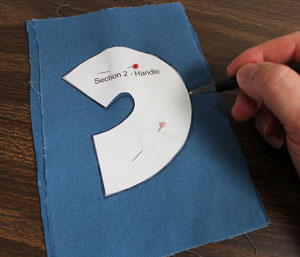
Using the handle pattern piece (section 2), trace the shape and cut out two pieces of fabric. Align the pieces on top of each other, right sides together, pin in place, and sew a 1/4" seam along the long curved edges only, leaving the short ends open for turning. Clip the seam allowances as you did earlier and turn the fabric right side out. Press the seams and then top stitch a 1/4" seam along the long curved edges.
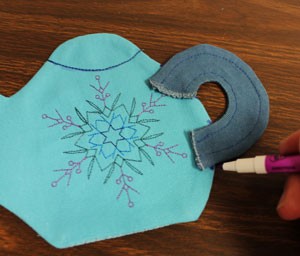
To add the handle to the teapot, lay the handle along the right side of the teapot with the short ends extending onto the fabric far enough so that all the raw edges are inside the outer edge of the teapot. Mark the teapot fabric along each outer edge of the handle.
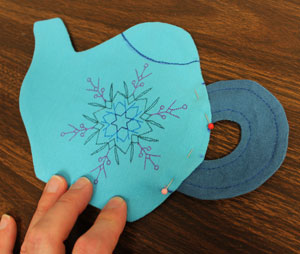
Remove the seams in between each set of marks (the handle will be slipped in between the fabric layers in between each set of marks). Insert the handle in between the fabric layers and pin in place. Also, pin the fabric along the bottom opening. Then, top stitch a 1/8" seam along the entire outer edges of the teapot shape. Add a button at the top of the "lid" by hand sewing the button in place.
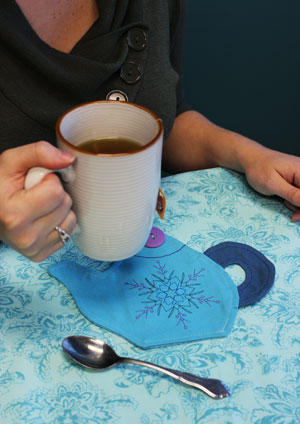
Make a quiet moment with a cup of tea -- or hot cocoa or coffee -- even more special with a teapot mug rug.
Make one for yourself, and one for a friend!


