Making large embroidered pieces to deck the walls and halls of your home and church is a wonderful way to decorate for Christmas, Easter, and other special occasions.
When working with three-piece banners you can either embroider each piece on a separate piece of fabric and then sew or piece them together, or you can embroider each section onto a long piece of fabric.
The instructions below demonstrate how to line up the designs on a long piece of fabric. This method is easy, and gets perfect results every time!
The instructions use the "Old Rugged Cross" banner as an example -- but if you're working on designs for Christmas or another occasion, you can apply the same concepts.
Supplies
Supplies needed:
-
1/3 yard of fabric - we used a 100% linen fabric in the natural color.
-
Cutaway stabilizer
-
Small amount of raffia
-
A rough textured stick or 1/4" wood dowel, about 16" long
-
Marking tool (air-erase pen or other marking tool)
You can find the 3-Piece banner designs from the Embroidery Library by clicking here.
Designs Used
Begin by printing templates of each piece of the design. You can print a template from most embroidery software.
If you don't have embroidery software, you can download a free trial version of Embird from www.Embird.com and use that software to print templates.
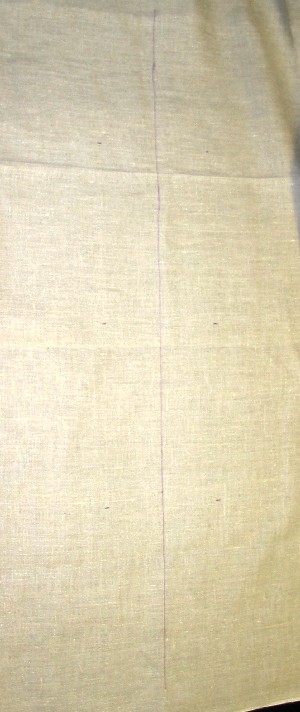
Using an air-erase marking pen and a yardstick, mark a long center line down the length of your fabric. To find the center, measure the width of the fabric and divide by two, and make a mark. Repeat this down the fabric, then connect the marks.
The line should be a few inches longer than the combined length of the designs.
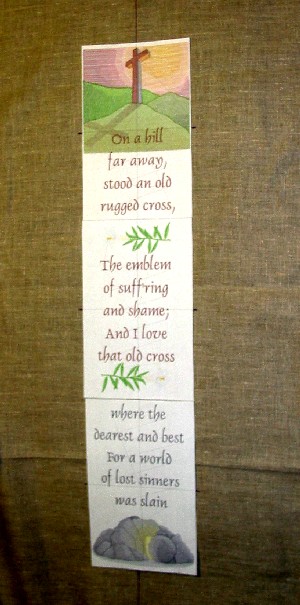
Place the templates on the fabric, lining up the vertical axis of each template on the marked line.
Determine how far apart you want each design on the center line, then with your marking pen, make a mark at the horizontal axis on the fabric on each side of the design.
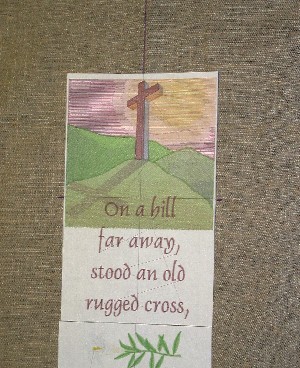
Here is a closer look at the top design. You can see the axis lines on the printout. The vertical line is matched with the marked center line, and there are small marks on either side of the printout at the horizontal axis points.
Remove the printouts from the fabric. Draw a straight line connecting the horizontal axis marks and crossing the center line. The horizontal line should be long enough to extend to the edge of your hoop.
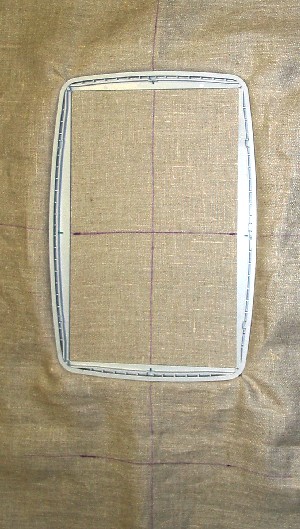
Now it is time to hoop the fabric. Because we're using linen, we're going to hoop the fabric with cutaway stabilizer.
Hoop the fabric so that the marked horizontal and vertical lines line up with the center marks on the sides, and the top/bottom of your hoop.
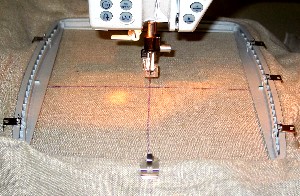
Move the needle to the point where the lines cross in the center of your hoop (this is the center point of the design) and embroider the first design.
When you are finished embroidering the first design, move the hoop to the second horizontal marked line, and hoop just as you did for the first sew-out. Match up the lines on the fabric with the marks on the hoop. Move the needle so it's right over the center point, and embroider the second design. Repeat this for the third design.
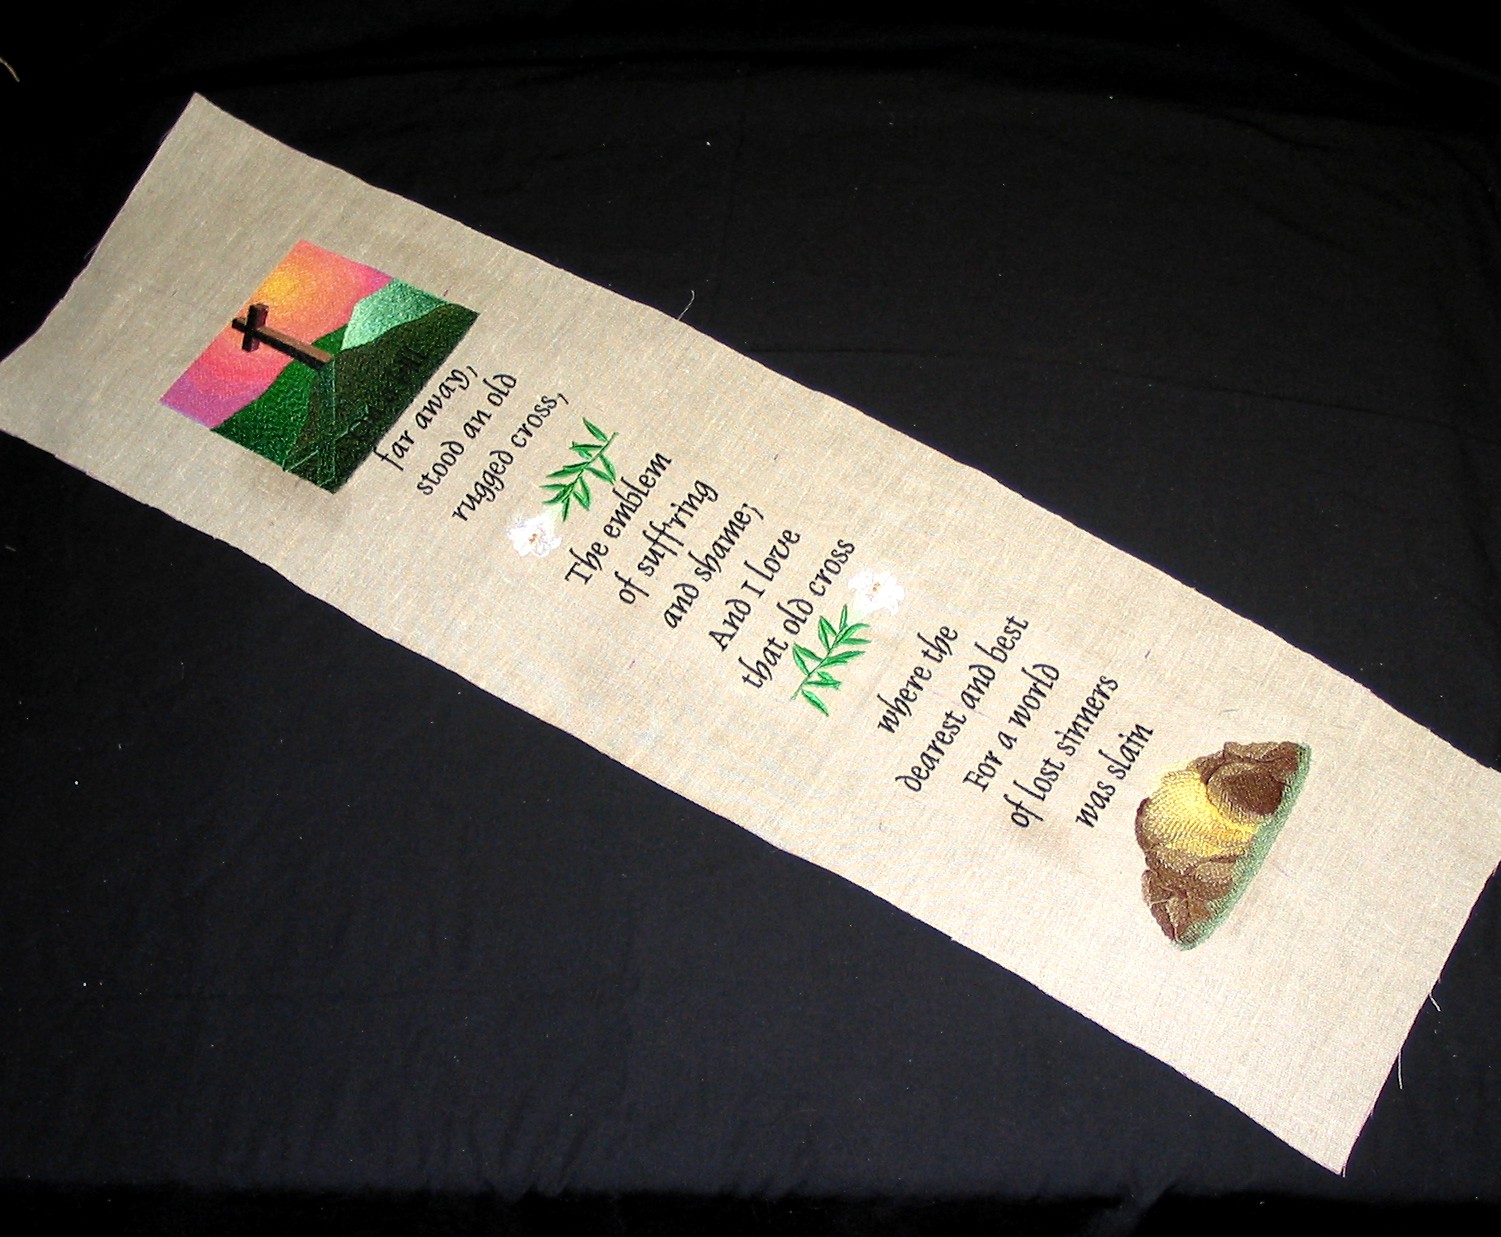
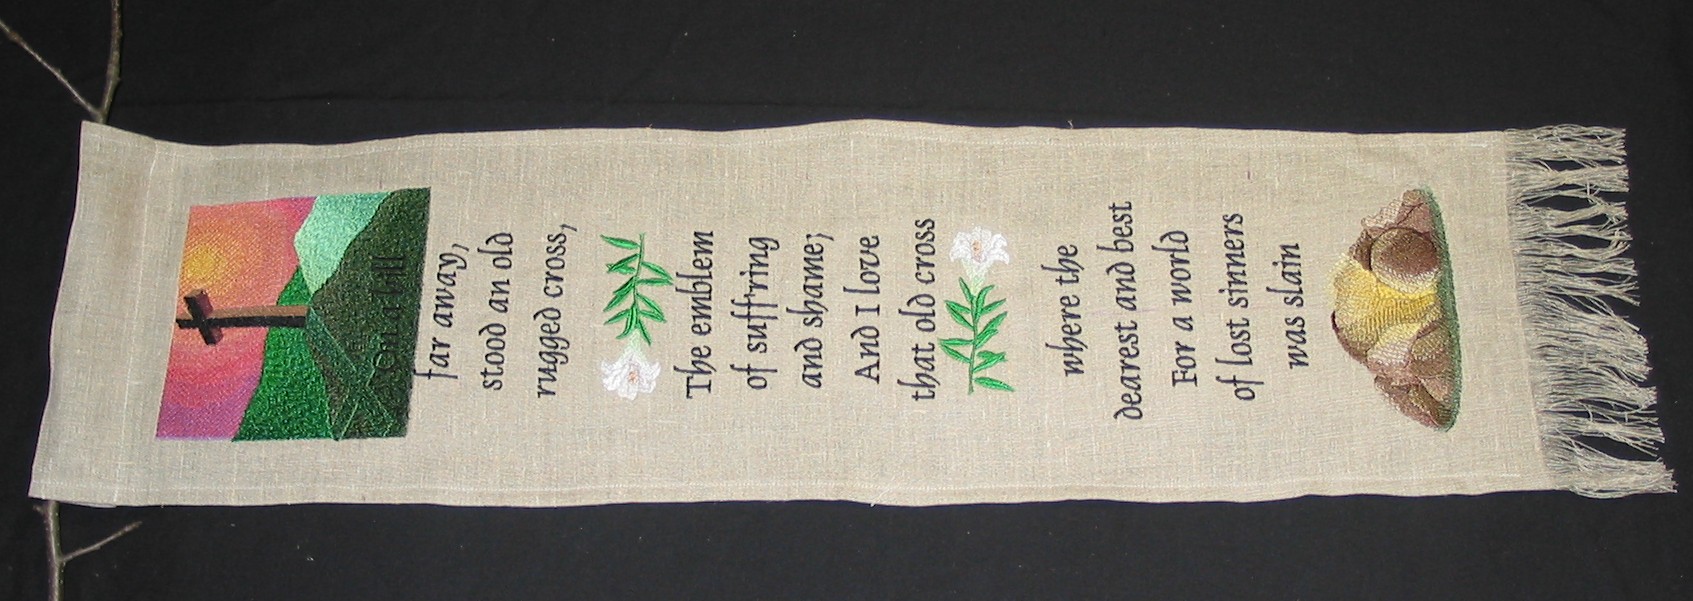
Here are all three designs all sewn out in a straight line.
Next, trim the fabric so that the banner is to the width that you'd like. We're trimming the fabric so the banner is 10" wide (if you're making a bell pull, you may want it to be a little narrower).
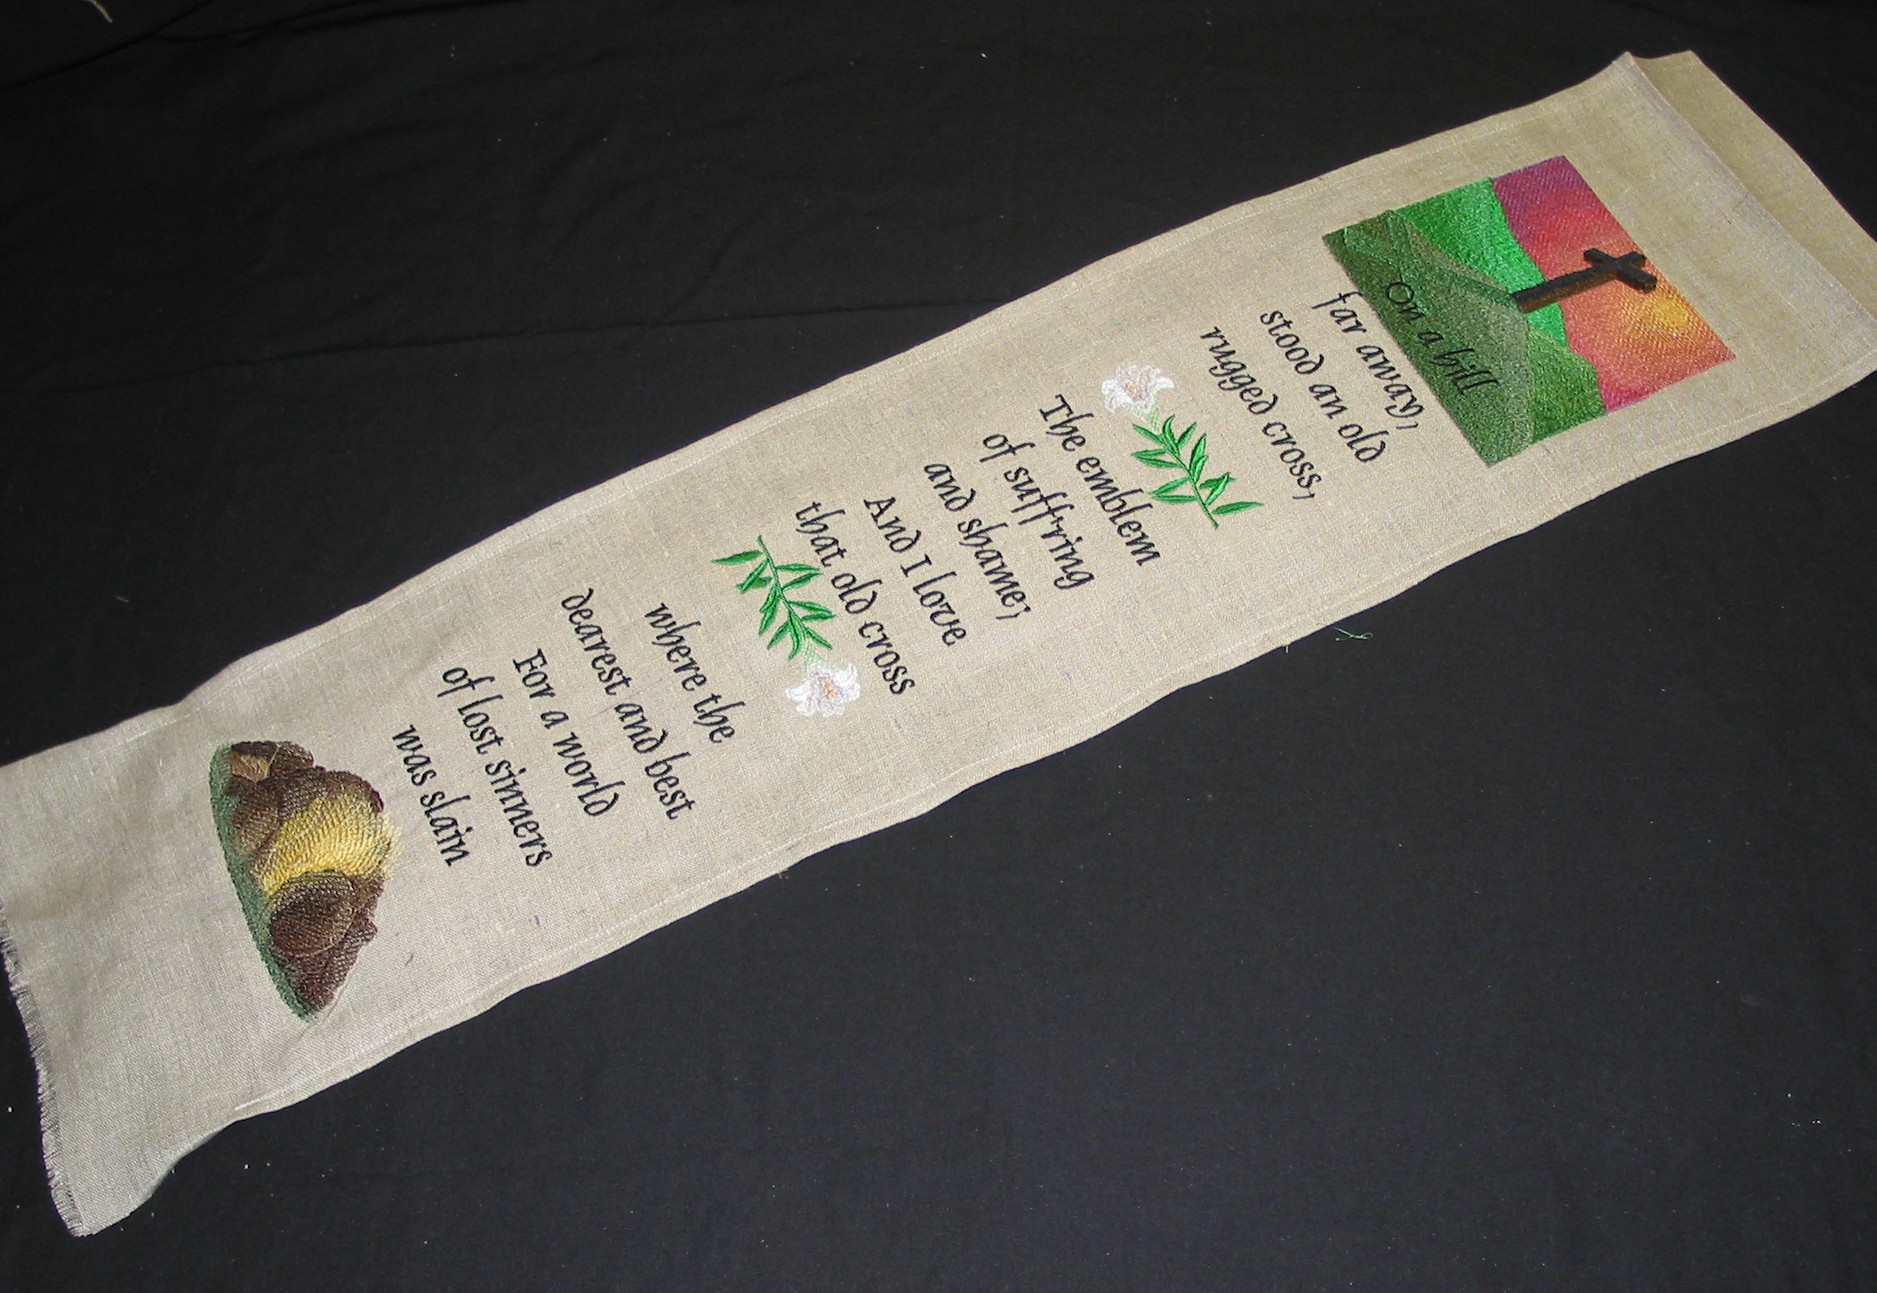
We're also leaving 5" from the top and bottom of the embroidery to the top and bottom edge of the fabric.
Hem each of the long sides of the banner.
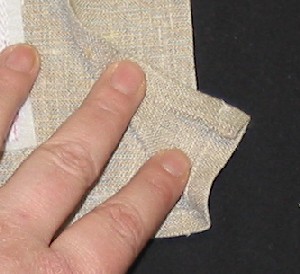
Fold the top edge over to form a 2" pocket for the hanging rod. Stitch down the rod pocket.
Insert the stick or dowel in the rod pocket.
If you'd like, you can fray the bottom. Sew a straight stitch across the width of the fabric, up to the point where you want the fraying to stop. Then fray to form a fringe at the bottom of the banner.
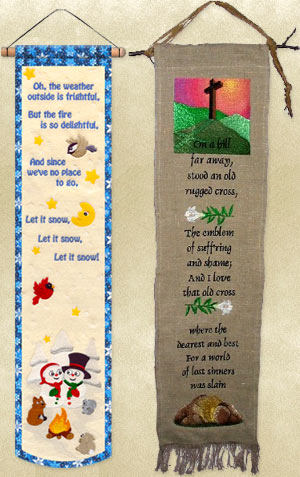
Tie several strands of raffia to the stick or dowel on both sides of the banner to form a hanger for the piece.
If you're working on a Christmas piece, you can wrap the rod or towel with red, white, and green ribbon to add a festive spark to the hanging area.
Enjoy!


