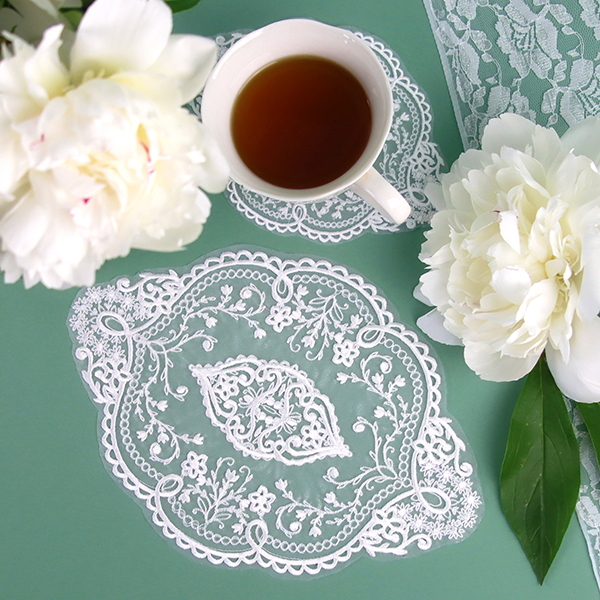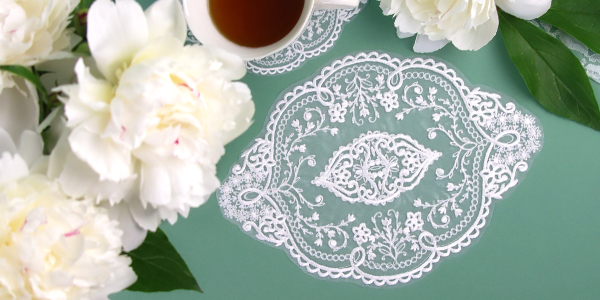
Whether you are preparing embellishments for wedding decor, or simply creating the perfect accent for table settings, and more, freestanding organza is just the answer that you need. Follow along with these step-by-step project instructions to create your own!
Supplies
Project Needs & Notes:
- 1/4 yard organza
- Embroidery thread
- Scissors
- Temporary spray adhesive (Gunold's KK100)
- Water-soluble stabilizer
Designs featured in this tutorial include:
- M30901, Delicate Floral Doily (Organza)
Designs Used
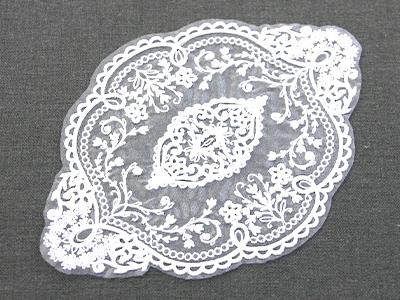
These freestanding designs have been specifically digitized to sew onto organza that has been hooped with a piece of water-soluble stabilizer. After the excess organza is cut away and the stabilizer is removed, beautiful embroidery and organza remains.
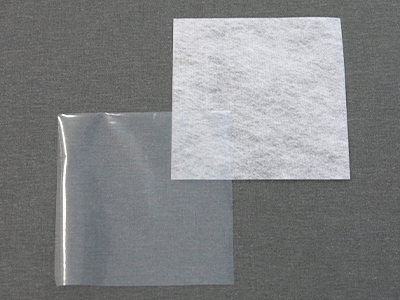
There are different kinds of water-soluble stabilizer. One is clear and plastic - a brand called Sulky Ultra Solvy. The other is soft and fibrous, called Vilene. Both work well. Vilene is used in this demonstration.
Use a size 11 or a 75/11 sharp sewing needle. A sharp sewing needle has a smaller, finer point than an embroidery needle, and makes smaller holes in the stabilizer.
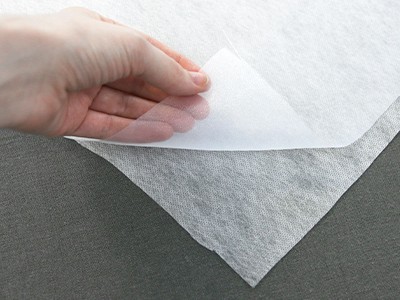
To start, cut a piece of both organza and water-soluble stabilizer so that they are larger than the embroidery hoop. Spray the water-soluble stabilizer with temporary adhesive and smooth the piece of organza on top of it.
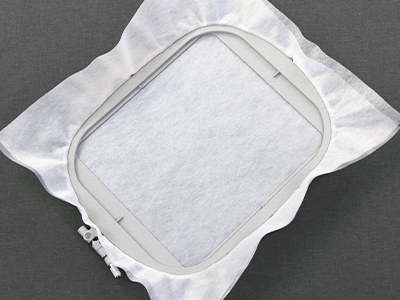
Hoop the organza and water-soluble stabilizer together so that both are drum-tight with no wrinkles.
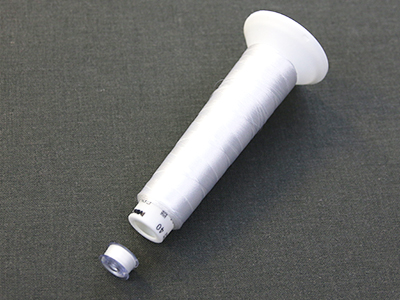
As this design will be seen from both sides, wind a bobbin to match every thread color used in the design.
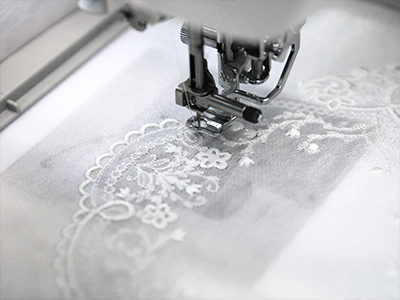
Follow the color change sheet to embroider the design. If the design has more than one color, continue to match your bobbin to the upper thread and embroider the remaining details.
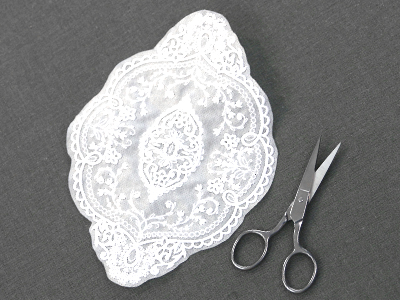
Once all the embroidery is finished, unhoop the design and carefully cut around the outer edges. Cut as close to the embroidery as you are comfortable, but make sure not to cut into the embroidery. If you accidentally cut the embroidery, use a small amount of clear fabric glue to help prevent unraveling and to adhere the stitching in place.
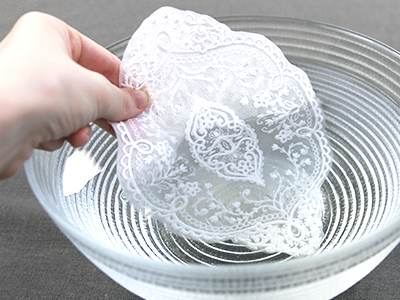
The manufacturer's packaging should give instructions for removing the excess stabilizer. For Vilene, soak the embroidered design in water for a few hours.
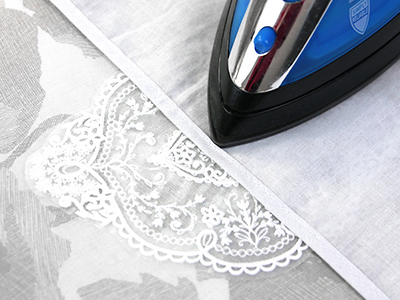
Allow the design to air dry. If needed, press the design with a pressing cloth on top to remove any wrinkles.
