
Give your tissues a pretty makeover with in-the-hoop tissue holders. Make with colorful fabric and adorned with delightful embroidery, they're perfect for allergies, winter, or any cold!
Supplies
- 1/4 yard lightweight canvas or denim
- Temporary spray adhesive (Gunold KK100)
- Tear-away stabilizer
Designs Used
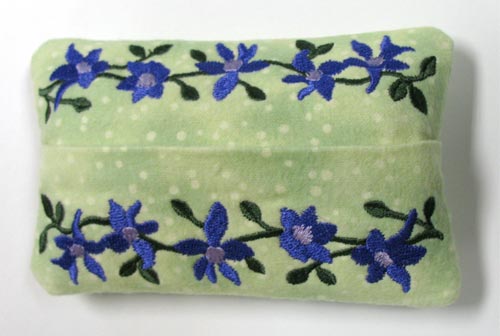
The design used in this example is X5441, Larkspur Tissue Holder. Find more in-the-hoop tissue holder designs right here.
Sizing Notes:
These tissue holders are the right size for Kleenex pocket packs.
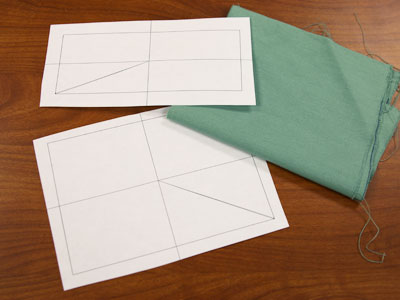
When you download an in-the-hoop tissue holder design, you will find multiple files. Some are the embroidery files, and the others are dieline files marked with the letters "DL". Dielines are used to cut the fabric to the correct shape and size. Open and print each dieline file using an embroidery software. If you do not have an embroidery software, take a look at our helpful video on using dielines.
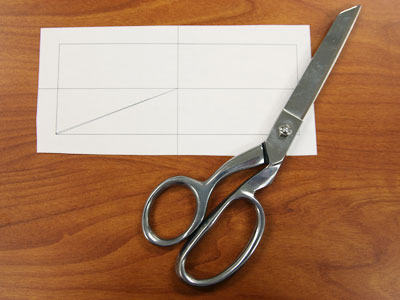
Take the printed dieline for the front and cut out the shape.

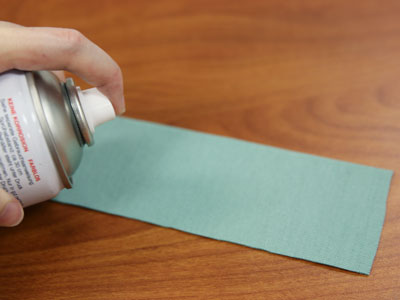
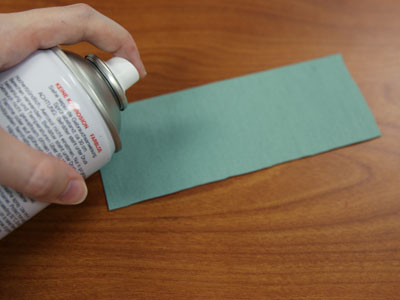
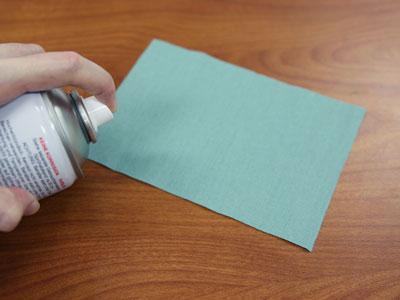
Spray the wrong side of the lightweight canvas with a small amount of spray adhesive.
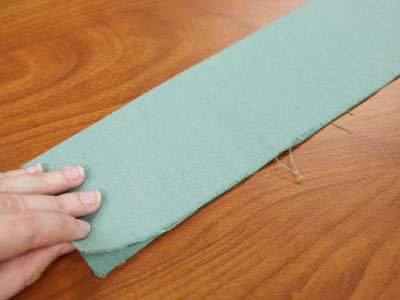
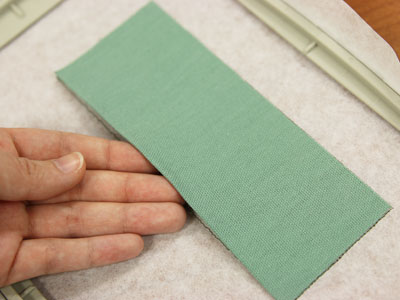
Fold the fabric in half, wrong sides together.
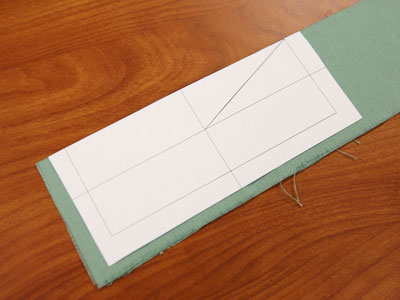
Place the dieline cutout for the front on the fabric, aligning a long side of the dieline with the folded edge.
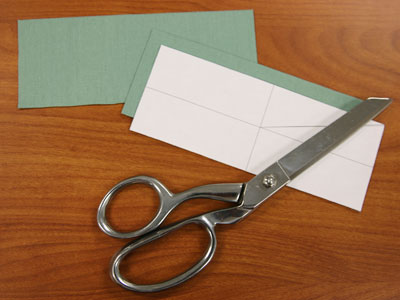
Cut out the shape. This is for the right side of the tissue holder.
Repeat to make a piece for the left side of the tissue holder.
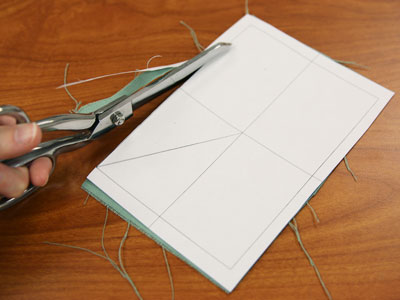
Place the printed dieline for the back piece on top of a piece of fabric, and cut out the shape.
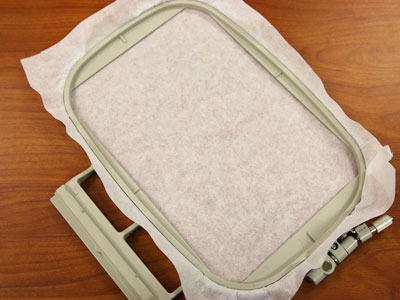
Now that the fabric pieces are cut to the proper shape and size, it's time to embroider the design.
Hoop a piece of tear-away stabilizer.
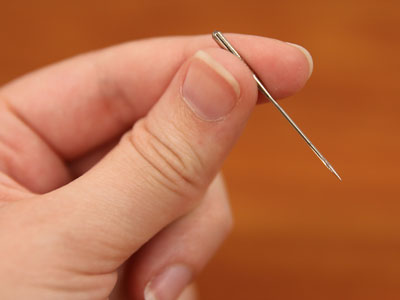
Use a size 11 sharp sewing needle in the machine rather than an embroidery needle.
A sharp sewing needle is the best choice when embroidering in-the-hoop designs.
Load the full embroidery file (not a dieline file) to your embroidery machine.
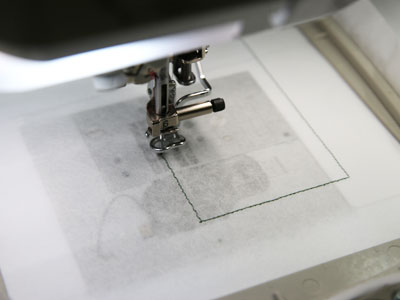
Attach the hoop, and begin embroidering the design.
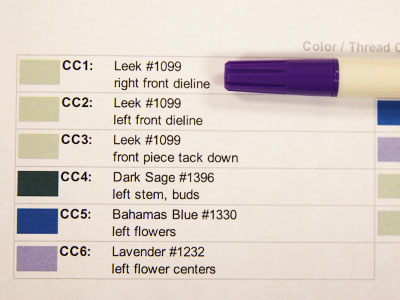
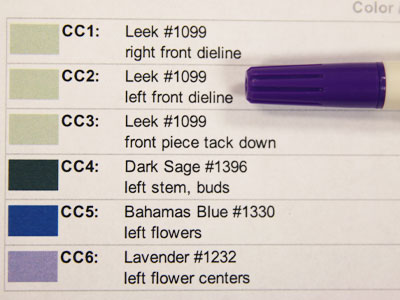
Reference the color change sheet for the design as you stitch. That sheet tells you what is stitched in each step.
CC1 is the dieline (or outline) fthat traces the shape for the front right fabric piece.
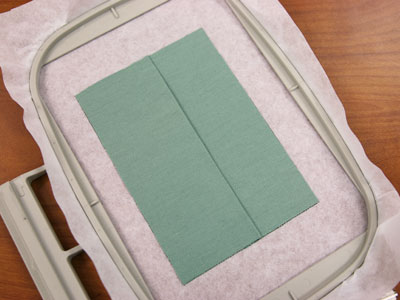
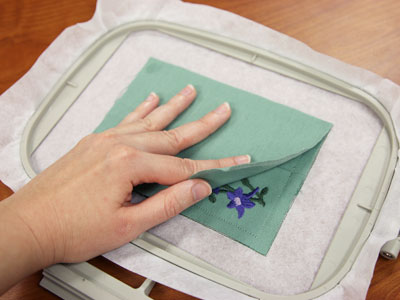
Take the folded fabric piece and spray it along the edges of the backside of the fabric with a bit of temporary adhesive.
Place that fabric on the stabilizer, right inside the dieline.
Place the fabric so the folded edge is facing in, and the open edge is facing out.
Continue embroidering the design. The next step, CC2, stitches the dieline (outline) for the left fabric piece.
Spray the second folded fabric piece with temporary adhesive.
Place that in the stitched dieline, with the folded edge facing in, and the open edge facing out.
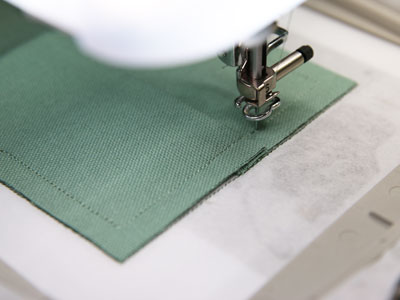
Continue embroidering the design. The next step is a tack down stitch that binds the fabric pieces to the stabilizer.
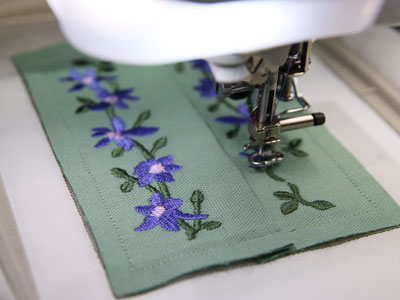
Other elements of the design will sew, such as flowers and stems.
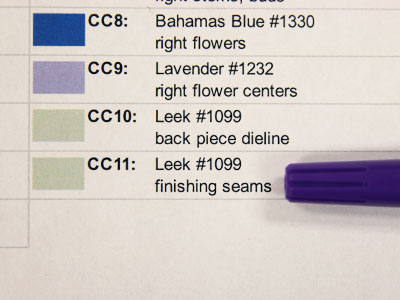
On the color change sheet, look for the note that says "finishing seam."
When you get to this step, stop before stitching it.
Spray the corners of the right side of the back piece with temporary adhesive.
Place that fabric on top of the embroidered front pieces.
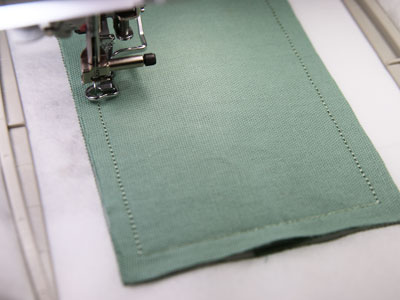
Continue embroidering the design with the finishing seam.
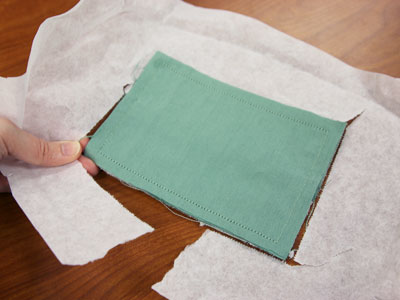
After the design has finished, unhoop the stabilizer and gently tear it away.
Remove the stabilizer from the back of the embroidered area, too.
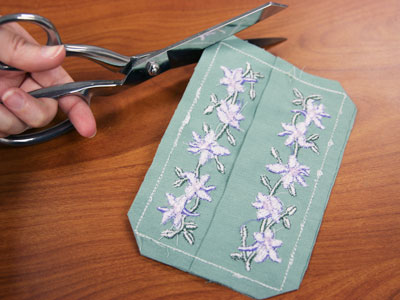
Trim the corners, being careful not to cut through the seams.
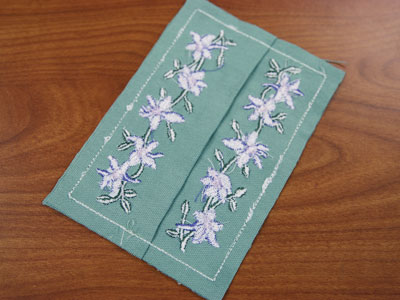
Turn the tissue holder right side out.
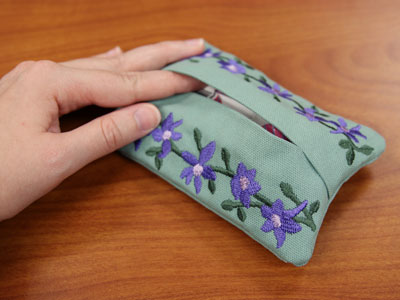
Insert a pack of tissues.
Next time you feel a cold coming on, stop up on chicken noodle soup, vitamin C, and some tissues held in this pretty holder!
This project is featured on the Embroidery Library Pinterest page.
Pin it yourself using the "Pin It" button on this page.


