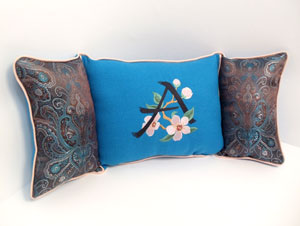
Give yourself three times the comfort and lots of style with this fun and fashionable pillow. Three soft panels provide cozy support for your lower back. When not in use, it's a lovely and elegant accent to any couch or chair.
We used beautiful brocade fabric and the letter "A" from the Brushstroke & Blossoms Alphabet to decorate this pretty pillow.
Read below for these free project instructions.
Supplies
Supplies Needed:
**1/2 yard fabric (for center panel and back - we used a loose woven polyester fabric)
**1/4 yard brocade fabric (for side panels)
**Medium-weight cutaway stabilizer
**Temporary spray adhesive
**2 1/2 yards bias tape maxi piping
**Polyester fiberfill
**Needle and thread for some hand sewing
Designs used:
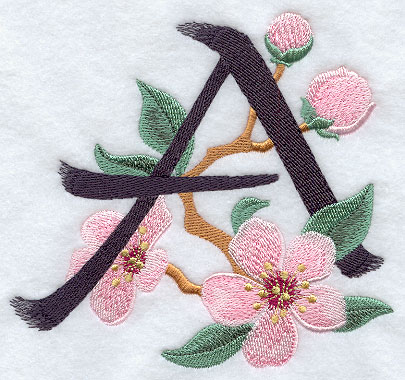
Brushstroke Letter A (5 Inch)
This design is also available in a design pack:
A Brushstroke & Blossoms Alphabet Design Pack (5 inch Height)
Embroidery Library has dozens of fantastic alphabet designs that would look marvelous on your pillow. A couple of stunning alphabets you might want to consider include the Jacobean Alphabet, the Heirloom Floral Alphabet and the Ornate Alphabet. To view the wide variety of alphabet designs available, click here.
Finished Size:
22 1/2 inches wide by 9 inches high
Designs Used
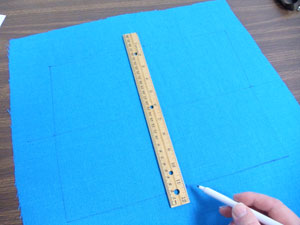
To begin, we will prepare the fabric for the center panel of the front of the pillow. Draw a 13 inch wide by 10 inch high rectangle on the fabric (we used loose woven polyester). Leave a few inches of excess fabric around the shape. Mark the center of each side of the shape by measuring and dividing by two. Draw lines to connect the marks - where the lines meet is the exact center.
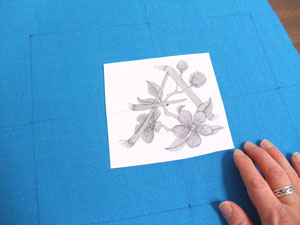
Create a paper template of the design by printing it at full size using embroidery software. If you don't have embroidery software, you can cut a piece of paper the shape and dimensions of the design to help with placement and centering. If you'd like a recommendation for an embroidery program that can make templates, consider Embird from www.Embird.com.
Poke a hole in the center of the template and align it with the center point on the fabric. Make sure the design fits well within the shape - there should be at least one inch of space between the outer edges of the design and the edges of the shape.
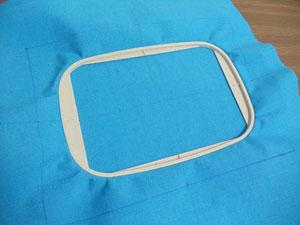
Spray a piece of medium-weight cutaway stabilizer with temporary adhesive and smooth the fabric on top. Hoop the fabric and stabilizer together by aligning the marks on the hoop with the lines on the fabric. Attach the hoop to the machine and load the design. Move the hoop so that the needle is directly over the center point on the fabric and embroider the design.
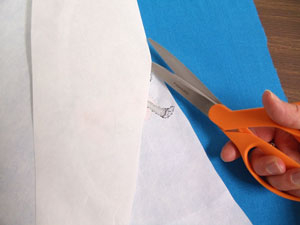
When the design has finished, carefully trim away the excess stabilizer on the back of the embroidery.
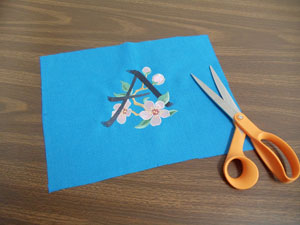
Cut out the shape.
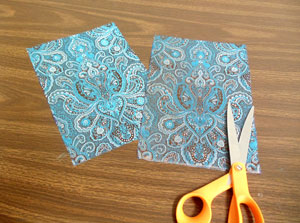
To prepare the fabric for the side panels, cut two pieces of the brocade fabric 7 inches wide by 10 inches high.

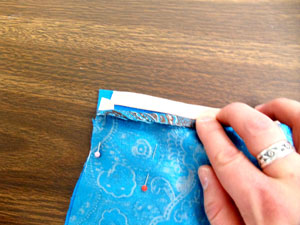
Lay the embroidered center panel flat with the right side facing up. Align the side pieces on top of the center panel, right sides facing, with the side edges aligned. Cut two 10 1/2 inch lengths of piping and tuck them in between the layers of fabric with the flat edge of the piping facing to the outside. Pin in place and sew a 1/4 inch seam along the pinned edges only.
Press the back seams open with an iron. Be sure to use a pressing cloth to avoid melting the brocade fabric.
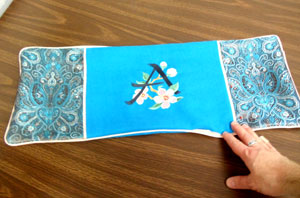
Prepare the fabric for the back by laying the assembled panels on top of the fabric with right sides facing. Pin in place, and cut out the shape.
Then, add the remaining piping around the entire outer edge of the fabric by tucking it in between the layers of fabric as you did earlier. Cut a slit in the flat edge of the piping at each corner so it will bend properly. Pin in place.
Sew a 1/4 inch seam along the outer edge of the fabric leaving a 3 inch opening at the bottom of each panel (for turning and stuffing later on). Then, turn the pillow right side out through one of the three openings and pin the layers of fabric together along each of the inner seams. Sew a seam along the edge of the piping on the center panel side along each inner seam - doing this creates the three separate pillow sections.
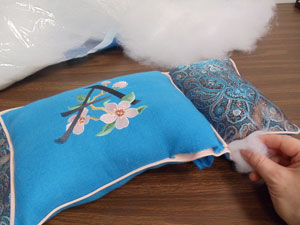
Stuff each section of the pillow with polyester fiberfill until firm.
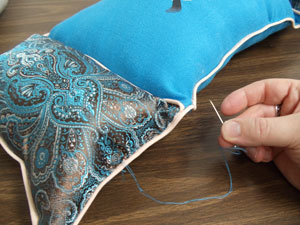
Fold the fabric of each opening in 1/4 inch, align the folds with the edge of the piping just under the cord, and hand sew the openings closed.
Your pillow is now complete!


