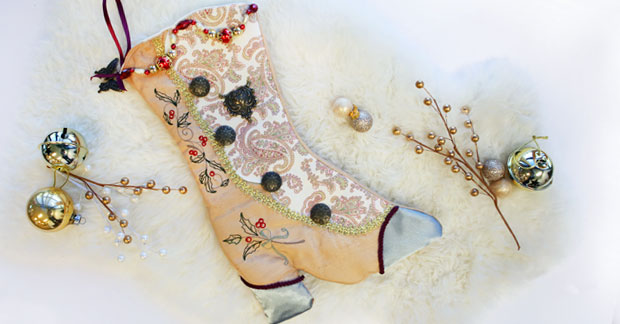
Pair fashion with history for an exquisite result -- this elegant stocking! Gold cord and brass buttons form the 19th century boot, and a string of miniature ornaments adds a festive touch to the top.
Supplies
Project Needs & Notes
- 1/2 yard polyester shantung
- 1/2 yard quilted cotton
- 1/4 yard print lightweight canvas
- Small pieces of crepe-backed satin for heel and toe
- Small pieces of medium-weight fusible interfacing
- Medium-weight (2.5 ounce) cutaway stabilizer
- Temporary spray adhesive (like Gunold KK100)
- Air-erase pen for marking
- 20" x 20" piece of cotton batting
- Fabric glue
- Ribbon
- Scotch tape
- 1/2 yard decorative trim
- 1/4 yard decorative cord
- Four medium-sized buttons
- Needle and thread for some hand sewing
- Beaded garland or string of beads (optional)
- Decorative pendants (optional)
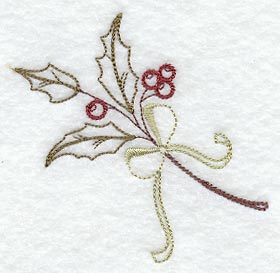
For this tutorial, I used the Boughs of Holly (Vintage) design and the Boughs of Holly Border (Vintage) design. Browse through the Christmas category to find something that matches your preference and decor.
Finished Size:
14" from cuff to heel
9" from heel to toe
6" opening
To get started, print the PDF of the stocking pattern by clicking the link below. The pattern consists of five pieces that print on 8 1/2" by 11" pieces of paper.
Designs Used
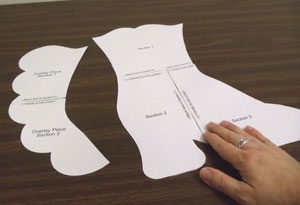
Cut out the pieces and tape them together.
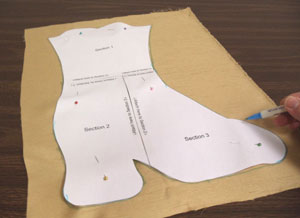
Place the boot-shaped pattern piece on the polyester shantung.
Pin in place, and trace the shape.
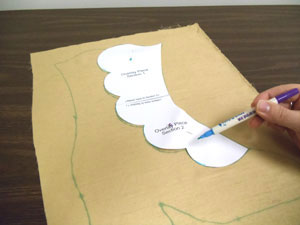
Remove the pattern piece. Add the overlay pattern piece to the fabric, aligning it with the top and right of the drawn boot.
Pin in place. Trace the left and bottom of the shape. The area outside of the overlay shape will be embroidered.
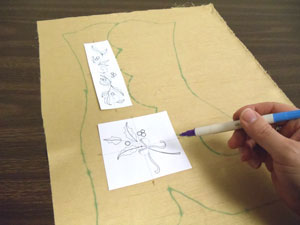
Print the design from embroidery software to make a template. If you don't have software to make templates, use Wilcom's TrueSizer, a free program.
Arrange the templates as you'd like the designs stitched on the boot. Ensure that there is 1" of space between the edges of the designs and the stocking shape, and at least 1/2" from the edges of the design and the overlay shape.
For each template, mark the center points, as well as the vertical and horizontal axis points.
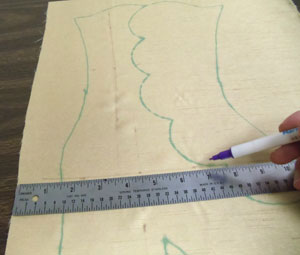
Remove the templates and draw lines connecting the horizontal and vertical axis points. These marks will be used for hooping.
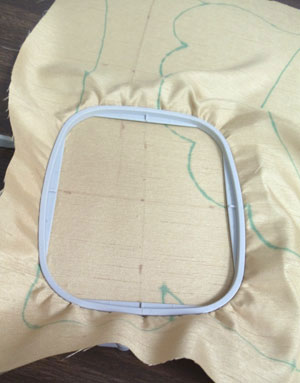
Spray a piece of medium-weight cutaway stabilizer with temporary adhesive and smooth the fabric on top.
Hoop the fabric and stabilizer together, and align the marks on the hoop with the marks on the fabric.
Attach the hoop to the machine and load the first design. Move the hoop so the needle is directly over center point on the fabric.
Embroider the design.
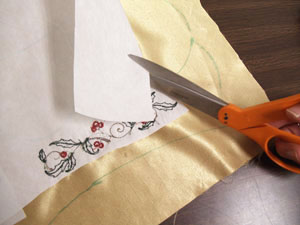
After the design has finished, trim the excess stabilizer away from the back.
Repeat the steps to embroider the second design, and other designs as you prefer for your stocking.
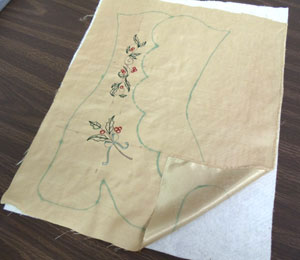
Cut a piece of cotton batting the same size as the embroidered fabric. Spray the batting with adhesive and smooth the fabric on top.
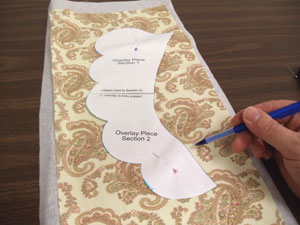
Cut a piece of print lightweight canvas a little larger than the overlay pattern.
Add interfacing to the backside of the fabric; this helps to prevent the fabric from fraying. Iron the interfacing on according to the package instructions.
Pin the overlay pattern on the fabric, trace and cut out the shape.
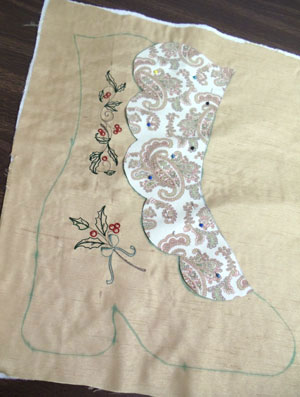
Add the overlay piece on the embroidered fabric, aligning it with the shape on the fabric.
Pin in place and zigzag stitch around the entire outer edge of the shape.
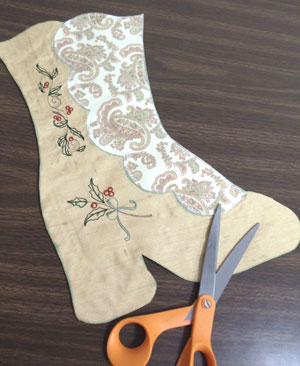
Cut out the shape of the main stocking.
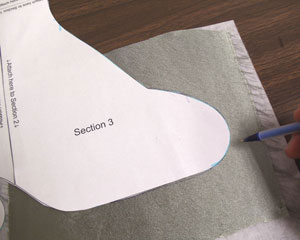
When preparing the crepe-back satin for the toe section, back the fabric with interfacing.
Then, place the main stocking pattern on the fabric satin and interfacing. Trace the shape of the toe starting at the top notch, and ending 3" along the bottom edge.
Remove the pattern and draw a curved line between the ends of the traced line. The line should curve slightly outward from the shape.
Cut out the satin and interfacing piece.
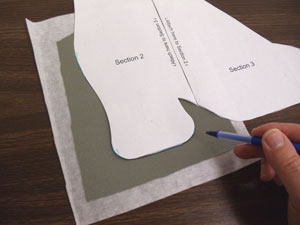
Use the same process for the heel.
Add interfacing to the crepe-back satin. Place the pattern on top; trace the shape starting at the top of the inner heel, ending 3 1/2" along the left side.
Remove the pattern and draw a curved line between the ends of the traced line. The line should curve slightly inward to the shape. Cut out the heel shape.
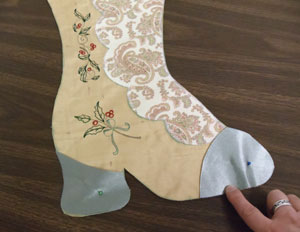
Align the fabric pieces on top of the main stocking fabric.
Pin in place and zigzag stitch around the outer edges of each piece.
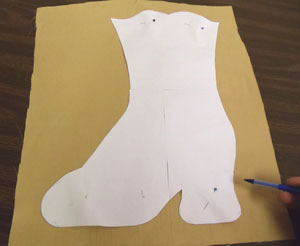
To prepare the back stocking fabric, lay the main pattern piece face down on the fabric.
Pin in place, trace, and cut out the shape.
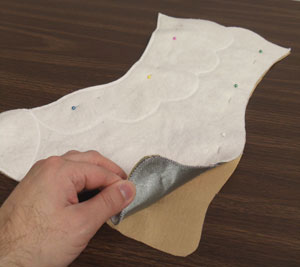
Align the front and back pieces together, right sides together. Pin in place.
Sew a 1/2" seam along the side and bottom edges of the stocking. Leave the top edge open for turning.
Clip the seam allowance at the "v" in the heel and at the curved edges, being careful to not cut the seam.
Turn the fabric right side out. This is the completed outer shell.
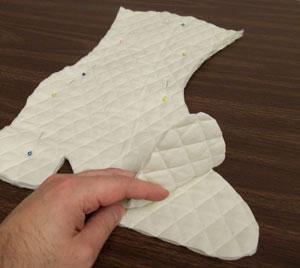
To prepare the inner lining fabric, use the pattern and cut two pieces of quilted cotton.
Align them together, right sides together. Pin in place and sew a 1/2" seam along the side and bottom edges. Leave the top edge open.
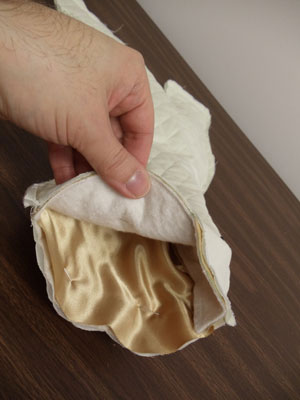
With the inner lining left wrong side out, insert the outer shell inside the inner lining. Align the top edges, and pin in place.
Sew a 1/2" seam along the top edge, leaving about 2" open along both the front and back edges at the back corner.
Pull the outer shell out from the inner lining and insert the inner lining into the outer shell.
Press the seams and fold the fabric of the openings in 1/2" and press. Pin the openings and top stitch a 1/4" seam along the entire top edge of the stocking.
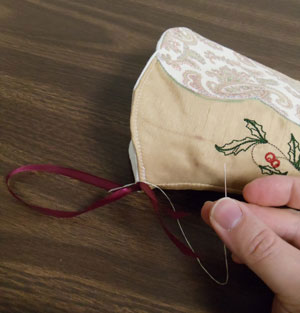
To create the hanger, cut a piece of ribbon 14" long.
Bring the ends of the ribbon together and tie in a knot.
Using a needle and thread, sew the ribbon in place at the back top corner.
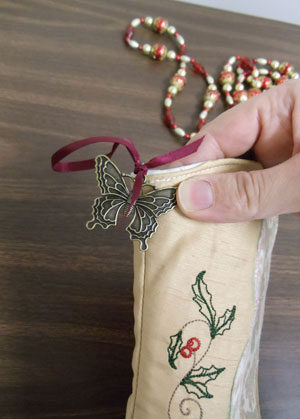
Add other decorations, such as pendants, too. In this example, a butterfly pendant has been added to the ribbon hanger.
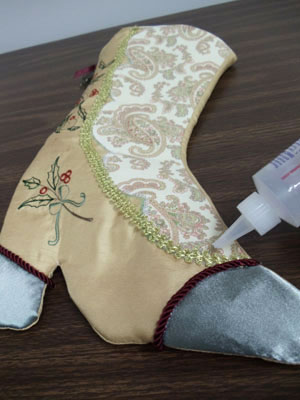
Add decorative trim to your stocking. In this example, gold trim was glued in place with fabric glue.
Decorative trim was also added to the toe and heel areas.
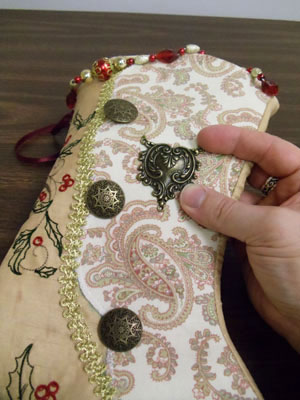
Add any buttons and remaining pendants. Hand sew them in place.
Add beaded garland to the top edge of the stocking. Cut a length of the garland. Secure the ends of the string with glue, then glue in place on the stocking.
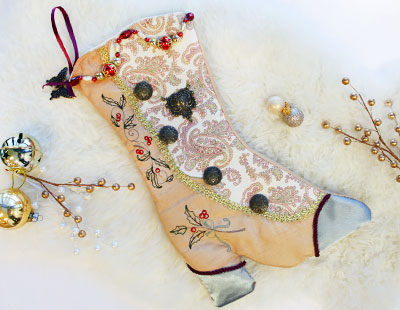
Jane Austen fans will love this stocking! Complete the gift by including a classic like Pride and Prejudice, or A Christmas Carol by Charles Dickens.

