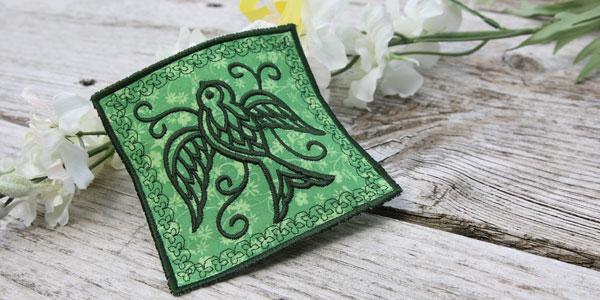
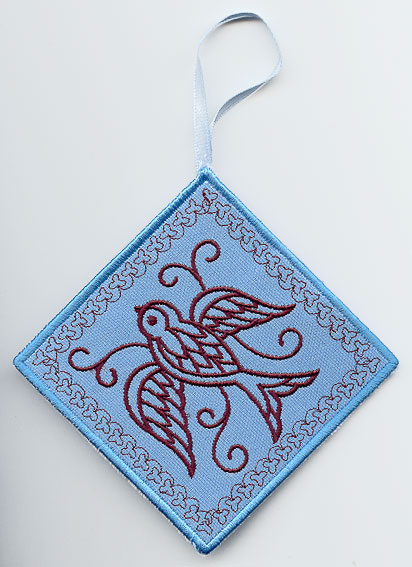
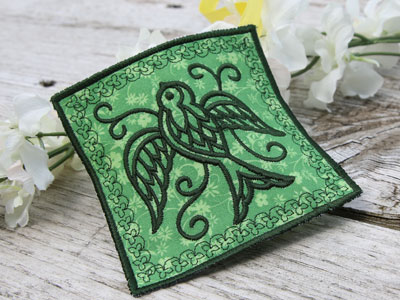
Place this scented sachet in drawers, on pillows, on in your home to add a bit of luxury to everyday life. Embroidered with pretty Victorian motifs and filled with potpourri, the in-the-hoop sachets are perfect for your own home, or as a gift for friends and family.
Supplies
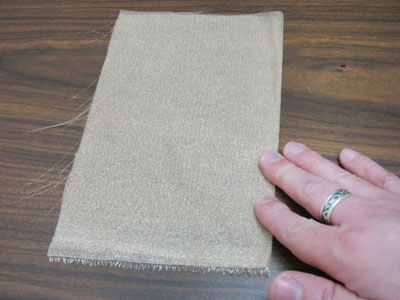
- Small piece of fabric for front
- Small pieces of organza for back
- Medium-weight (2.5 ounce) cutaway stabilizer
- Tear-away stabilizer
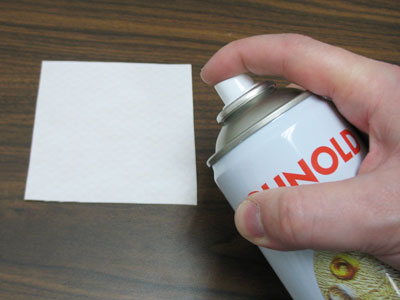
- Temporary spray adhesive (Gunold's KK100)
- Masking tape
- 7" length of 1/4" wide ribbon
- 8" x 8" tulle (or other mesh fabric) for potpourri bag
- Potpourri
Designs Used
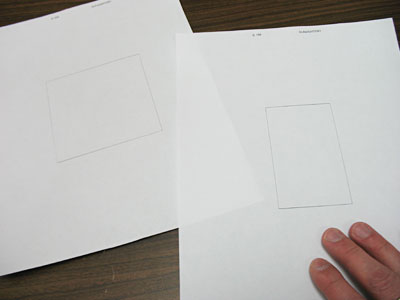
In-the-hoop sachet designs have one full embroidery file and two dielines. One dieline is for the front, and one is for the back. Dieline files are marked with the letters DL. They're used to cut the fabric to the proper shape and size.
Open and print each dieline file using embroidery software. If you do not have embroidery software, take a look at our helpful video on using dielines without software. We also recommend Wilcom's Hatch software which comes in different levels depending on what you'd like to use the software for. Hatch Organizer works well to view your designs, print dielines and templates, change design colors, and create basic design layouts. (This is an affiliate link, learn more about affiliate links here)
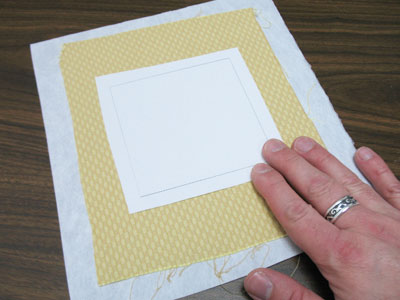
Spray a piece of cutaway stabilizer with temporary adhesive and smooth the fabric for the front on top. Spray the backside of the printed front dieline with temporary adhesive, and smooth that on top of the fabric.

Cut out the shape.

Cut out the back piece template shape (marked as "_DLBack").
Spray the wrong side of the back piece fabric (organza) with temporary adhesive. Fold it in half, and smooth it flat.

Spray the backside of the back piece template with a small amount of temporary adhesive. Align one of the long edges with the fold on the fabric. Cut out the shape. Reposition the template and cut another shape for a total of two back pieces.
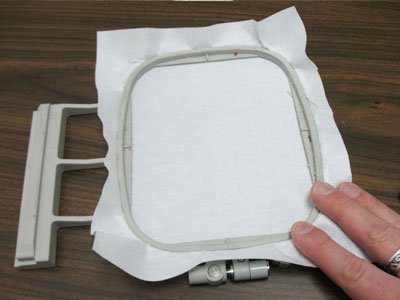
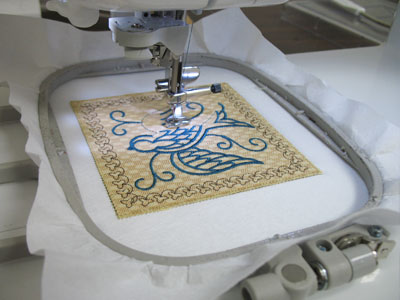
Now that the fabric pieces are cut to the right shape and size, it's time to embroider the sachet. Hoop a piece of tear-away stabilizer. Use a size 11 or 75/11 sharp sewing needle. A sewing needle has a smaller, finer point than an embroidery needle, and works best with in-the-hoop projects.

Attach the hoop to the machine and load the full embroidery design. Embroider the design. The first thing to embroider is an outline that traces the shape for the front fabric piece.
After the outline has sewn, stop the machine. Spray the backside of the front fabric piece with adhesive.
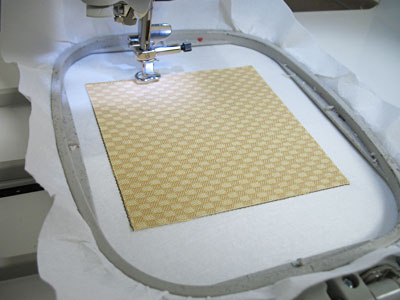
Lay the fabric piece directly inside the dieline shape. Continue embroidering the design, following the color change sheet as you stitch. A tack down stitch will sew next. The tack down binds the fabric piece to the stabilizer for the remainder of the design.
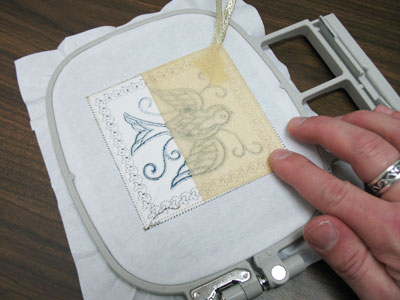
Next, all of the inside elements will sew. When you get to the step on the color change sheet that says "back piece tack down" stop the machine and remove the hoop from the machine. Do not remove the stabilizer from the hoop.

Flip the hoop over to the backside of the embroidery. Cut a strip of ribbon to 7" long. Bring the ends together to form a loop Tape the ends in place at the upper right hand corner of the design, on the backside of the embroidery.
Spray the corners of one of the back fabric pieces and align it with the shape on the backside of the embroidery, folded edge facing in.
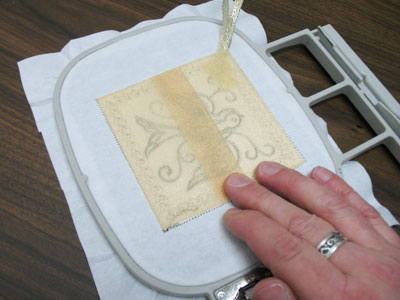
Spray the corners of the remaining back fabric piece with adhesive, and align it with the opposite side of the backside of the embroidery, folded edge facing in.
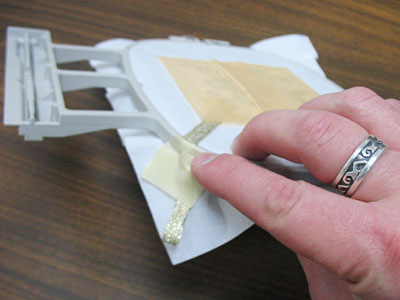
Use a small piece of masking tape to secure the ribbon loop to the outside edge of the hoop so that it will not be sewn over in the remaining steps.
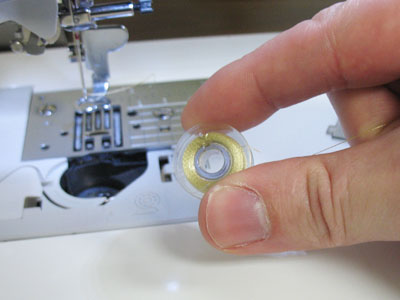
For the remaining steps, the thread will show on both sides. Wind a bobbin with the same thread that you're using in the top.
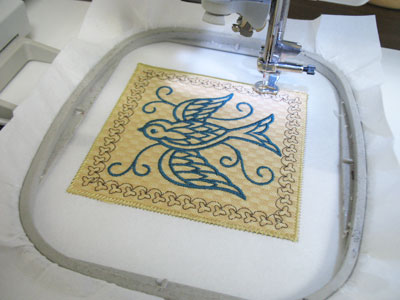
Attach the hoop to the machine and continue embroidering the design. A tack down stitch will sew next, and then a satin border, which finishes the sachet.
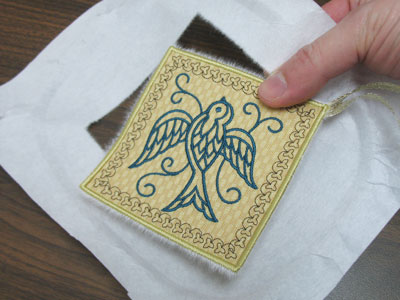
After the tack down stitches and finishing seam have embroidered, unhoop the stabilizer. Remove the tape, and gently tear away the excess stabilizer.
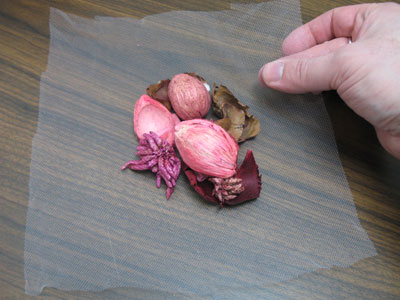
The next step is to add the potpourri. Cut an 8" x 8" piece of mesh fabric (organza or tulle). Add the potpourri to the center of the fabric square.
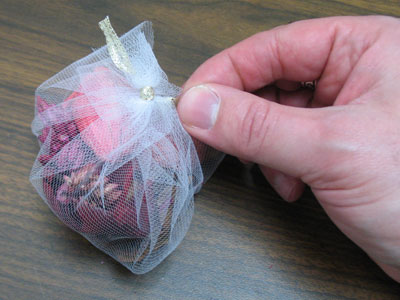
Bring the corners of the fabric together and tie it in place with a piece of ribbon. Insert the potpourri inside the sachet by tucking it in between the back fabric layers.
These elegant sachets are a delightful addition to any bedroom. The potpourri adds a sweet scent to drawers and bed linens.


