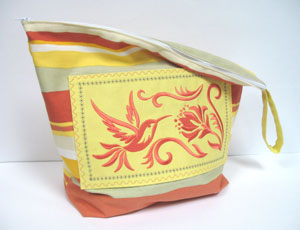
After a fun day at the beach or pool, slip your wet swimsuit into this waterproof Swim & Stow beach bag!
This stylish bag features a waterproof nylon lining, a wrist strap for easy transport, and an inner zipper pocket perfect for sun tan lotion, sunglasses, and other small items!
Read below for these sand-sational project instructions.
Supplies
Supplies Needed:
**1/2 yard solid colored canvas (for front panel)
**1/2 yard print canvas (for outer shell)
**1/2 yard ripstop nylon (for inner lining and pocket)
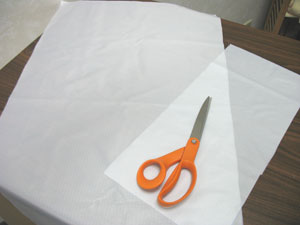
**Medium weight cutaway stabilizer
**Temporary spray adhesive
**Air-erase pen (or other marking tool)
**16 inch all purpose zipper
**7 inch all purpose zipper
**Extra-wide double fold bias tape
Designs used:
Simply Hummingbirds Border (large)
This design are also available in the following design packs:
A Simply Hummingbirds Design Pack - Lg
A Simply Hummingbirds Design Pack - Sm
Designs Used

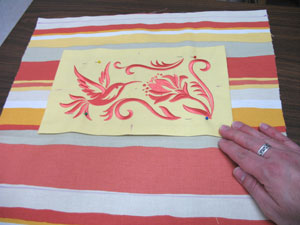
First we will prepare the fabric for the front panel. Cut a piece of solid colored canvas a couple of inches larger than your hoop.
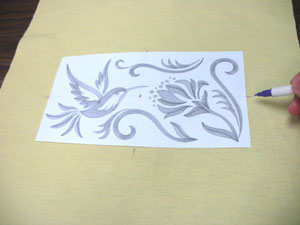
Create a paper template of the design by printing it at full size using embroidery software. If you don't have embroidery software, you can cut a piece of paper the shape and dimensions of the design to help with placement and centering.
Lay the template in the center of the fabric and using an air-erase pen (or other marking tool) poke a hole in the center and mark the fabric. Also, mark the horizontal and vertical axis points.
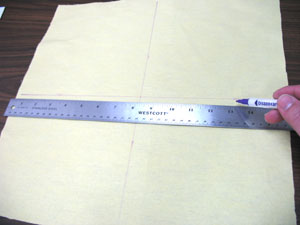
Remove the template and draw lines to connect the axis points.
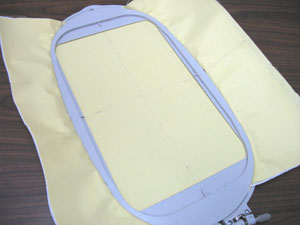
Spray a piece of cutaway stabilizer with temporary adhesive and smooth the fabric on top. Hoop the fabric and stabilizer together by aligning the marks on the hoop with the lines on the fabric. Attach the hoop to the machine and load the design. Move the hoop so that the needle is directly over the center point on the fabric. Embroider the design.
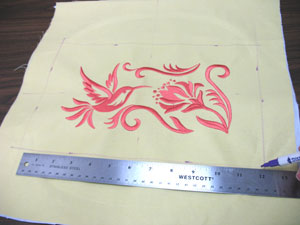
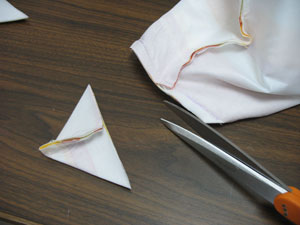
When the design has finished, lay the fabric flat and draw marks 1 1/2 inches out from each side of the design. Then, draw lines to connect the marks.
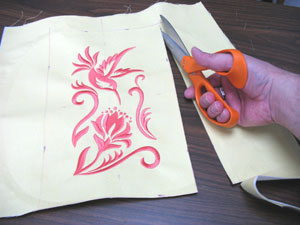
Cut out the shape and leave the stabilizer on the back of the fabric.
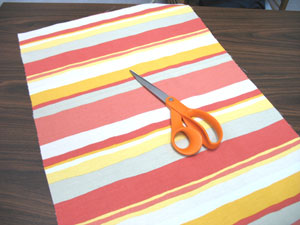
To prepare the fabric for the outer shell of the bag, cut a piece of the print canvas 17 inches wide by 32 inches high.
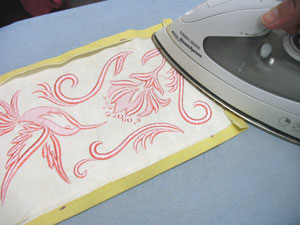
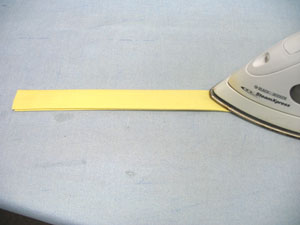
Fold the long edges of the embroidered front panel over to the wrong side 1/2 inch and press with an iron. Then, fold the short ends over and press.

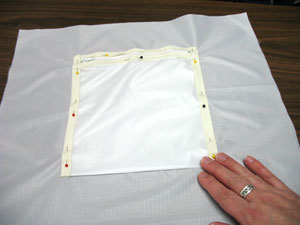
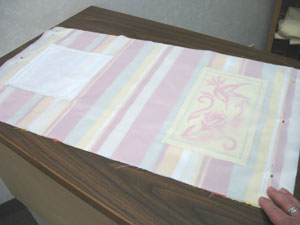
Now we will mark the outer shell fabric so we can perfectly place the front panel. Measure and mark 1/2 inch down from each top corner along the side edges. Then, measure and mark 13 inches down from the first mark along the side edges. Draw horizontal lines across the fabric connecting the marks.
Place the embroidered front panel, right side up, in between the lines on the fabric. Center the front panel in between the top and bottom line and each side by measuring and dividing by two. Pin in place.
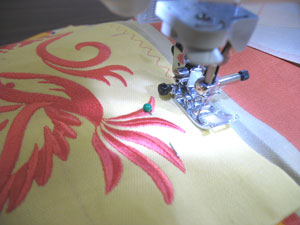
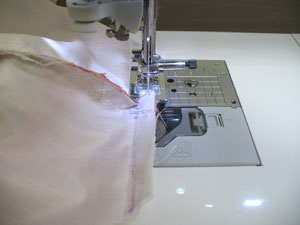
Sew a 1/4 inch seam around the entire outer edge of the front panel (we used a decorative stitch). Then, sew another seam 3/4 inches around the entire outer edge of the panel using another decorative stitch.
To prepare the fabric for the inner lining, cut a piece of ripstop nylon 17 inches wide by 32 inches high. For the inner pocket, cut a piece of nylon 7 inches wide by 17 inches high.
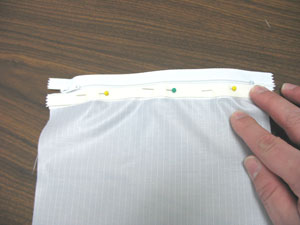
To begin constructing the pocket, cut a piece of bias tape to the width of one of the short ends of the pocket fabric. Then, wrap the tape around one of the short ends of the fabric and align it with the bottom edge of the 7 inch zipper. Pin in place and using a zipper foot sew a seam along the outer edge of the bias tape.
Cut another piece of bias tape to the width of the top edge of the zipper. Wrap the tape around the top edge of the zipper. Fold the opposite short end of the pocket fabric back and align it with the top edge of the zipper. Pin in place.
Cut two pieces of bias tape to the height of the pocket leaving about 1/2 inch excess on each end. Fold the ends of the tape in 1/2 inch and wrap the tape around the sides of the pocket (cover the ends of the zipper as well). Then, lay the pocket on one end of the lining fabric so that the top edge of the pocket is about 3 inches from the top edge of the fabric. Center the pocket side to side and pin in place.
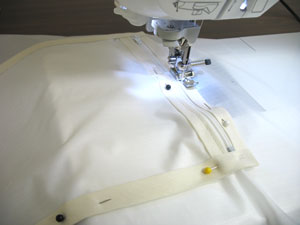
Sew a seam along the inner edge of the tape on the side and top edges only.
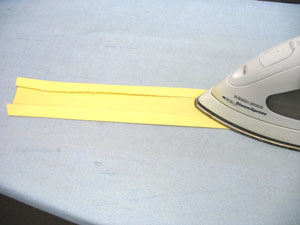
To make the wrist strap, cut a piece of canvas 14 inches wide by 3 inches high. Fold the long edges in 1/2 inch and press.
Bring the folded edges together and press again. Sew a 1/4 inch seam along each of the long edges.
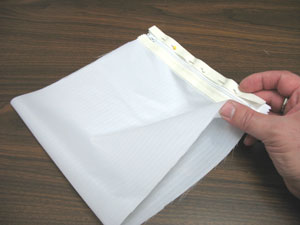
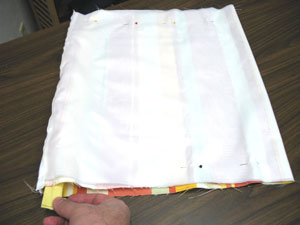
Now it is time to assemble the bag! Lay the outer shell flat with the right side (embroidered side) facing up. Align the inner lining on top with the right sides together (pocket side facing down). Place the pocket side of the lining on the opposite side from the embroidered front panel. Pin in place along the short ends and sew a 1/2 inch seam along the short ends only.

Turn the bag right side out and press the seams on the canvas side only (the iron should not touch the nylon or it could melt). Now we will add the 16 inch zipper to the top of the bag. With the zipper unzipped and facing up, align one short end of the bag with zipper. Pin and sew a seam along the inside edge of the short end of the bag. Then, fold the bag together, inner lining sides together, and attach the other short end to the opposite side of the zipper just as you did the first.
Fold the bag together, outer shell sides facing, with the zipper open. Fold the strap into a loop and insert it inside the bag just under the zipper on the top edge and parallel with the zipper with about 1/2 inch of the raw ends extending out past the edges of the bag. Pin in place and sew a 1/2 inch seam along each side only.
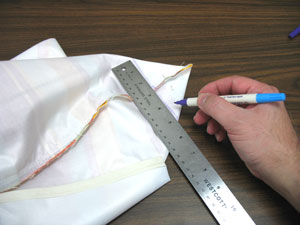
To square off the bottom of the bag, bring the side seams down to meet the bottom of the bag. Measure 5 inches across the side seam and draw a perpendicular line across the side seams.
Sew a seam across each line. Then, trim away the excess at each point leaving a 1/2 inch allowance at the seams.
If you wish, you can serge or sew a zigzag stitch along the inner seam allowances to prevent the fabric from fraying.
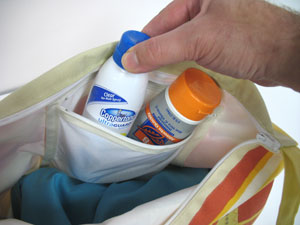
Turn the bag right side out, fill it up with beach goodies, and away you go!


