
Whether your wine selection calls for chilled or room temperature, you can take it along in style. This insulated wine carrier will keep your vino just right as you walk down to your favorite spot by the river or over to a friend's house. Two bottles will fit in its tall pockets. Or, put a bottle on one side and two wine glasses on the other, and it's perfect for a romantic picnic of wine and cheese.
Supplies
Supplies needed:
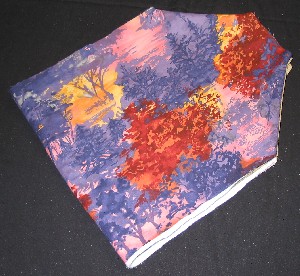
3/8 yard each of outer and lining fabrics
13" by 34" piece of batting
2 - 3-inch tassels
Set of purse handles of your choice.
15"to 18" of Double-fold bias tape
Bottle of wine and two glasses
Embroidery designs from Embroidery Library:
Wine Glass coaster- stemware. Click for coaster instructions.
Designs Used

Instructions:
Fold the fabric so that the right sides are out and the selvages meet. The fold of the fabric will be the bottom of the carrier. From the fold, mark 2 rectangles that are 6 1/2" wide and 17" tall, centered together in the 3/8 yard.
Note: The diameter of my bottle was 10". If your bottle is bigger, you will want to adjust the width of the rectangles accordingly.
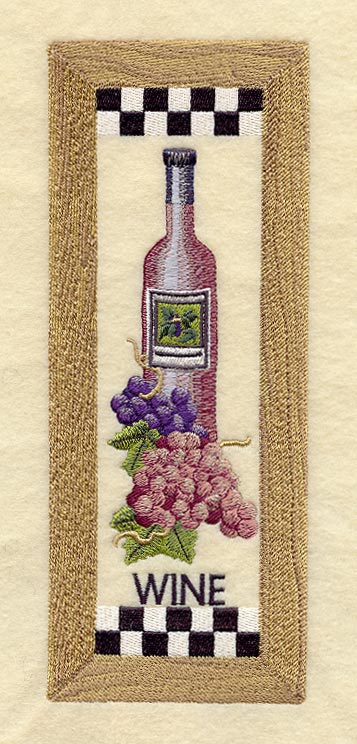
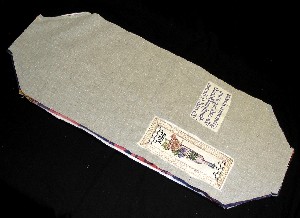
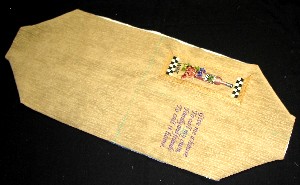
Embroider the wine panel and your choice of a verse in the center of each marked rectangle, 7" up from the marked fold.
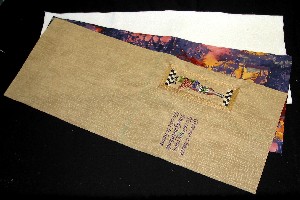
After you have finished embroidering, refold the fabric, and cut out both layers along the three outer marked lines that will be your carrier. Do not cut the fold at the bottom because this is the bottom of your carrier. You should now have a rectangle that is 34" by 13".
Next, from the lining fabric and the batting, cut out 34" by 13" rectangles to match.

Fold the outer rectangle in half again, and on each side, measure up 13" and make a small mark in the seam allowance. Take the inner measurement of the purse handle, and add 1" for a seam allowance. (Our combined measurement was 6".) On the top edge, mark the combined measurement in the center of the top edge. Use a straight edge to connect the marks on the top edge to the ones on the sides. Trim away the material along the connecting lines.
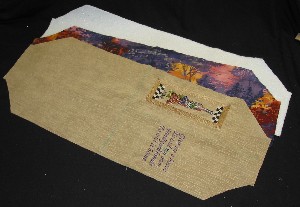
Mark the lining and batting, and trim away the same amount of material as you did on the outer fabric piece.
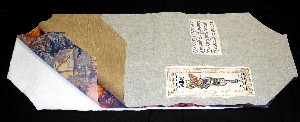
Lay the fabrics out with the batting on the bottom, then the lining fabric with the right side up, and then the outer fabric with the right side down.
Using a 1/2" seam allowance, sew 4 short seams along the diagonal sides at each corner.
Turn the unit right side out. The outer fabric with the embroidery should show on one side and the lining fabric on the other.
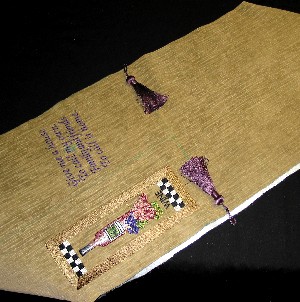
Lay the unit out with the outer fabric up. Place the tassels at the bottom fold line with the hanging strings toward the outer edge. The strings will be caught as you stitch the side seams.
Fold the unit in half with the lining fabric to the outside. Stitch each side seam, making sure to catch the tassel strings in the seams.
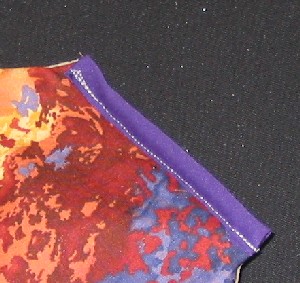
At the top edges, use the double-fold bias tape to encase the raw edges.
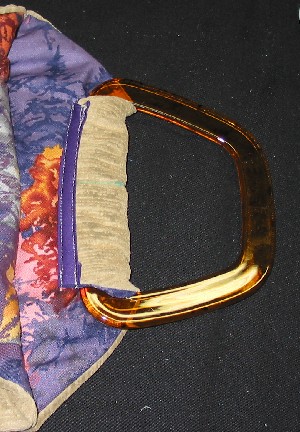
Bring each of the top edges through a handle and stitch the edges down to the body of the carrier.
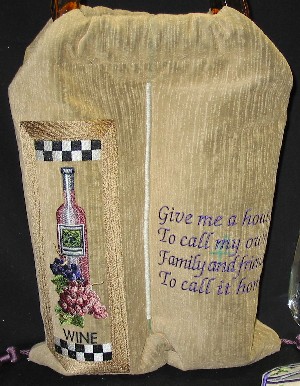
Satin stitch a divider down the center of the carrier. Start 3" from the bottom, and stop 3" from the handles at the top.
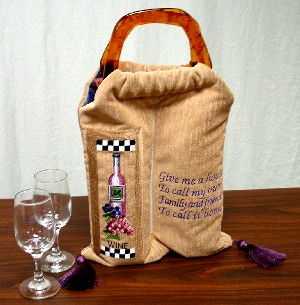
Place the bottle in one side and stack the glasses on the other side. The coasters on the bottom of each glass will keep them apart so that they don't chip each other.


