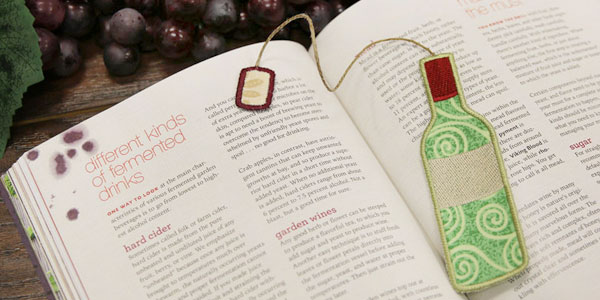
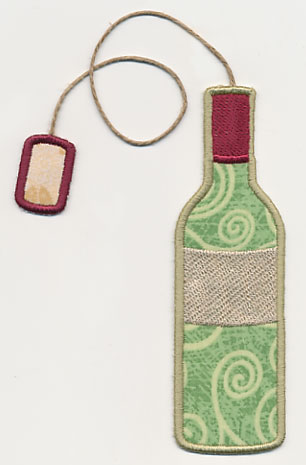
Mark where you've left off in your favorite book with an in-the-hoop bookmark! Made in the shape of a bottle with the cork popping off, it's the perfect gift for wine (and book!) lovers alike.
Supplies
- 1/8 yard total of small pieces of quilter's cotton
- Tear-away stabilizer
- Medium-weight cutaway stabilizer
- Temporary spray adhesive (Gunold KK100)
- 8" length of string or yarn
- Masking tape
Designs Used
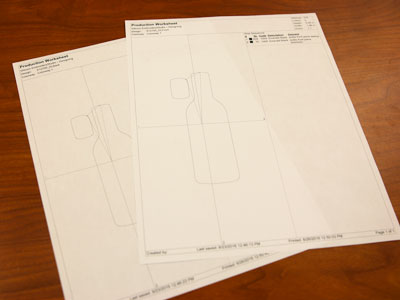
When you download the in-the-hoop wine bottle bookmark design, you will find multiple files. Some are the embroidery files, and the others are dieline files marked with the letters "DL". Dielines are used to cut the fabric to the correct shape and size. Open and print each dieline file using an embroidery software. If you do not have an embroidery software, take a look at our helpful video on using dielines.
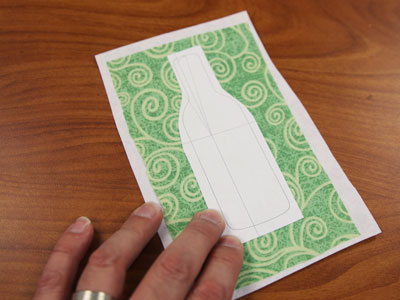
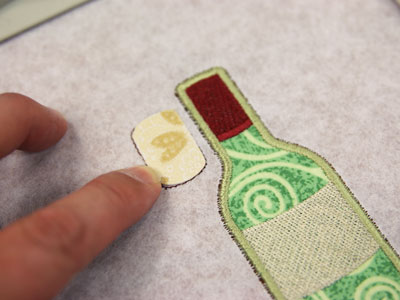
Spray a piece of cutaway stabilizer with temporary adhesive and smooth the quilter's cotton on top. Spray the backside of the front piece dieline with temporary spray adhesive and smooth onto the fabric.
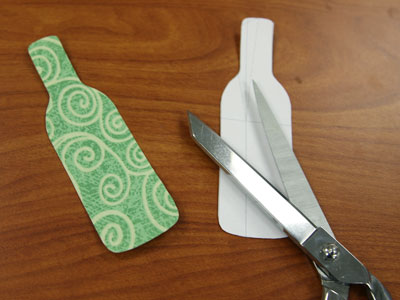
Cut out the shape. Remove the printed dieline.
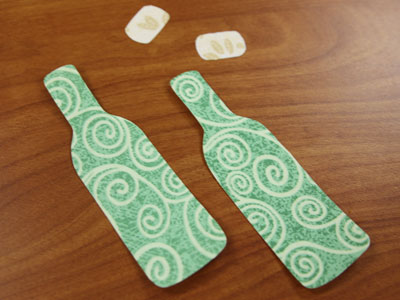
Repeat this process for the back piece, and the cork pieces, too.
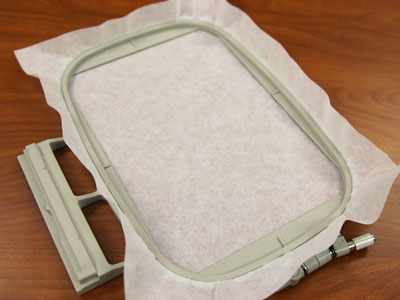
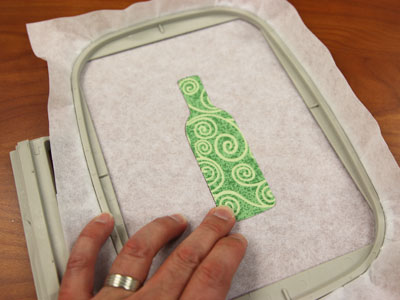
Now that the fabric pieces are cut to the proper shape and size, it's time to embroider the design. Hoop a piece of tear-away stabilizer. Madeira E-Zee Tear 1.5 oz. or Floriani Tearaway Medium are good choices.
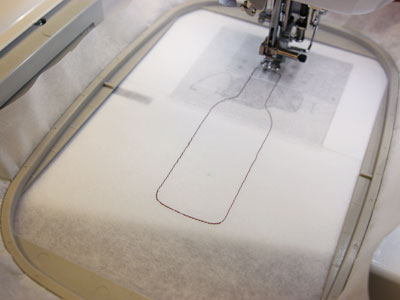
Attach the hoop to the machine and embroider the design. The first thing to embroider will be a dieline, or outline stitch. This marks the area on the stabilizer for the front fabric piece.
Spray the back of the front fabric piece with adhesive. Remove the hoop from the machine, but do not unhoop the stabilizer. Place the fabric right inside the sewn outline.
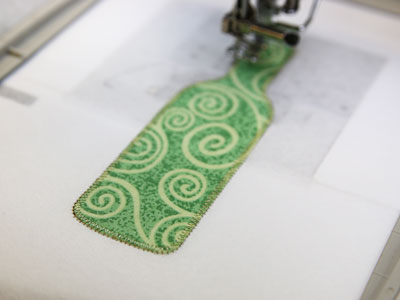
Reattach the hoop onto the machine and continue with the design. A zigzag stitch tack down will sew next. This holds the front fabric in place for the remainder of the design.
All of the inside elements will sew next. On the color change sheet, look for the note that says "bottle back piece tack down." When you get to this section, stop the machine and remove the hoop from the machine. Do not unhoop the stabilizer.
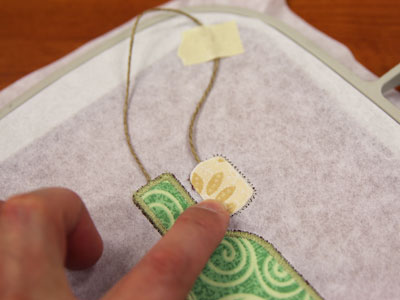
Cut a piece of string to about 8" long. Secure in place with masking tape on the backside of the back fabric piece.
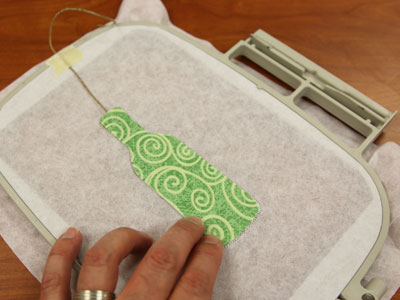
Spray the backside of the back fabric piece with temporary adhesive. Place the back piece inside the shape of the embroidery. Secure the string in place onto the stabilizer with a piece of tape to prevent it from being sewn over later on.
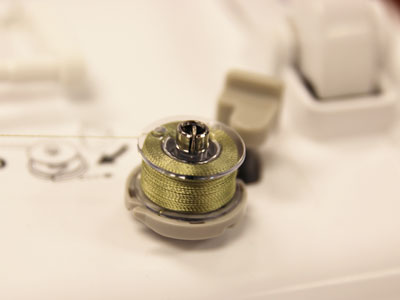
Since both sides of the bookmark will be seen, wind a bobbin with the same thread being used in the needle.
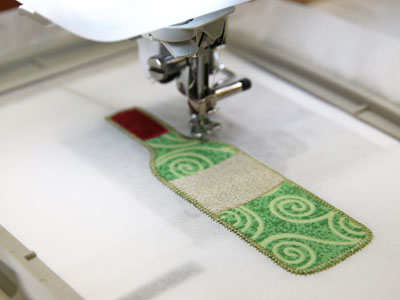
Attach the hoop back onto the machine and continue with the design. A zigzag or tackdown stitch will sew next, followed by a satin stitch border to finish off the bottle.
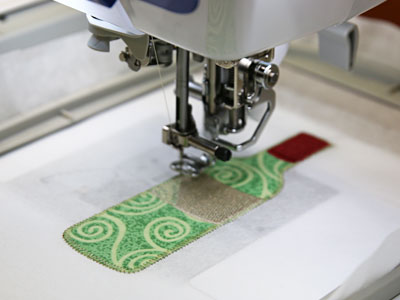
Next, the dieline for the front of the cork will sew.
Add the front fabric right inside the dieline.
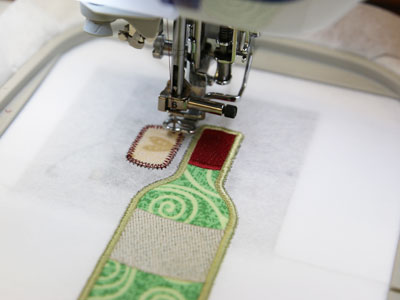
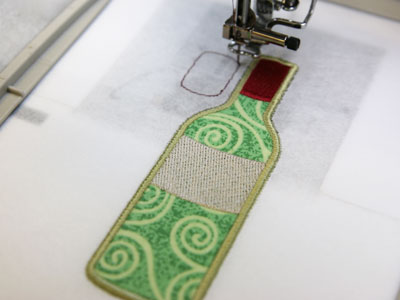
Continue with the design. A zigzag or tackdown stitch will sew next.
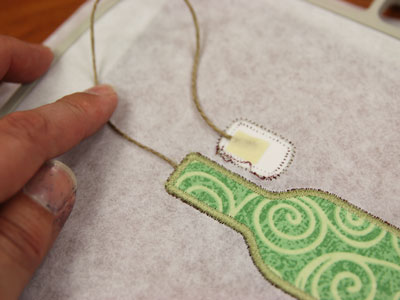
Remove the hoop from the machine. Turn the hoop over and tape the loose end of the string in the center of the cork fabric.
Spray the backside of the back cork fabric with adhesive. Secure the string to the stabilizer as shown. Wind a bobbin with the same thread being used in the needle and continue with the design. A zigzag tack down and satin border will sew.
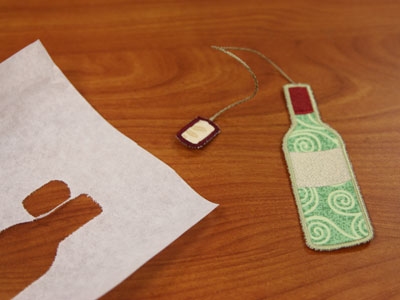
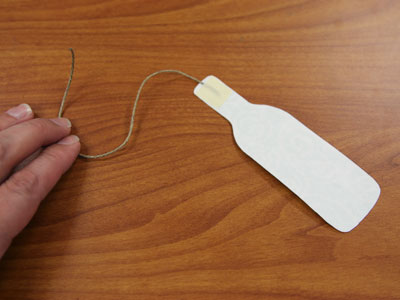
When the design has finished, unhoop the stabilizer and gently tear it away.
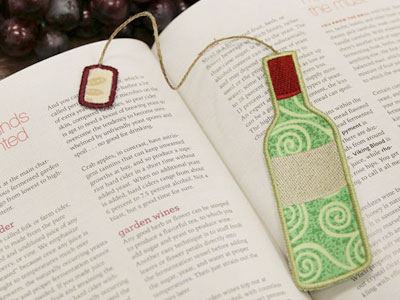
Slip the bottle between the pages of your favorite book, and let the cork hang out to mark your spot.


