The COVID-19 pandemic caused by the novel coronavirus has created a shortage of protective equipment for doctors, nurses, other health care providers, and patients. Many health care centers have issued requests for homemade masks -- and around the globe, sewists are answering the call.
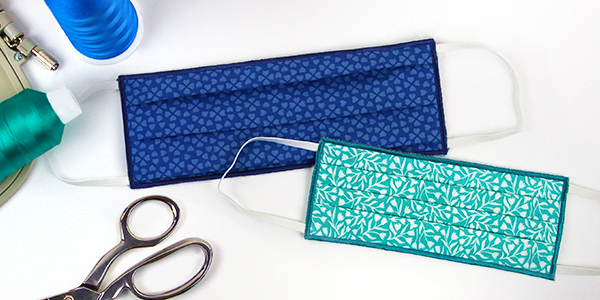
That's why we've partnered with our sister brand Urban Threads to create this FREE new in-the-hoop face mask machine embroidery design. It's created for comfort and durability, and is available in two sizes, for adults (6"x10" hoop) and children (5"x7" hoop). While this mask is not rated for disease prevention, the CDC has posted new guidelines stating that in a crisis, a shortage of standard face masks can be supplemented by other fabric face coverings. You can use materials you likely already have on hand, and follow our instructions to stitch masks completely in the hoop.
To donate masks, contact your local health care system to ask if they are accepting mask donations, and how to deliver or send them. You can also visit WeNeedMasks.org for a list of facilities requesting masks. We invite you to join us in stitching to help address this urgent need for our medical community!
Plus, you can also download the We're All In This Together freebie to decorate hand towels and more, too!
Supplies
Project Needs & Notes:
- 1/2 yard of tightly woven quilters cotton
- 1/4" elastic for ear loops (bias tape for ties may be used instead)
- Scissors
- Pins
- Masking tape or painter's tape
- Tearaway stabilizer or water-soluble stabilizer
Designs featured in this tutorial include:
- X15149 and X15150, Face Mask (In-the-Hoop)
Designs Used
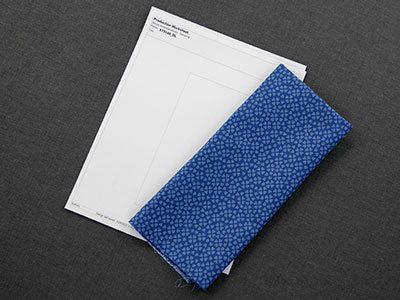
When you download the in-the-hoop face mask design, you will find multiple files. One is an embroidery file, and the other is a dieline file marked with the letters "DL". Dielines are used to cut the fabric to the correct shape and size. Open the dieline file with an embroidery software and print it.
If you do not have embroidery software, Wilcom TrueSizer is a free program to use. Print enough copies of the dieline so you can cut out each shape.
You can also cut a paper template for this mask design without using the dieline files. For the large mask, cut a paper rectangle 10.5"x7.5". For the small mask, cut a paper rectangle 9"x7".
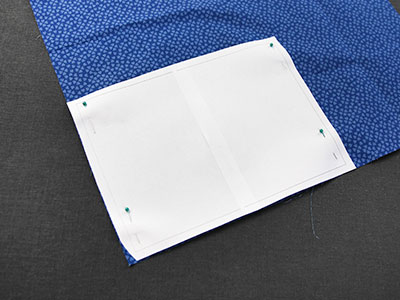
Once the dieline is cut, begin by pinning down the paper dieline to the quilters cotton. Avoid using temporary spray adhesive for this project, to prevent users from breathing any adhesive fumes.
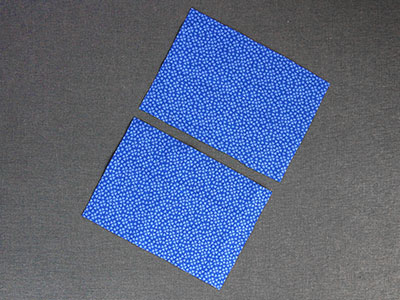
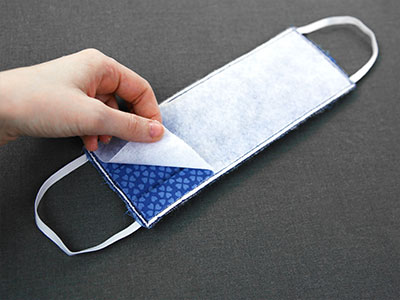
Cut out two fabric pieces using the dieline. One will be the front of the mask and the other will be the back.
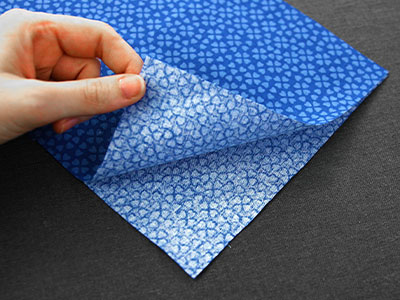
Place the pieces on top of each other with wrong sides together. Match up the edges.
You will be pleating both pieces of fabric together.
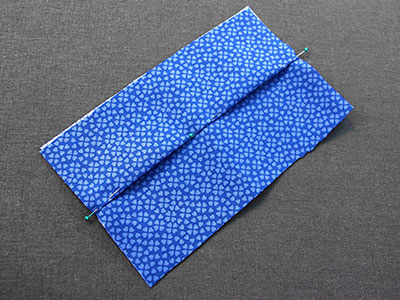
To begin pleating the mask, find the center point and fold over 1/2" to make the first pleat.
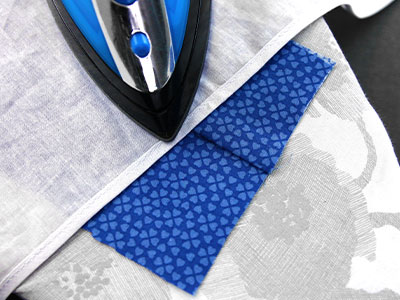
With an iron, press the first pleat well. Then re-pin the pleat on both sides to hold it in place.
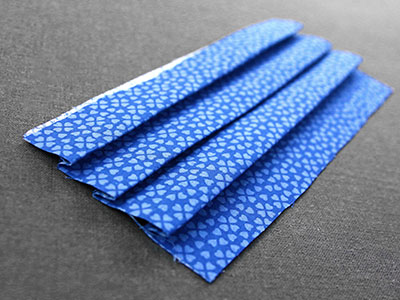
For the large/adult face mask, the pleats should be about 1" apart and 1/2" deep. Repeat the pleating process until there are three pleats total.
To prevent the pleats from getting sewn down by the embroidery machine at the top and bottom edge of the mask, make sure the pleats are centered. There should be roughly 1/2"- 1" inch above and below the top and bottom pleats.
Press each pleat until they hold themselves in place.
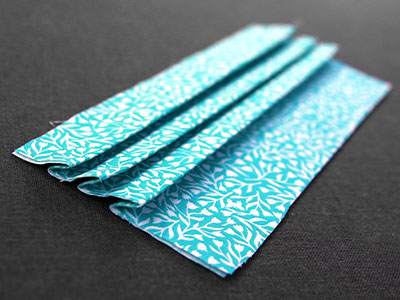
For the small/child face mask, the pleats need to be closer together. For this size, all pleats should be about 1/2" apart and 1/2" deep. Like the larger mask, all pleats will need to be centered on the front of the mask and pressed with an iron until they can hold themselves in place.
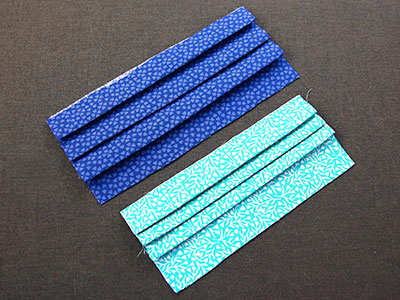
As you can see here, the pleats for the smaller size need to be closer together as the mask is shorter. The large size is for adults, and the small size is for children or adults with a smaller face and head.
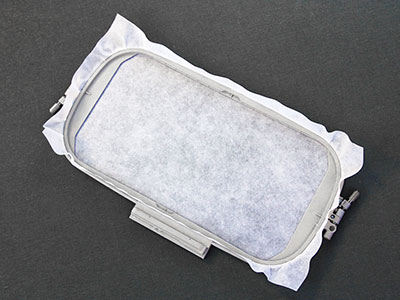
Next, hoop a piece of tearaway stabilizer. Madeira E-Zee 1.5 oz or Floriani Tearaway Medium are good choices. Those brands are more fibrous, less like paper, and will tear more cleanly.
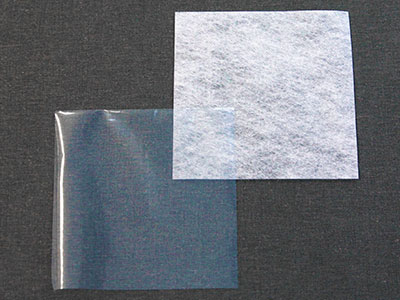
If tearaway stabilizer is not available to you, water-soluble stabilizer can also be used. If using water-soluble stabilizer, make sure to trim away the excess stabilizer and wash the masks in a washing machine to remove all the stabilizer before using or donating the masks.
There are different kinds of water-soluble stabilizer. Some are clear and plastic like Sulky Ultra Solvy, and others are soft and fibrous like Vilene. Both will work well.
Attach the hoop onto the machine and load the embroidery file (not the dieline files). Use a size 11 or 75/11 sharp sewing needle. A sharp sewing needle has a finer point than an embroidery needle. That means it will make smaller holes in the stabilizer.
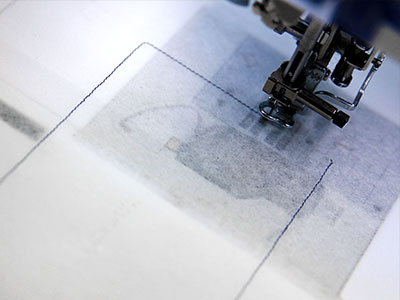
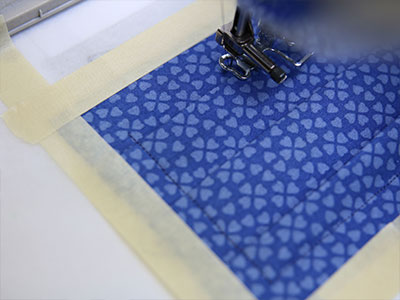
Embroider the design. The first thing to embroider will be a dieline (or outline stitch). This marks the area on the stabilizer where the fabric piece will be placed.
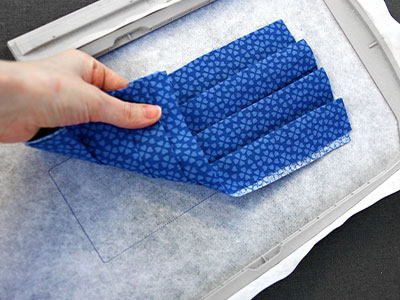
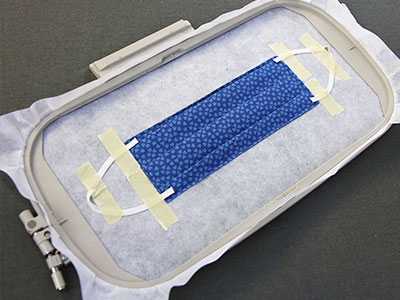
After the dieline has sewn, remove the hoop from the machine, but do not unhoop the stabilizer. Place the pleated fabric over the dieline. Make sure to center the pleats so they do not overlap the top or bottom edge of the sewn dieline. If they overlap the sewn dieline at the top or bottom, they will get tacked down and the pleats won't be able to open as needed when wearing the mask.
Make sure the pleats are opening toward the bottom edge of the dieline, especially if you are rotating the file. This way the machine will sew the pleats down in the correct direction, preventing them from getting caught on the machine hoop.
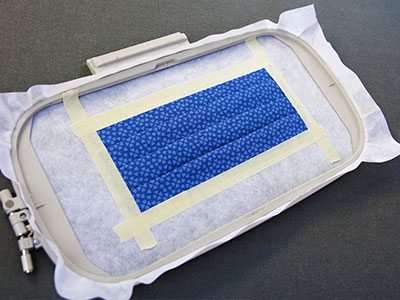
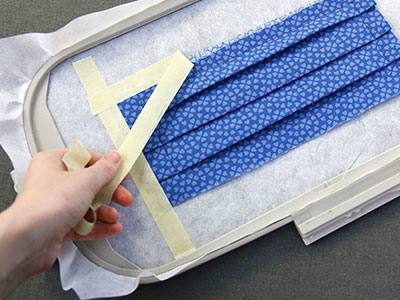
Next, take masking tape and tape down the edges of the face mask to the stabilizer. Again, do not use spray adhesive.
Place the hoop back onto the machine and embroider the tackdown for the face mask. The tackdown holds the fabric in place for the remainder of the design.
After the tackdown has sewn, remove the hoop from the machine but do not unhoop the stabilizer. Remove all the tape from around the edges of the fabric.
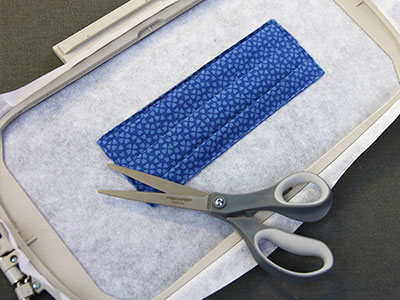
Trim the excess fabric around the sewn tackdown as close to the outside edge of the tackdown as possible. Be careful not to cut the stitches or pull the stabilizer loose in the hoop.

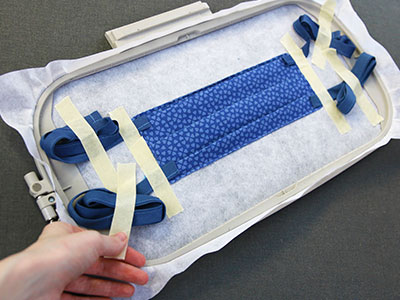
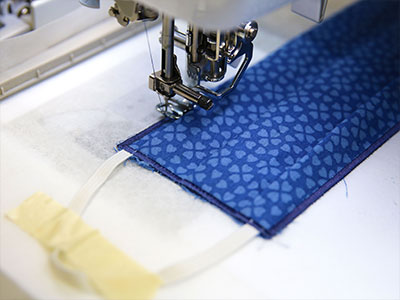
To make elastic loops for straps, cut two pieces of the elastic that are 7 inches long.
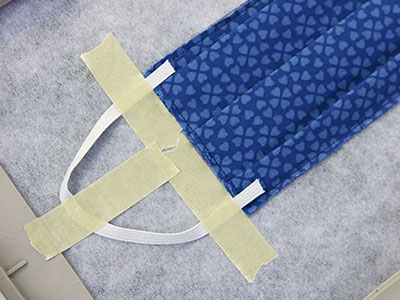
Take the first piece of elastic and place the ends of it within the tackdown at both the top and bottom left corners. Overlap the ends of the elastic past the tackdown by at least 1/2" and tape the ends in place. Also tape the created loop to the stabilizer.
Repeat the previous step to place and tape the second elastic piece on the other side of the mask.
If elastic is not available, ties can also be used. To make easy ties, cut four pieces of bias tape at 30" long, sew the open side of the bias tape closed, and tape one in place at each corner. Make sure the ends of the ties overlap past the tackdown at least 1/2". Ties can also be cut and sewn out of fabric, if preferred.
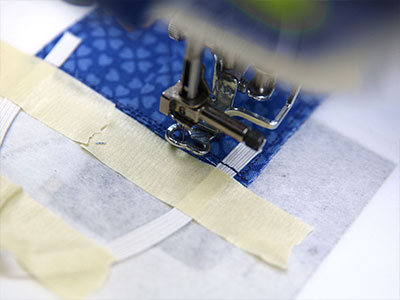
Return the hoop to the machine and embroider the elastic tackdown. This will sew the ends of the elastic or ties in place.
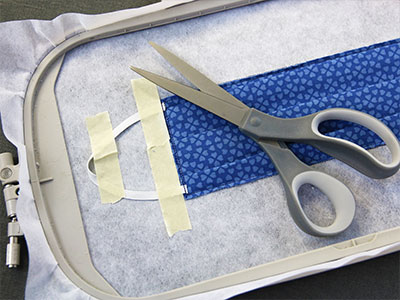
After the elastic tackdown has sewn, remove the hoop from the machine, but do not unhoop the stabilizer. Trim the ends of the elastic or ties as close to the inside edge of the tackdown as possible.
As all the stitching from here on out will be seen from both sides, wind a bobbin to match the thread being used in the top needle. This step is not necessary and can be skipped if desired.
Remove any tape that is on or near the fabric, but make sure the loop is still taped down to the stabilizer. Place the hoop back on the machine and embroider the finishing border. This will sew the final border around all four edges of the fabric.
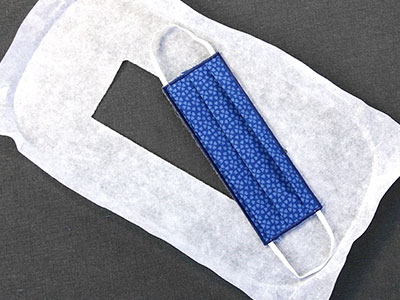
Once the finishing boarder is finished, unhoop the stabilizer and remove the excess from around the face mask. If using water soluble stabilizer, make sure to trim away as much stabilizer as you can, and wash your mask in a washing machine to remove any remaining stabilizer.
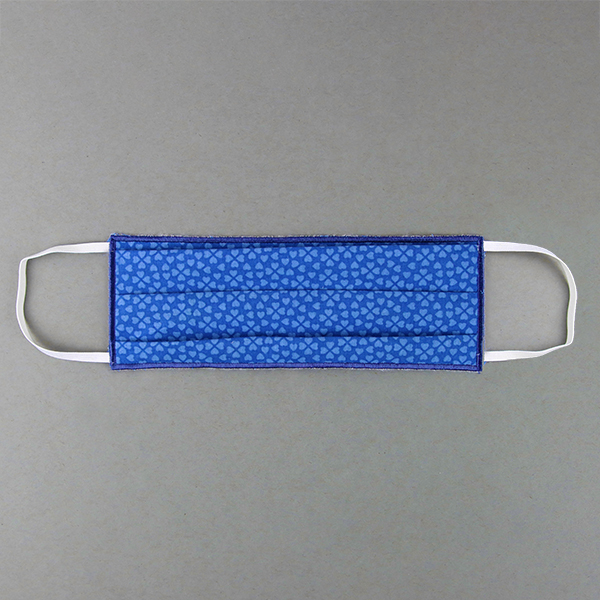
For tearaway stabilizer, also tear off the remaining stabilizer from the backside of the face mask. After this is torn away, no stabilizer should be visible, and the fabric mask should be soft and flexible.


