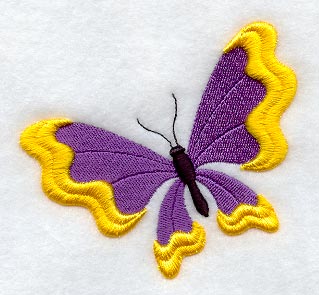
Puff foam is a gorgeous way to add depth and texture to your embroidery. The unique, raised area give a three-dimensional look to the design.
Project Needs & Notes:
- Puff foam embroidery design
- Medium-weight (2.5 ounce) cutaway stabilizer
- 2-3 mm puff foam
The design used in this tutorial is A3490, Butterfly Puff Foam.
Designs Used
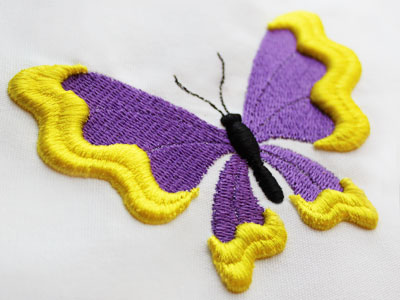
Some embroidery designs are specially digitized to be used with puff foam.
When using puff foam with these designs, heavy satin stitches over the foam create a raised, dimensional effect.
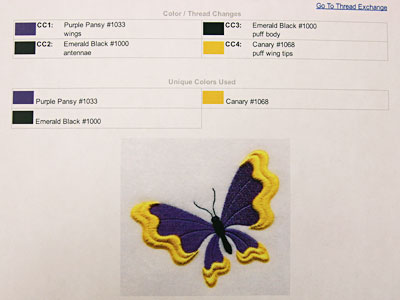
The color change sheet for a puff foam design shows which section is used with puff foam.
In this example, CC4 is labeled as "puff wing tips."
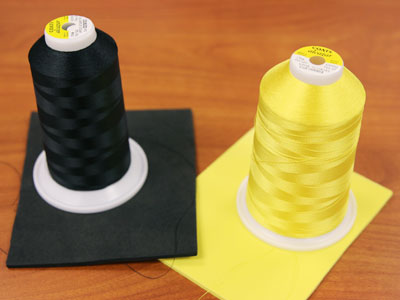
Choose puff foam that matches the color of the thread used.
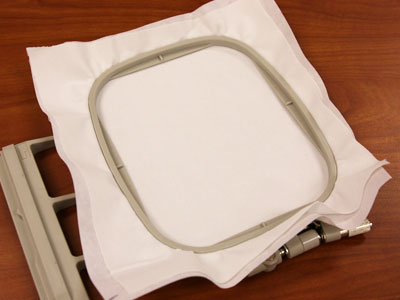
Hoop the fabric or item with one piece of cutaway stabilizer.
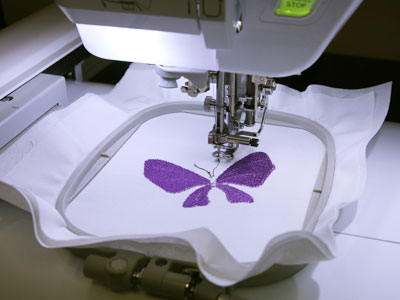
Embroider the design, referencing the color change sheet as you stitch.
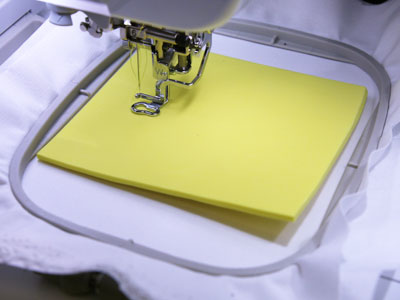
Before stitching the "puff" section, lay the puff foam in the hoop.
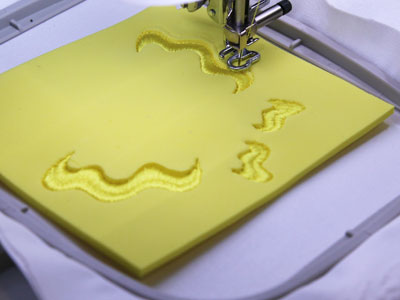
Continue embroidering the design.
The needle perforates the foam while stitching.
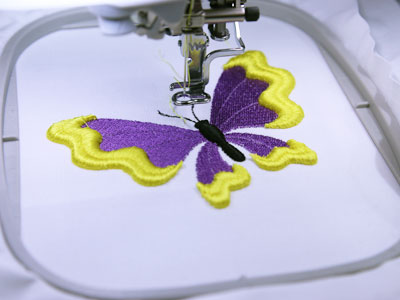
After the foam section has finished, remove the foam.
In this example, the design is complete; there are no more sections to embroider. If working with another design that had more embroidery after the puff section, then continue stitching the design until complete.
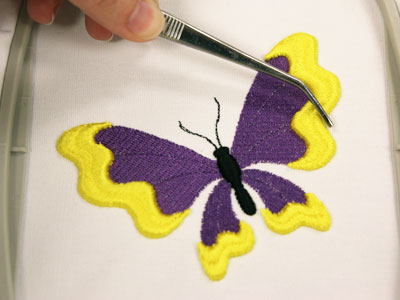
Bits of foam can be removed with tweezers.
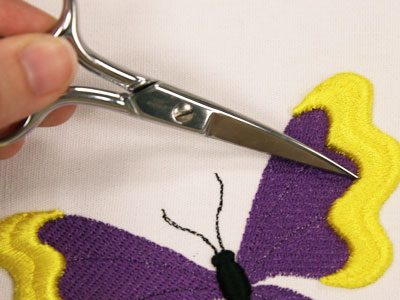
Puff foam can also be pushed into the satin stitches with the point of a small scissors.
Normal laundering is fine, but air dry. Avoid dry cleaning, as the chemicals can make the puff foam dissolve.
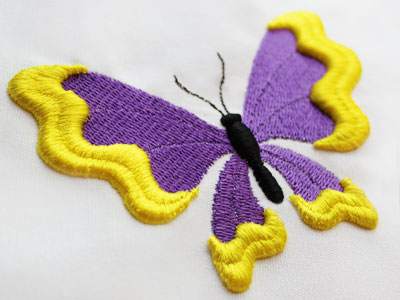
This butterfly's wings get extra dimension and interest thanks to the puff foam.
Use on your next embroidery project for a unique look!
