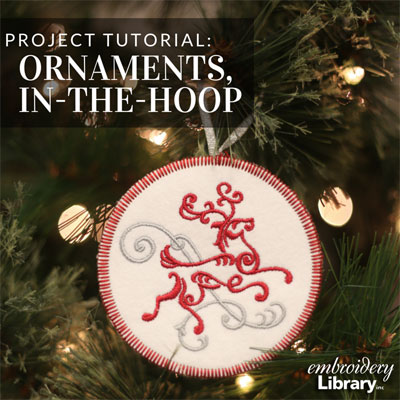
Bring a cozy and charming look to your Christmas tree with embroidered ornaments! Each of these ornaments are sewn completely in your embroidery hoop, with no additional stitching. Trim your tree with these crafty ornaments, and add them to gifts and cards for an extra-special touch.
Supplies
- Fabric for ornament (craft felt, denim, twill, linen, chamois, flannel, Kona cotton, or Ultra suede)
- Medium-weight (2.5 ounce) cutaway stabilizer
- Tear-away stabilizer
- 7 " of ribbon
Tools
- Temporary spray adhesive
(like Gunold KK100) - Masking tape
Designs Used


Fabric Notes:
Craft felt is an excellent choice, but you can use any good-quality fabric with a tight weave. Denim, twill, linen, chamois, flannel, Ultra suede, and Kona cotton are good choices. Avoid low-grade or loose-weave fabrics, such as flimsy quilter's cotton. That type of fabric will fray, and you may see separation and gaps between the border and the fabric.
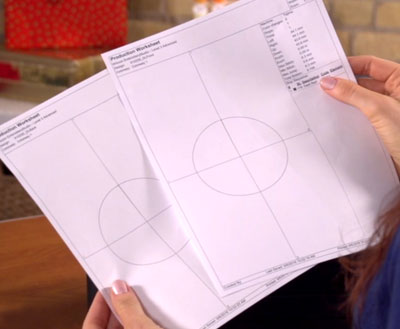
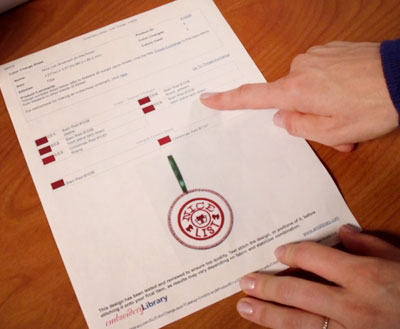
When you download an in-the-hoop ornament design, you will find multiple files. Some are the embroidery files, and the others are dieline files marked with the letters "DL". Dielines are used to cut the fabric to the correct shape and size. Open and print each dieline file using an embroidery software. If you do not have an embroidery software, take a look at our helpful video on using dielines.

Spray a piece of cutaway stabilizer with temporary adhesive.
Smooth the fabric for the ornament on top.
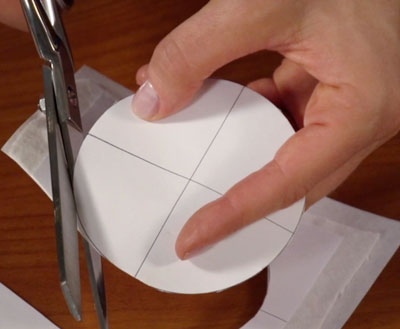
Place the printed dieline for the front of the ornament on top of the felt. Cut out the shape.
Repeat this with the back dieline for the back fabric and stabilizer piece.
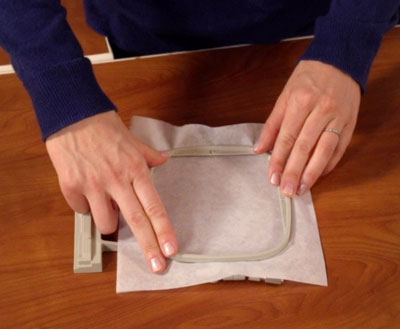
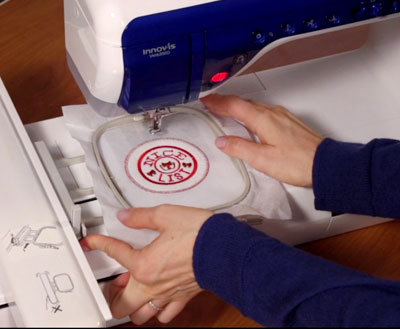
Next, hoop a piece of tear-away stabilizer.
Attach the hoop to the machine and load the full embroidery file (not the DL files).
Use a size 11 or 75/11 sharp sewing needle, not an embroidery needle. A sharp sewing needle has a finer point than an embroidery needle, and it makes cleaner, smaller perforations in the tear-away stabilizer.
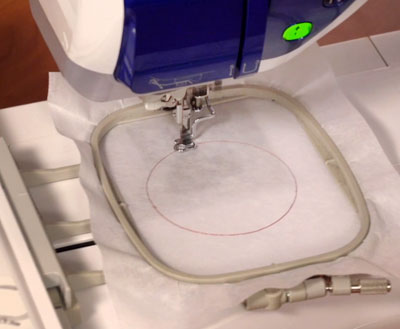
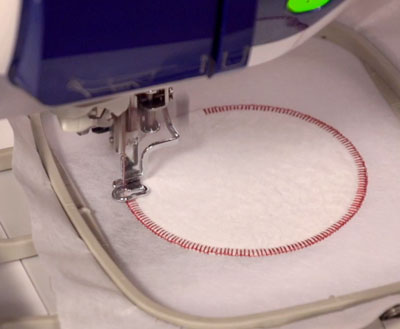
Embroider the design. The first thing to sew is a placement stitch for the front fabric piece.
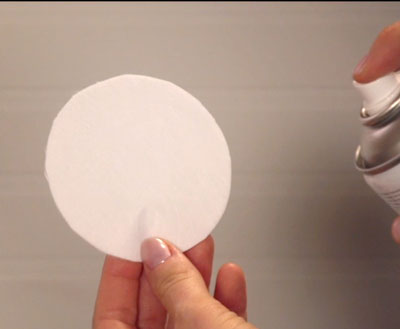
Spray the stabilizer side of the front fabric piece with temporary adhesive.
Place the fabric and stabilizer inside the circle sewn on the stabilizer.
Continue embroidering the design. A tack down or zigzag stitch will sew, binding the fabric to the tear-away stabilizer.
Continue embroidering the design, referencing the color change sheet as you stitch.
Look for a note on the color change sheet that says "back piece tack down".
When you reach this step, stop the machine. Remove the hoop from the machine, but do not remove the stabilizer from the hoop.
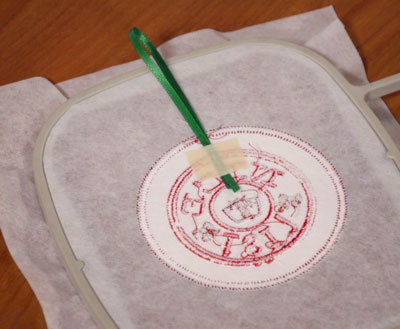
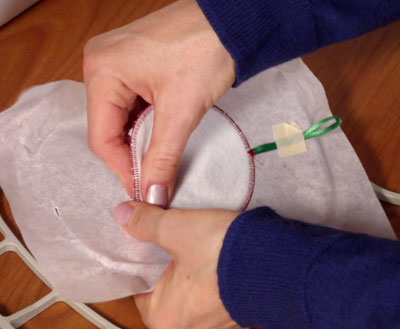
Cut a 7" long piece of ribbon and bring the ends of the ribbon together to form a loop. Use a small piece of masking tape to secure the ends of the loop to the top of the backside of the back fabric piece.

Spray the backside of the back fabric piece with adhesive and place it inside the shape on the backside of the embroidery.
Tape the ribbon to the side of the hoop so that it will not be sewn over in the remaining steps.
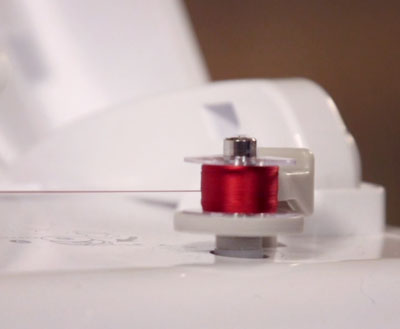
Since both sides of the ornament will be visible when complete, wind a bobbin with the same color used in the needle.
Attach the hoop back to the machine. Continue the design.
Another tack down stitch will sew. This binds the front and back fabric together.
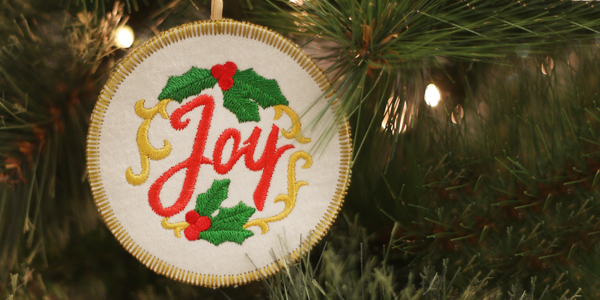
The ornament is finished with either a satin stitch border, or a blanket stitch (e-stitch) border.
After the design has finished, unhoop the stabilizer and gently tear it away.
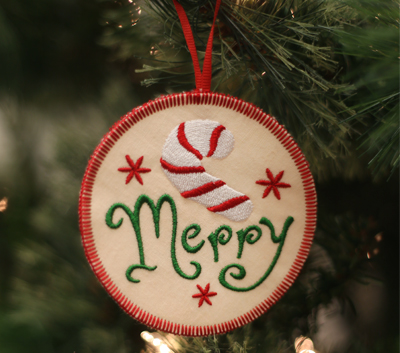
Hang your completed ornament on the Christmas tree to add
a crafty and colorful look to your home. It's beautiful on wreaths, too!
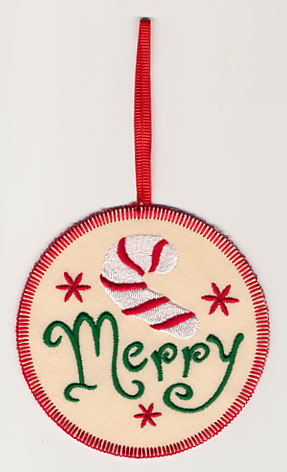
The Merry with Candy Cane Ornament is shown here.
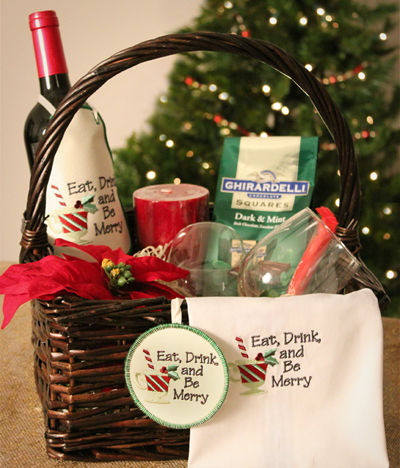
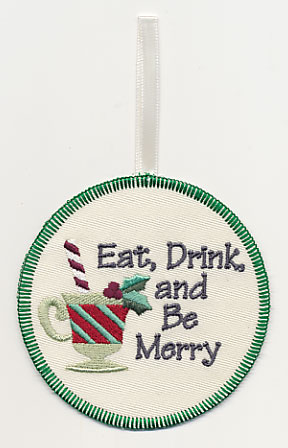
Tuck in-the-hoop ornaments into gift baskets to add an extra- special homemade touch to holiday presents.
The designs used in this example include the Eat, Drink, and Be Merry ornament, bottle apron, and stitch-filled design.
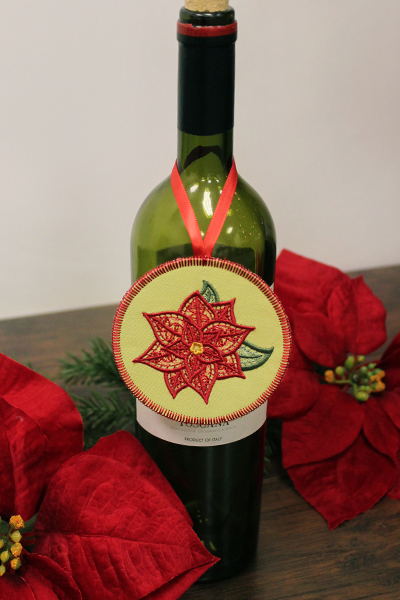
These ornaments, such as the Light and Lovely Poinsettia Ornament shown here, are also a fabulous way to dress up a bottle of wine -- use it as a hostess gift or dinner table decor for the holidays.
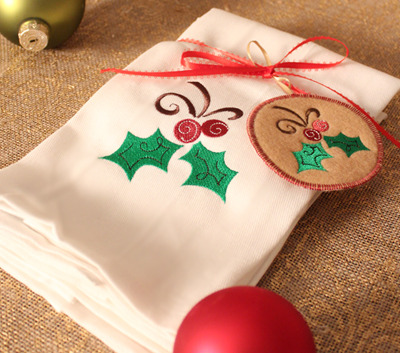
Or, use ribbon to attach an in-the-hoop ornament as a gift tag on Christmas presents.
Here we've tied the Christmas Doodle Holly Ornament to a matching embroidered tea towel featuring the Christmas Doodle Holly design.
This project is featured on the Embroidery Library Pinterest page.
Pin it yourself using the "Pin It" button on this page.


