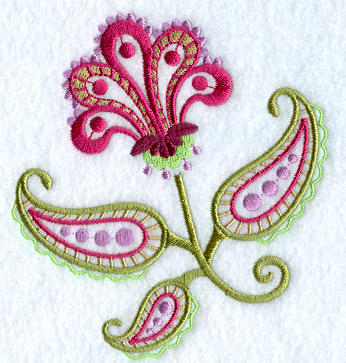
Recycle a velvet blazer or jacket sleeve into a dazzling evening handbag. It's a quick and inexpensive addition to any outfit, and a fabulous solution for a last-minute gift.
Supplies
Supplies needed:
- Jacket sleeve - (any, example is velvet)
- 1-1/2 yards cord
- Sticky-back stabilizer
- Water-soluble topping
- Dressmaker's pencil
- Seam ripper
- Self-adhesive Velcro
- Buttons (optional)
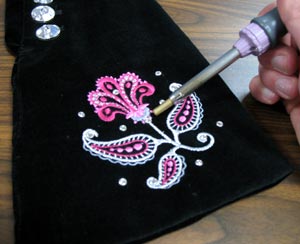
- Heat-set crystals and heating tool (optional)
Designs Used:
** Paisley Flower, small or large
Designs Used
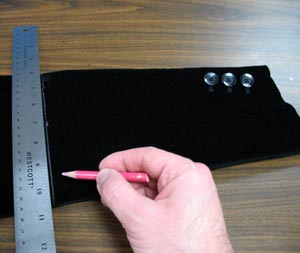
Cut a sleeve from the jacket. To see how to use the rest of a jacket for a posh pillow, click here.
Use a dressmaker's pencil or air-erase pen and make a mark 10 inches from the finished end of the sleeve. Draw a line across the sleeve.
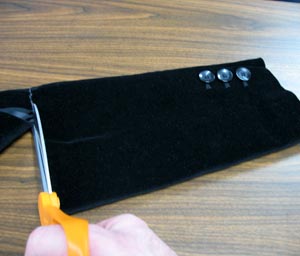
Cut the sleeve along the line.
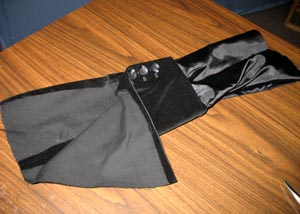
If the jacket has a lining, pull it out through the end of the sleeve.
Use a seam ripper to open the side seam on the sleeve.
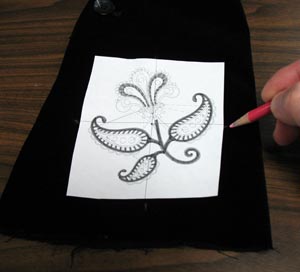
Print a full-size paper template of the design using embroidery software. Trim around the design for easier placement.
Position the template on the sleeve. Poke a hole in the center of the template and mark the fabric.
Mark the horizontal and vertical axis lines, and then remove the template.
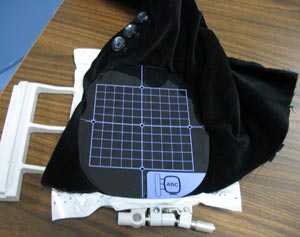
With the sticky side up, hoop a piece of sticky-back, tear-away stabilizer. Use the hoop's grid template to place the fabric on the sticky stabilizer. Place the hoop grid template on top of the fabric and align the template with the lines on the fabric. You may need to reposition the fabric to get it just right.

Because we are embroidering on velvet, we added a water-soluble topping to prevent the stitching from sinking into the fabric.
Load the design, attach the hoop to the machine, align the needle directly over the center point, and embroider the design.
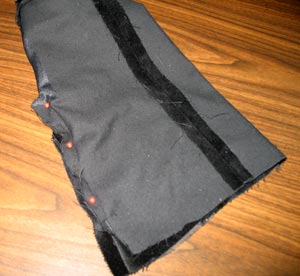
When the design has finished sewing, trim away the excess stabilizer and peel away the excess water-soluble topping.
Any small bits of topping can be easily removed by lightly wetting your fingertips and brushing the topping away.
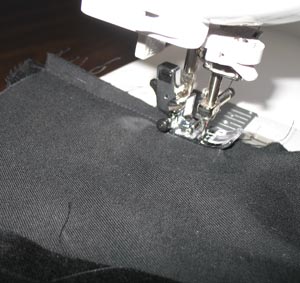
Turn the sleeve inside out and lay it flat. Pin the side seam together.
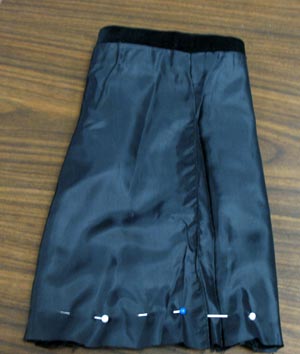
Sew the side seam back together.
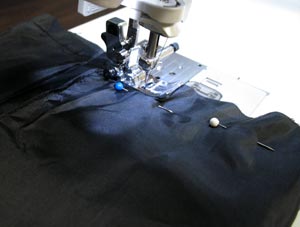
Pull the lining over the sleeve. Lay it flat and pin the open end closed.
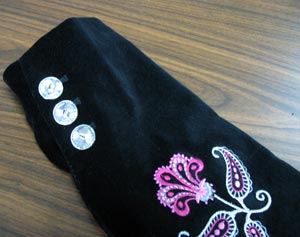
Sew the lining end closed with a quarter-inch seam.
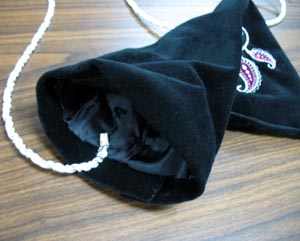
Turn the bag right side out.
It's ready to add a cord strap, fun new buttons, crystals, and other accessories.
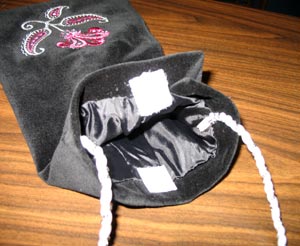
Sew each end of the cord inside the bag on each side seam.
Add one-inch pieces of self-adhesive Velcro just inside the opening of the bag.

Add some heat-set crystals for extra sparkle! And, you're ready for a spectacular evening on the town!
