'Tis the season to be stylish with this Santa Hat Purse!
The bottom section of a Santa hat is turned upside down to become the body of this purse. The point, with the pom-pom, becomes the flap. You can use this darling project as a gift bag, or a holiday purse. Just add festive designs, a name or monogram, fill it with lots of Christmas cheer!
The finished size the purse is 14 inches wide (across the white fur) and 13 inches tall, including the handles. The finished size will depend on the size Santa hat you purchase. We found this Santa hat at Target, but you can find them everywhere from discount to department stores.
Supplies
Supplies needed:
** Santa Hat
** Two wire frame purse handles
** 70 Jingle Bells (.71 inch or 20 mm in size)
** Medium weight, cutaway stabilizer
** Temporary spray adhesive
** Heavy weight water-soluble stabilizer (we use Sulky Ultra Solvy)
** Masking tape
** Seam ripper
** Small hair clips
** Needle and thread for some hand sewing
Designs used:
** Ho Ho Ho (Small) - also available in Large
** Jingle Bells with Holly (Small) - also available in Medium and Large
Designs Used
Create the body
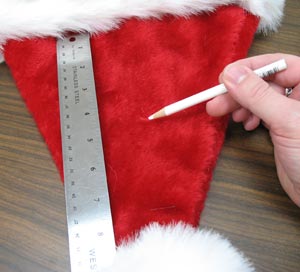
Lay the hat flat. Measure and mark the center of the hat (the red section) in between the trim and the pom-pom.
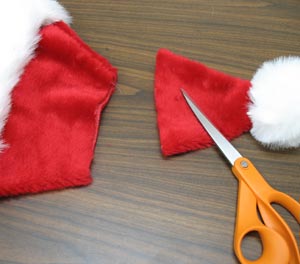
Cut the hat into two pieces by cutting at that mark.
Embroider on the trim
Create paper templates of the designs by printing them at full size. Trim around each design to make the templates easy to manage.
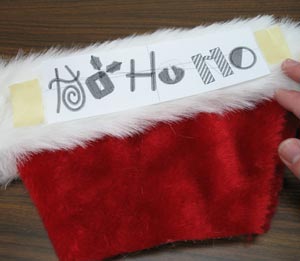
We are embroidering directly onto the fur trim. Place the template on the trim, and mark the sides with a couple pieces of masking tape.
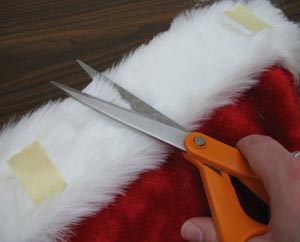
Remove the template and trim the fur within the area to be embroidered so it is about 1/4 inch in length. Trimming the fur allows the stitches to lie properly.
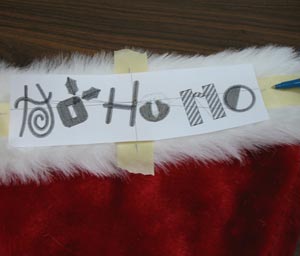
Lay the template back onto the trim and center it by measuring equal distances from the center point of the design to the edges of the trim.
Lay strips of masking tape under the horizontal and vertical axis lines on the template. Poke a hole in the center of the template and mark the tape. Also mark the horizontal and vertical axis points.
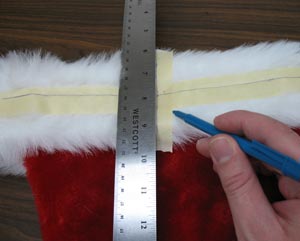
Remove the template and draw lines connecting the marks. These lines will be used for hooping.
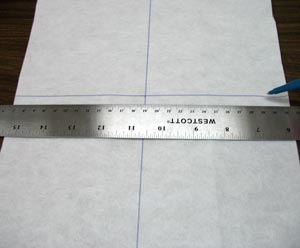
Cut a piece of cutaway stabilizer a bit larger that your hoop. Draw a horizontal and vertical line on the stabilizer (at right angles to each other). Make sure the lines intersect in the center. These lines will be used for hooping.
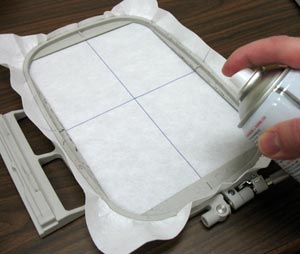
Hoop the stabilizer by aligning the marks on the hoop with the lines on the stabilizer. Spray the stabilizer with temporary adhesive.
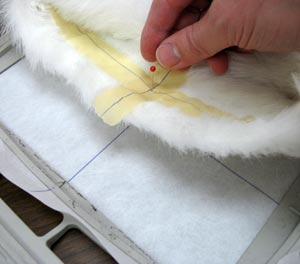
Unfold the trim of the hat (we had to cut a few tacking stitches as well) and align the lines on the tape with the lines on the stabilizer. Insert a pin on the ends of the lines on the tape, adjust and align with the ends of the lines on the stabilizer.
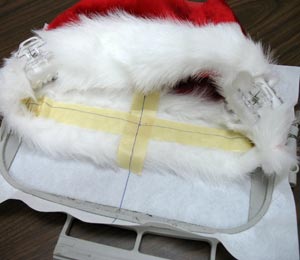
Press the trim in place and use hair clips to clip the hat back away from the sewing area.
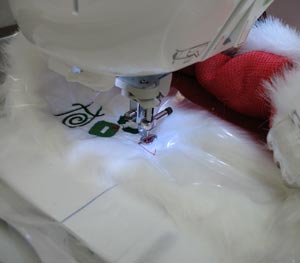
Attach the hoop to the machine and load the design. Align the needle over the center point on the tape. Remove the tape and then lay a piece of heavy weight, water-soluble stabilizer over the fur trim and embroider the design.
After the design has been embroidered, unhoop the stabilizer and trim away the excess stabilizer. Also, tear away the excess water-soluble stabilizer.
Embroider on the flap
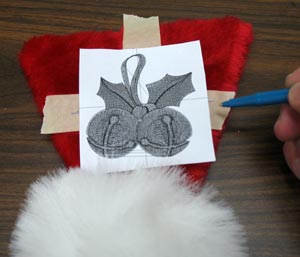
Lay the flap flat with the paper template on top. We positioned the top of the design about one inch from the top edge of the flap. Lay strips of masking tape under the horizontal and vertical axis lines, and mark the center point and axis points. Remove the template and draw lines connecting the points.
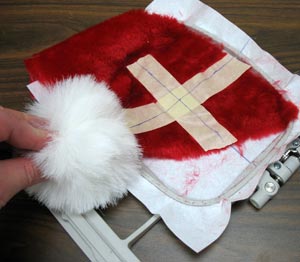
Cut a piece of stabilizer that is slightly larger than your hoop. Draw lines on the stabilizer, hoop the stabilizer, and spray with temporary adhesive. Use a seam ripper to open one of the side seams of the flap. Lay the flap open flat and align the lines of the tape with the lines on the stabilizer as you did before.
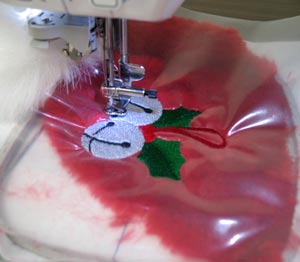
Attach the hoop to the machine, load the design, and align the needle over the center point you marked on the tape. Remove the tape and add a piece of heavy weight, water-soluble stabilizer over the fabric, and embroider the design.
After the design has been embroidered, trim away the excess stabilizer on the back and tear away the excess water-soluble from the top.
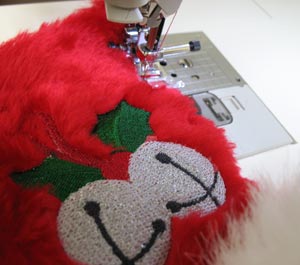
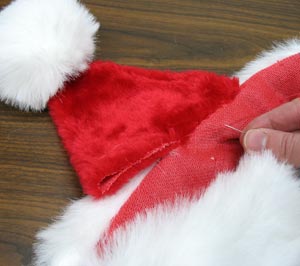
Put the side seam of the flap back together, by aligning it and pinning it in place. Then re-sew the seam.
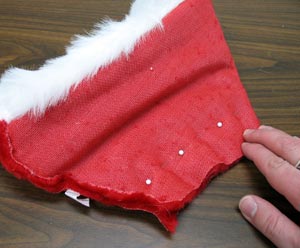
Turn the body of the purse inside out, pin along the open end (opposite to the trim), and sew a 1/2 inch seam close to the opening.
Attach the flap
Turn the body of the purse right side out. Lay the body flat with the embroidered side down. Lay the flap with the embroidered side down, and then hand sew the flap to the top edge of the trim along the bottom layer of the body.
Add the handles
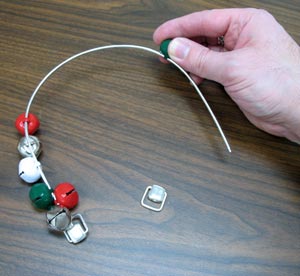
Unscrew one end of the wire frame handle and thread the jingle bells onto the frame. After the frame is filled, screw the end back on. Repeat for the second handle.
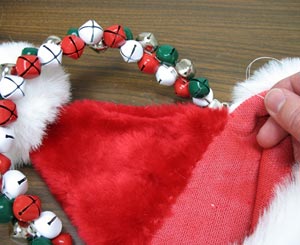
Attach the handles by hand-sewing them to the top edges of the trim on the body of the purse.

You'll jingle all the way through the holidays with this Santa Hat Purse!


