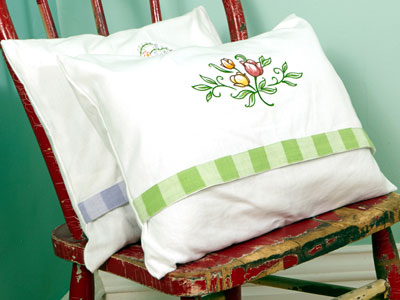
Transform a tea towel into a cozy pillow cover in just a few simple steps with this helpful tutorial. It's a surprisingly fun and fast way to give your home decor a mini-makeover.
Susan Mars, owner of All About Blanks, showed us how to make this nifty pillow. The towel shown in the tutorial is the Vintage Gingham Trim dishtowel from AllAboutBlanks.com.
Supplies
Project Needs & Notes
- 12" x 16" pillow form
- 18" x 28" dishtowel
- Medium-weight (2.5 ounce) cutaway stabilizer
- Air-erase pen for marking
Finished Size: 12" x 16"
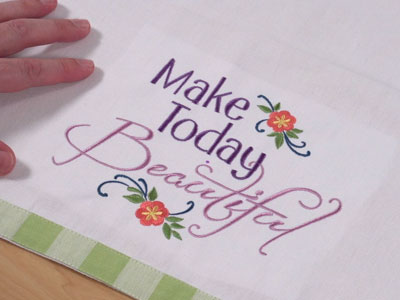
For this tutorial, I used K7688, the 7.81" x 5.67" size of the Make Today Beautiful design from the A Sweet Sentiments Design Pack.
Other designs featured include D4456 Tulip Spray and H6830 Bunny in Blooms.
This project was featured in the following:
Pillow Party Lookbook
Pillow Party Trunk Show Christmas Edition
Designs Used
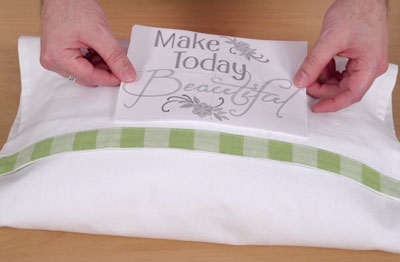
Begin by wrapping the towel around the pillow and planning where to stitch the design.
Use a template, or printout of the design, to plan where to stitch the design.
If you don't have software, Wilcom's TrueSizer is a free program that can print templates.
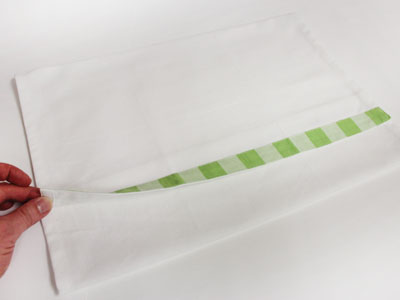
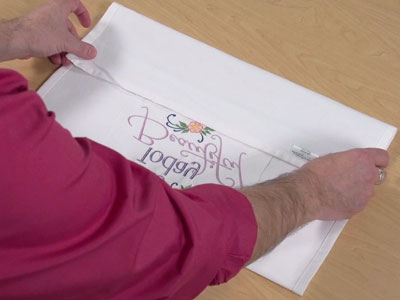
Lay the towel flat, wrong side up, and trim at the top.
Fold the bottom edge up five inches. Fold the top edge over the bottom edge.
For the gingham trim to land in the right spot, leave 2 1/2" between the trim and the bottom fold.
Finger-press the folds at the top and the bottom.
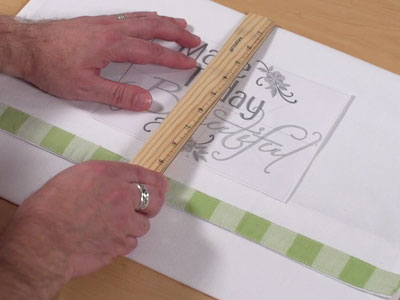
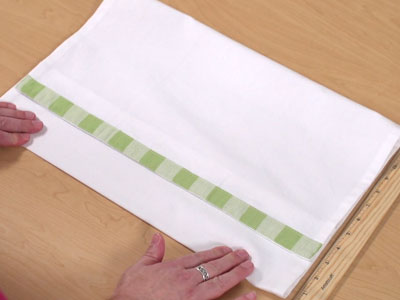
Use an air-erase pen to mark where you'll stitch the design.
Center the design between the two sides. Leave at least 2" from the top folded edge. This is where the pillow will curve, so the design should be stitched lower so it doesn't get lost in the curve.
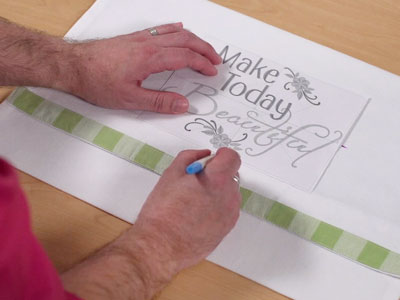
Once the template is in the right spot, mark the center point as well as the axis lines. These marks will help with hooping.
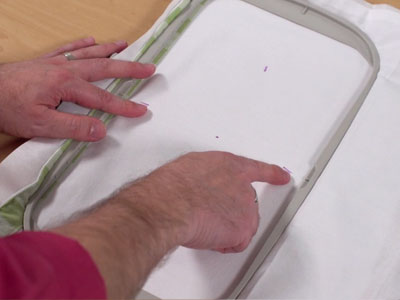
Hoop the towel with a piece of cutaway stabilizer. Align the marks on the towel with the marks on the hoop.
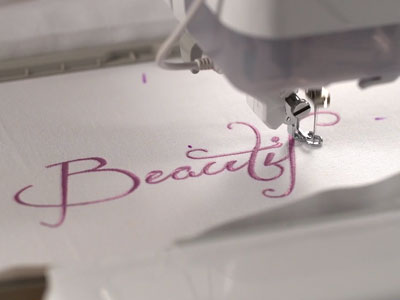
Attach the hoop to the machine, and load the design. Move the hoop so that the needle is right over the center point, and embroider the design.

After embroidering, trim the excess cutaway stabilizer away from the back. Leave 1/2" around the design.
Place the towel flat, embroidered side facing up.
Fold the towel along the finger-pressed folds. Fold the trim edge first, then the top edge down and over.
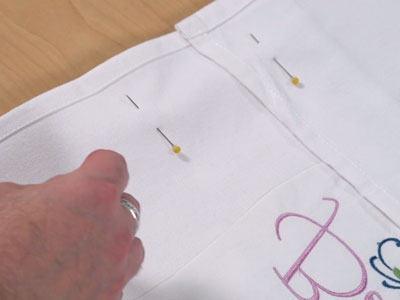
Pin the layers together along the side edges.
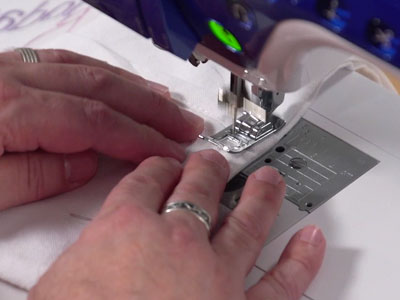
Sew a 1/2" seam along the side edges.
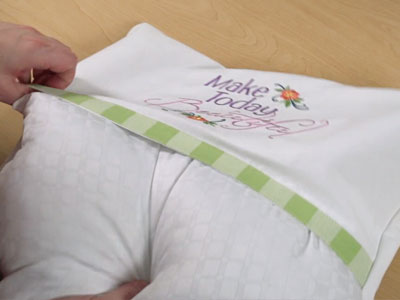
Turn the cover right-side out, and slip the pillow form through the front opening.
This nifty project is a quick and easy way to cover pillows and add a fresh look to your home!


