Give your kitchen towels a mini-makeover with in-the-hoop towel toppers! An elastic band holds the towel in place while a sturdy snap-on strap makes it so-easy to hang on towels and oven doors. Follow these step-by-step instructions to make your own towel topper!
Supplies
- 8" x 8" lightweight canvas (size varies depending on the size of the towel topper design)
- Temporary spray adhesive (Gunold KK100)
- Cutaway stabilizer
- Tear-away stabilizer
- Masking tape
- 1/2" wide knit elastic
- 1" wide strapping, straps, and snap tool
Designs Used
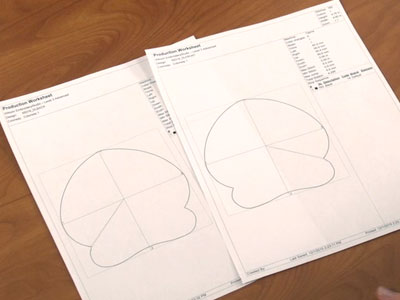
When you download an in-the-hoop towel topper design, you will find multiple files. Some are the embroidery files, and the others are dieline files marked with the letters "DL". Dielines are used to cut the fabric to the correct shape and size. Open and print each dieline file using an embroidery software. If you do not have an embroidery software, take a look at our helpful video on using dielines.
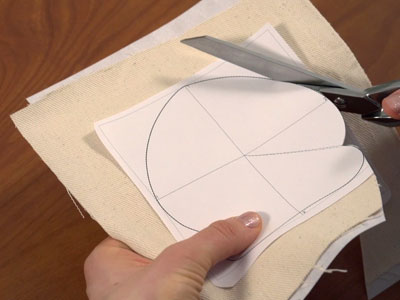
Spray a piece of cutaway stabilizer with temporary adhesive, and smooth the towel topper fabric on top.
Place the template for the front dieline on top, and cut out the shape.
Repeat for the back piece, too.
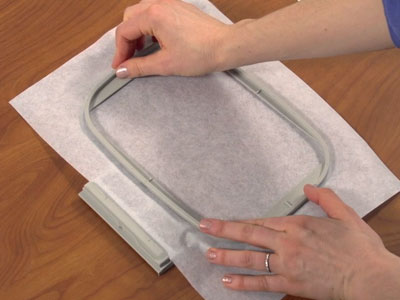
Now that the fabric pieces are cut and ready, it is time to embroider the towel topper!
Hoop a piece of tear-away stabilizer, and put a small, sharp needle in your machine. A size 11 or 75/11 sharp sewing needle is an excellent choice.
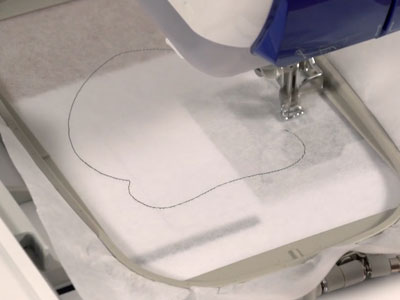
Attach the hoop to the machine and load the full embroidery design (not a dieline file).
Embroider the design.
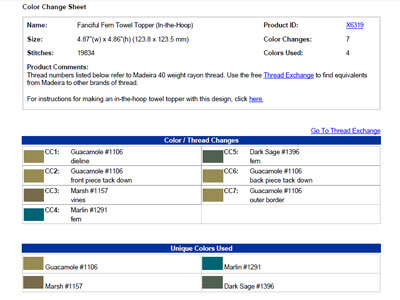
The color change sheet for the design will be your guide. The first thing to stitch will be an outline that traces the shape for the front fabric piece
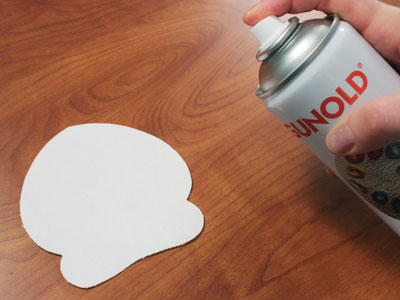
Spray the stabilizer side of the front fabric piece with temporary adhesive.
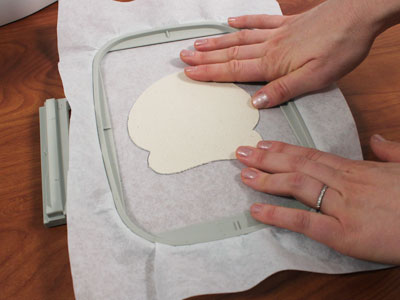
Place that right in the stitched outline.
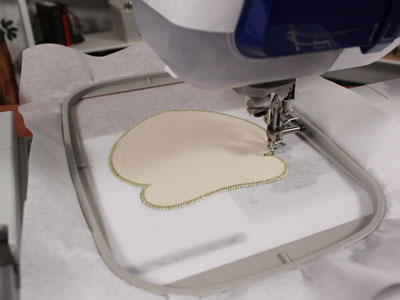
Next is a tack down stitch. This binds the fabric piece to the stabilizer for the remainder of the embroidery.
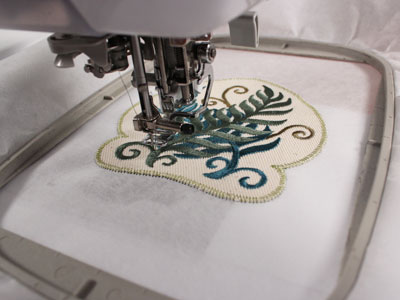
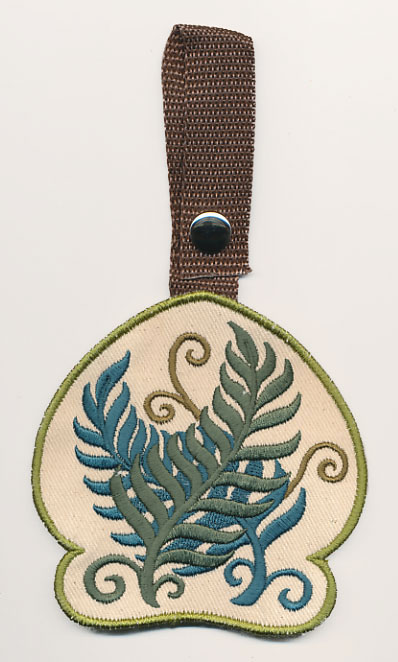
Then, the inside detail will stitch. In this example, the ferns are sewing.
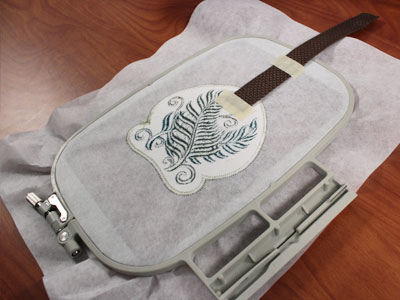
On the color change sheet, look for the note that says "back piece tack down." When you get to this step, stop the machine, remove the hoop, and turn it over.
Cut a piece of cotton or nylon strapping 8" long.
Tape one end to the stabilizer side of the back fabric piece.
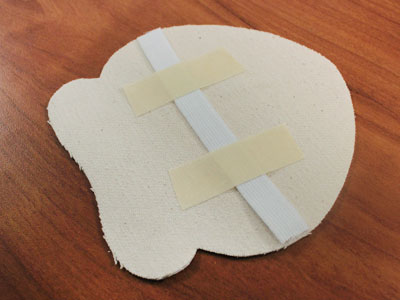
Next, cut a piece of elastic that is as wide as the widest point of the towel topper.
Tape that to the fabric side of the back piece.
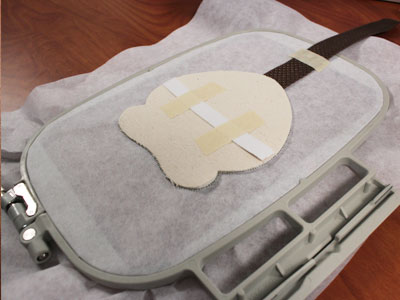
Spray the stabilizer side of the back fabric piece with a bit of temporary adhesive.
Place that in the stitched shape on the back of the embroidery.
Tape the cotton or nylon strap to the stabilizer near the edge of the hoop so it doesn't dangle down and get caught while stitching the remaining steps.
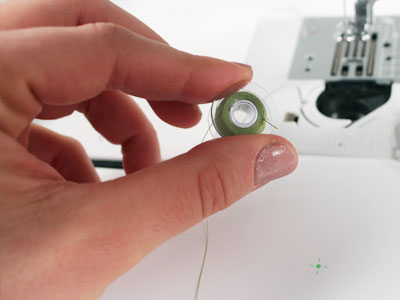
The rest of the design will be seen from both sides. Wind a bobbin with the same thread that you're using in the needle.
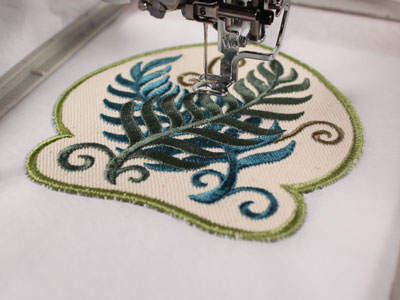
Embroider the remaining steps. The back piece tack down binds the fabric to the stabilizer. Then, a finishing satin stitch border.
The satin stitch border is what attaches the elastic to the fabric.
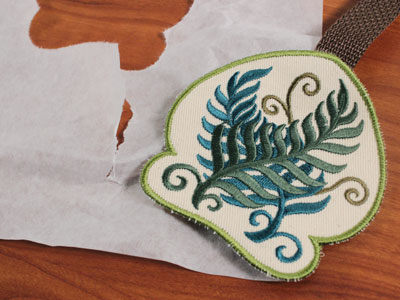
After embroidering, gently tear the stabilizer away.
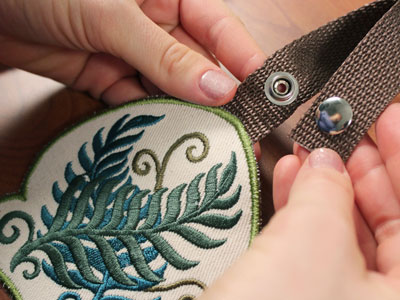
Add a snap to the strap. Place the button part 1/2" from the end.
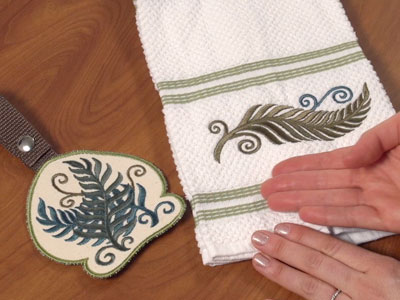
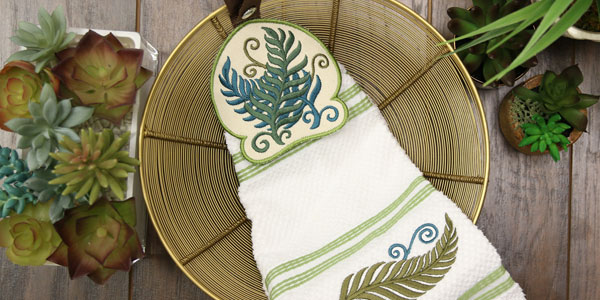
Embroider a coordinating design on the towel, too.
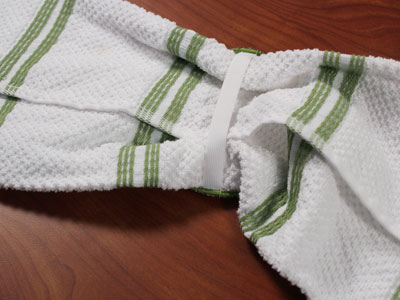
Slip the towel through the elastic loop.
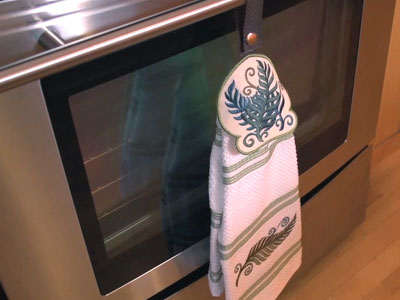
Snap it around a towel bar or oven door to display in your home!
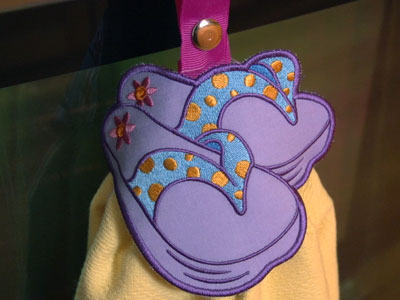
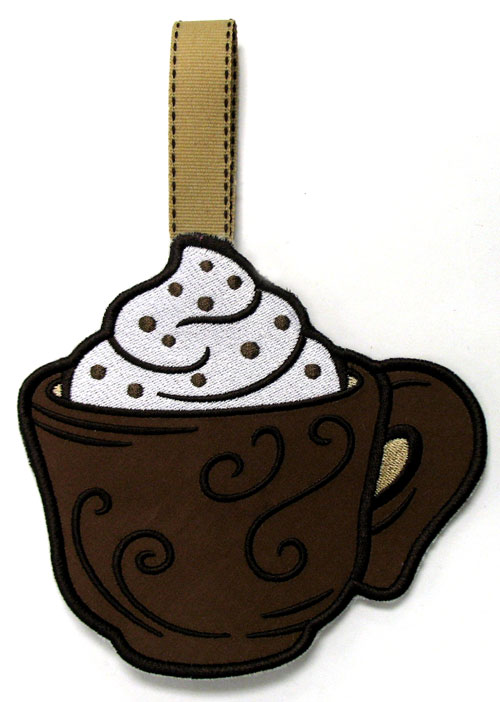
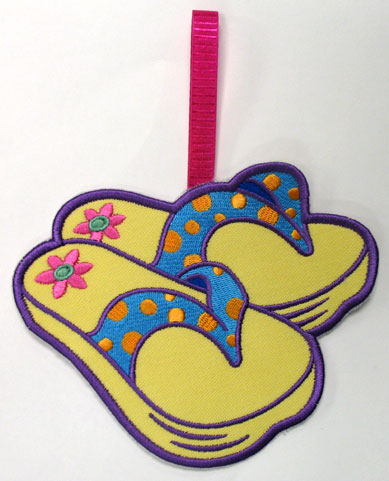
The towel toppers come in a variety of styles and shapes, including greenery, tasty treats, flip-flops, and more.
There's something for any kitchen decorating scheme!
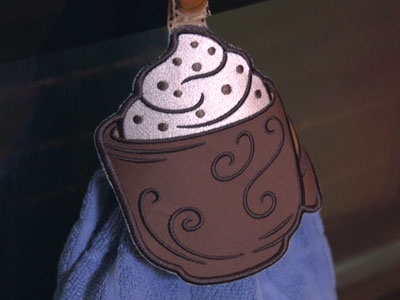
Whip up one of these in-the-hoop towel toppers to add a sweet touch to your home decor. Or, give as a hostess gift or housewarming present for friends and family.
